Beginner’s Guide - UI Deployment
WARNING
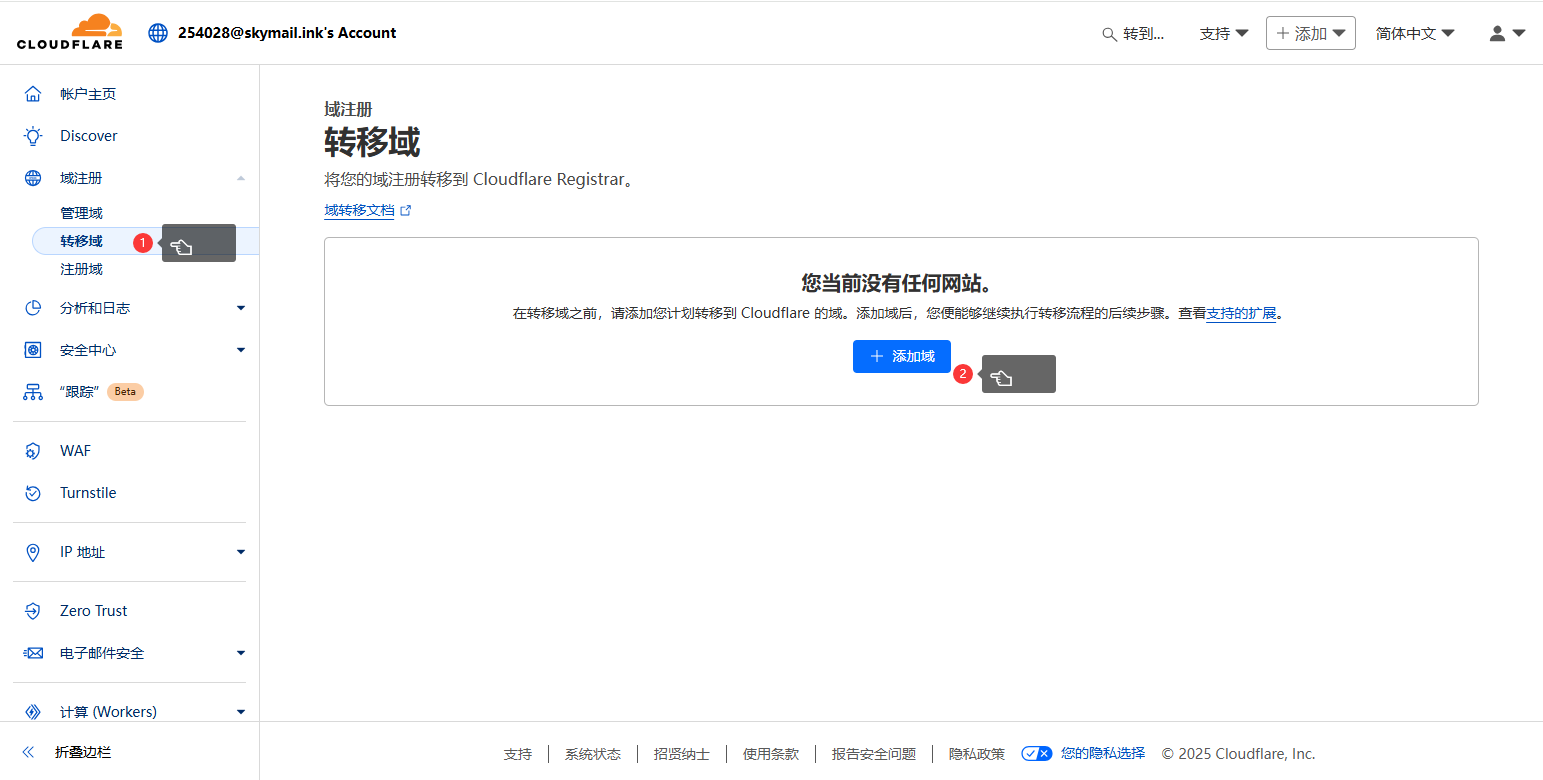
First, you need to register a domain. If you want to use it for registering on websites or games like Steam, don’t use cheap domains such as .top or .xyz, because those might be blocked as temporary email domains.
1 Bind Domain
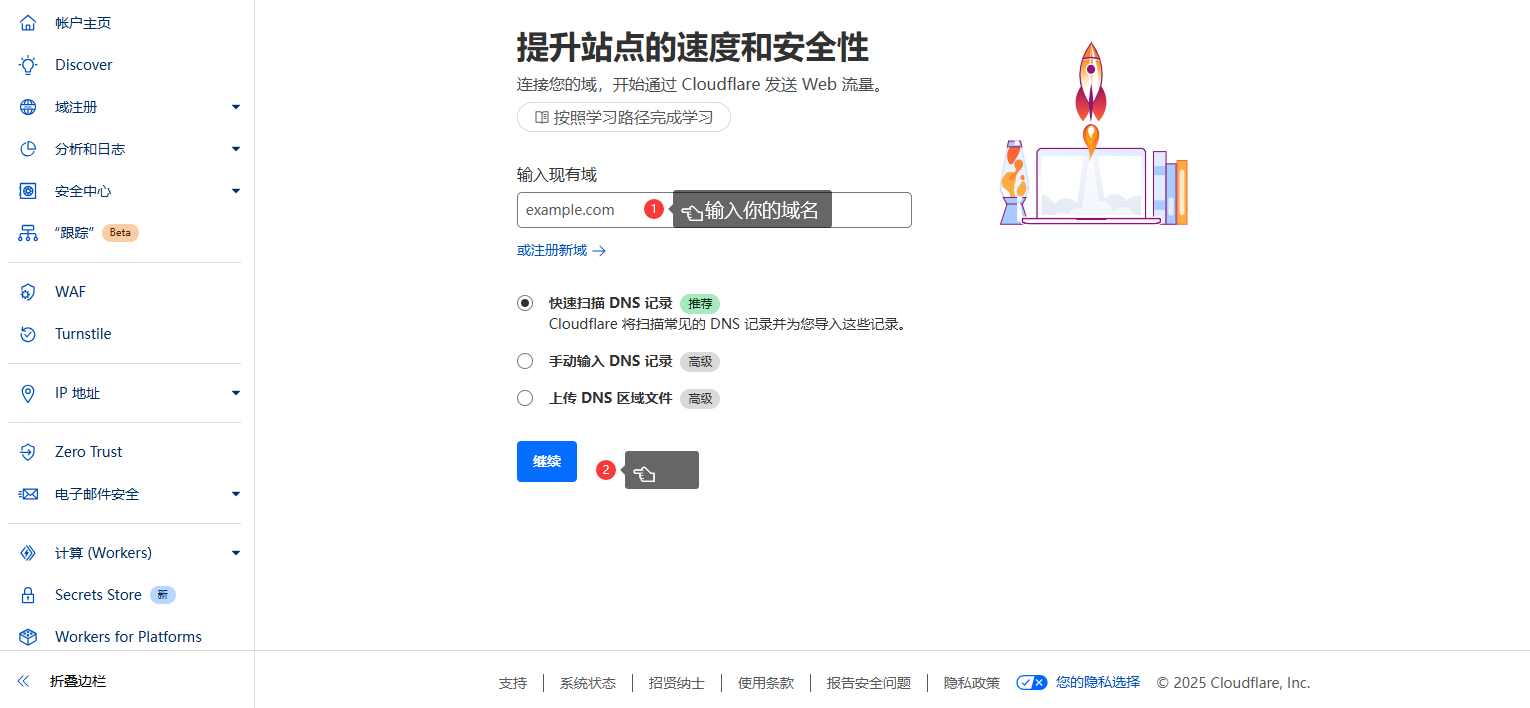
Register an account and log in to the Cloudflare dashboard to start binding your domain (if already bound, you can skip to step 2).
Choose the free plan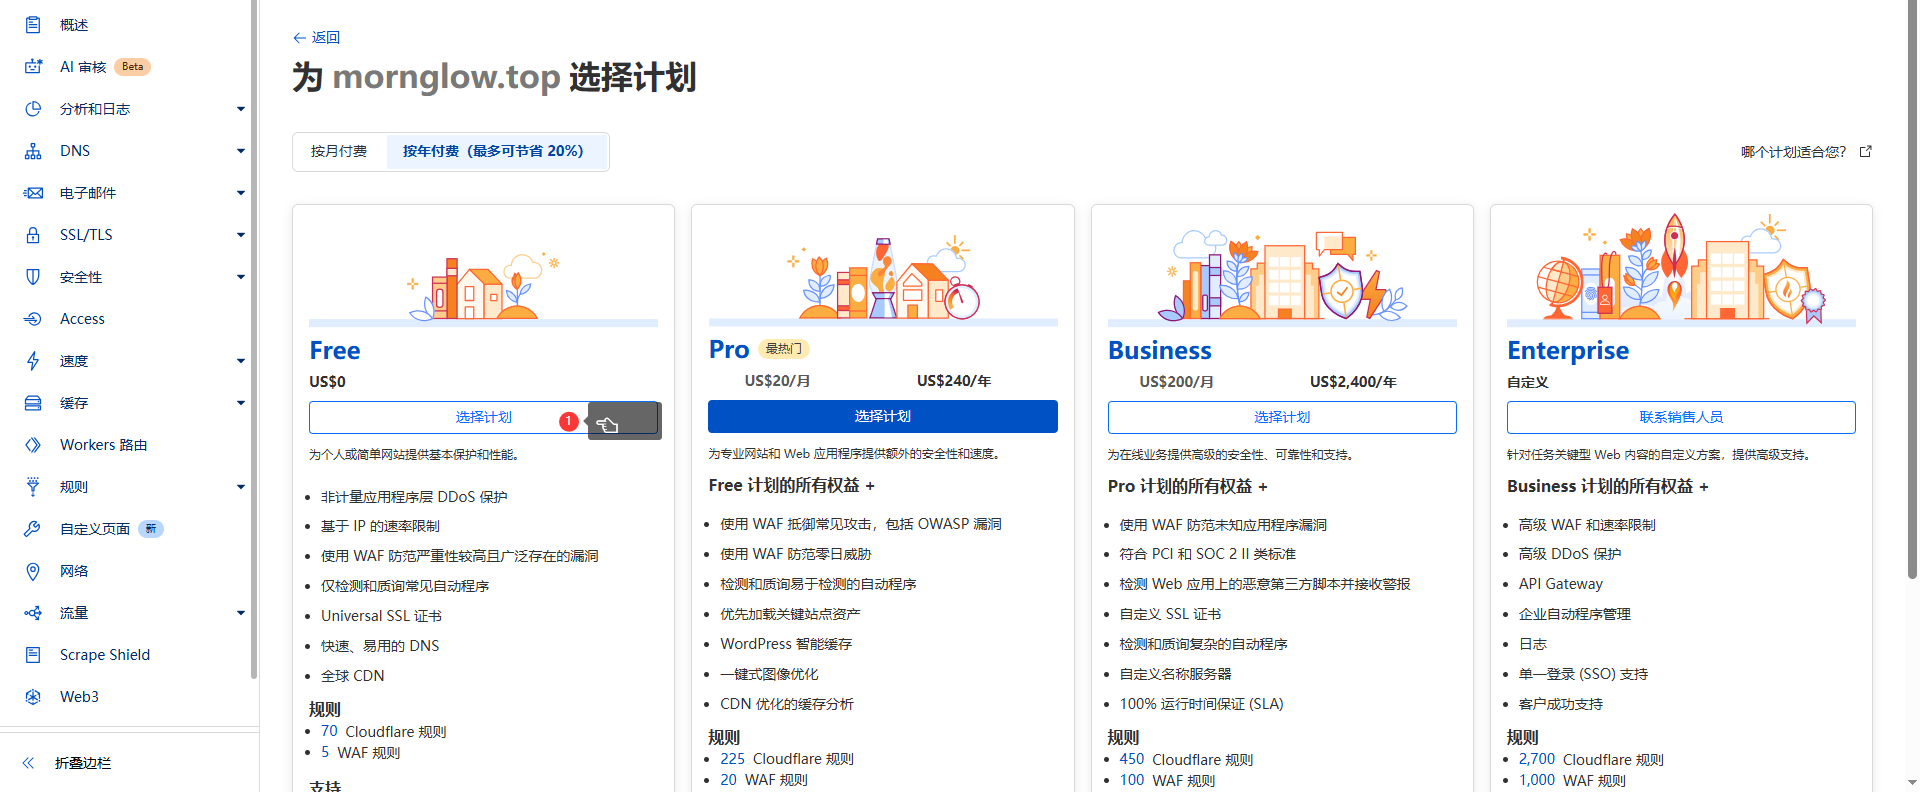
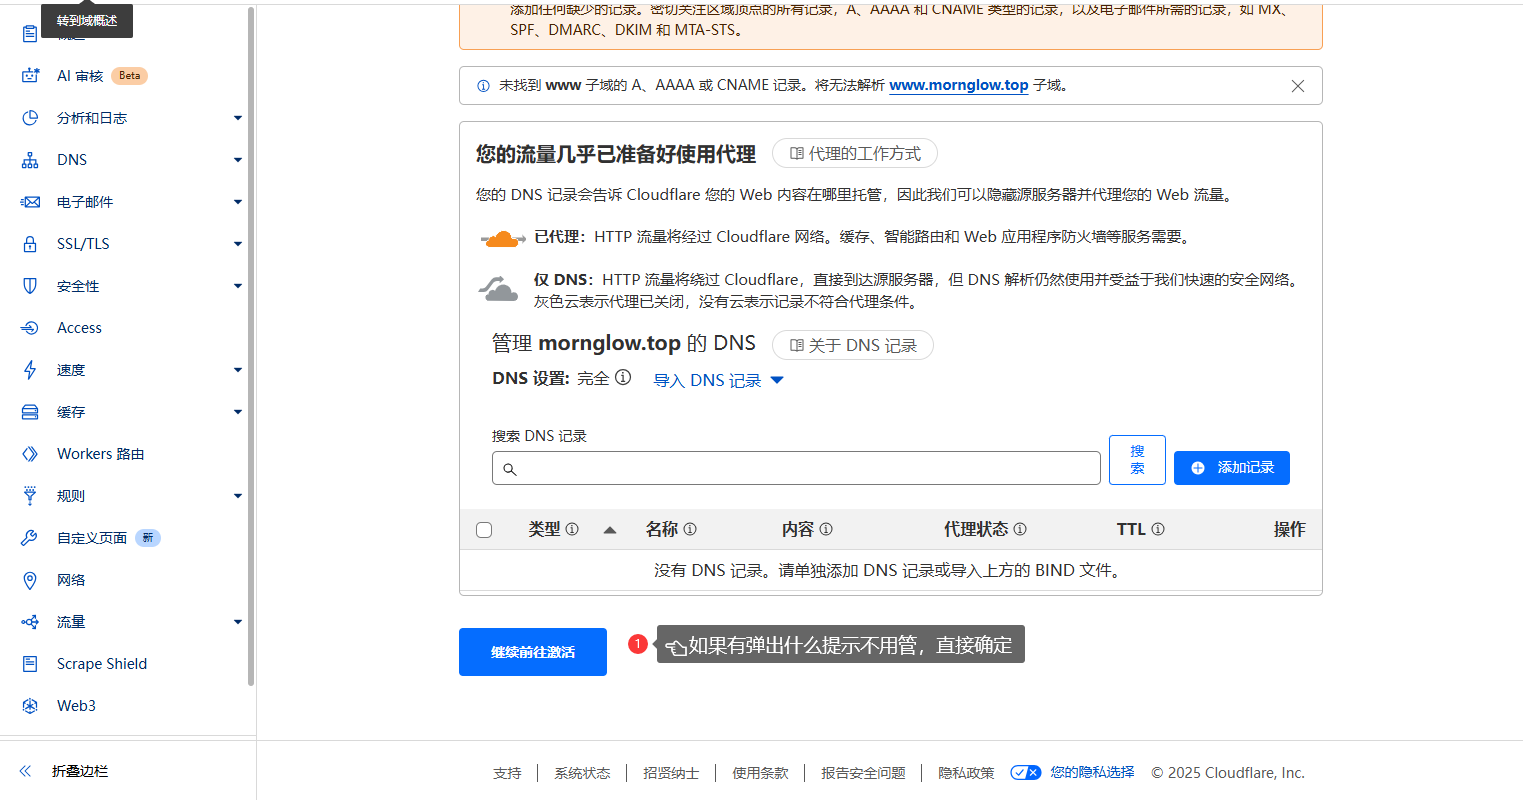
Set DNS
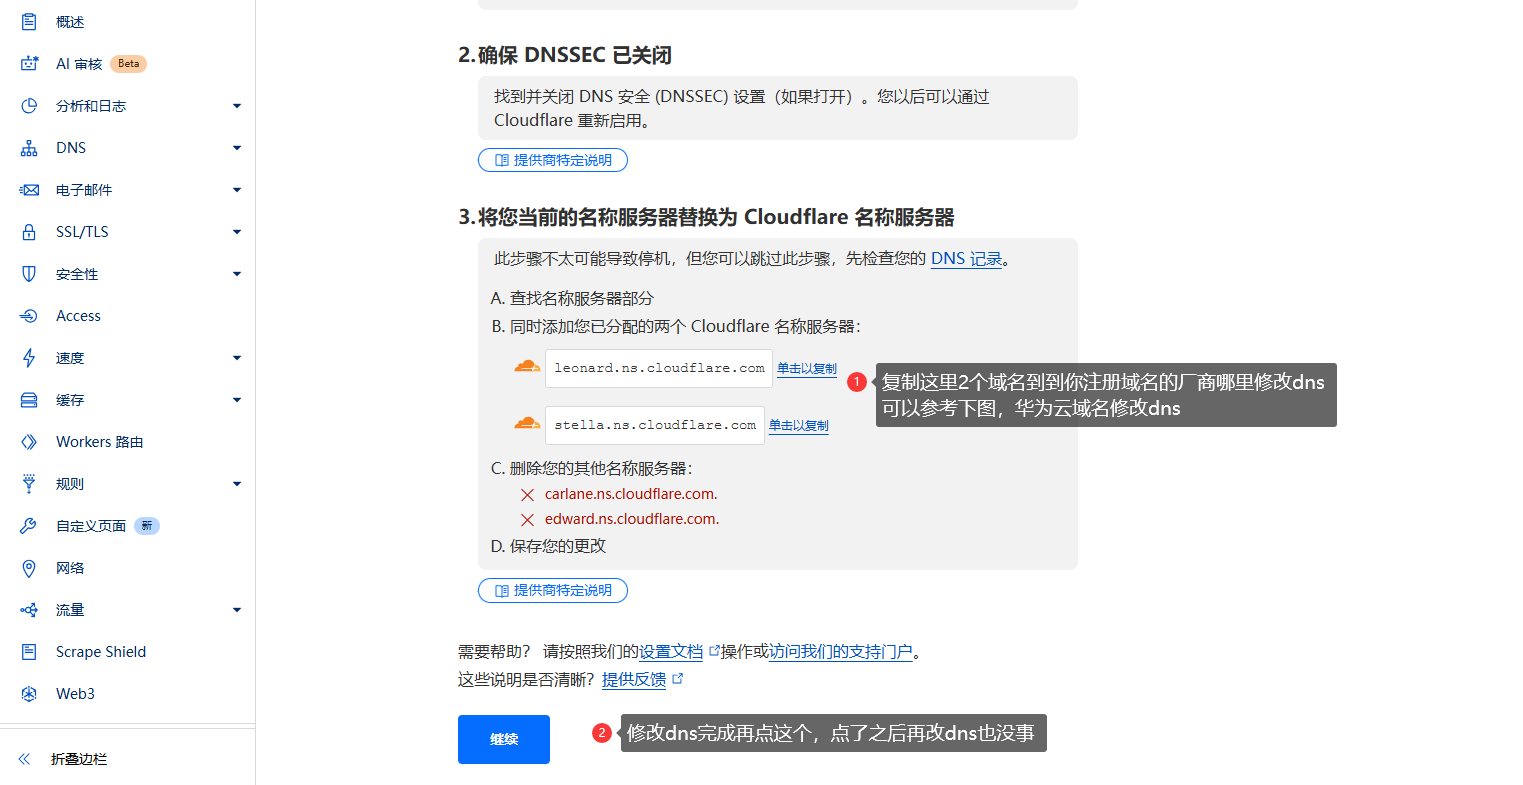
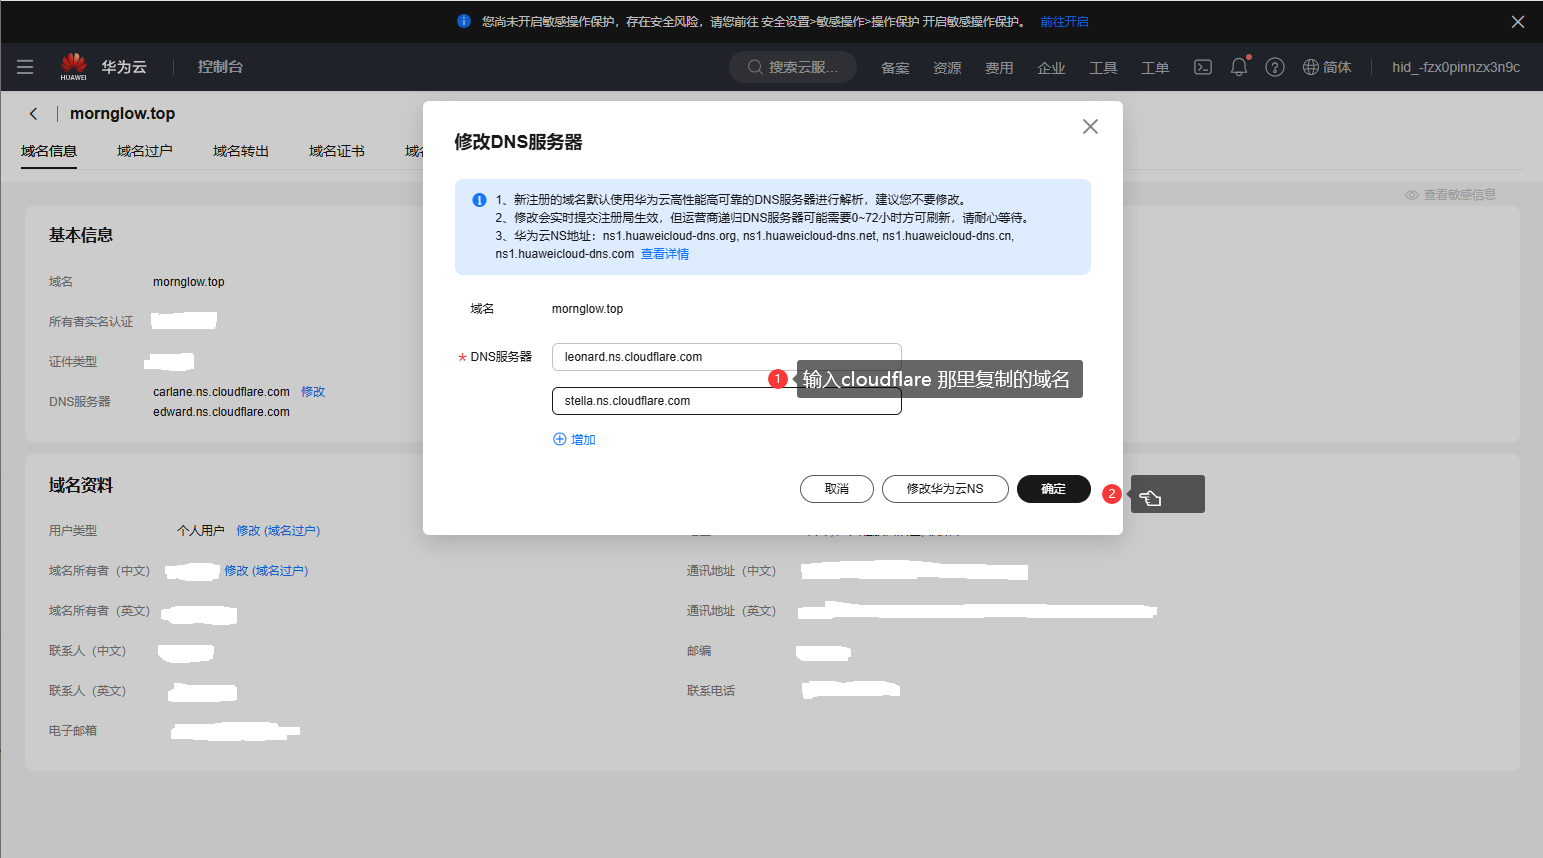
DNS modification is similar across providers; here Huawei Cloud is used as an example
After setting, it may take a few minutes. You can refresh the browser to check if it’s done
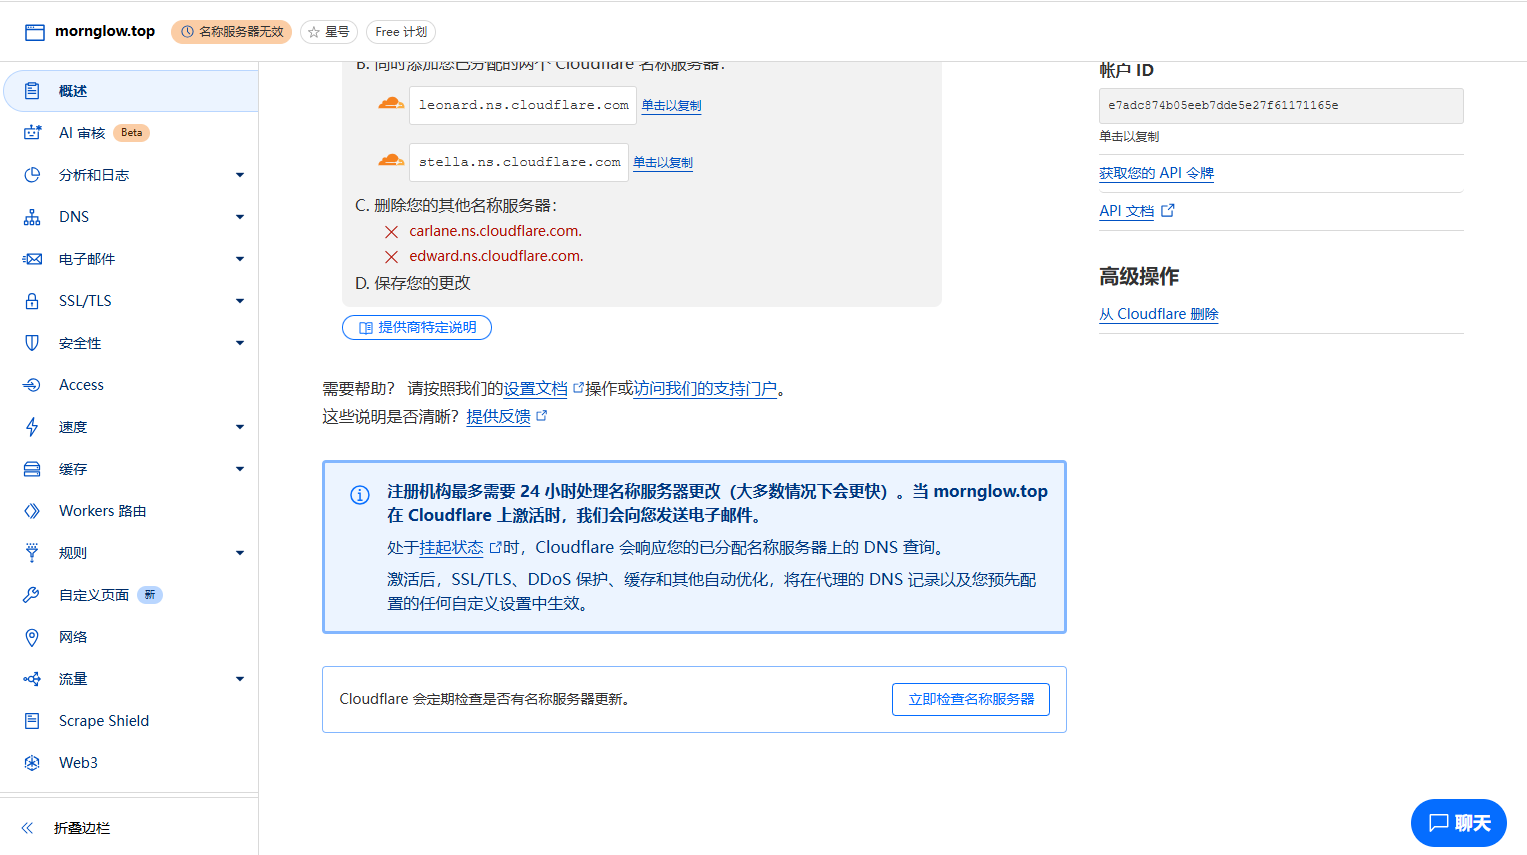
Interface after completion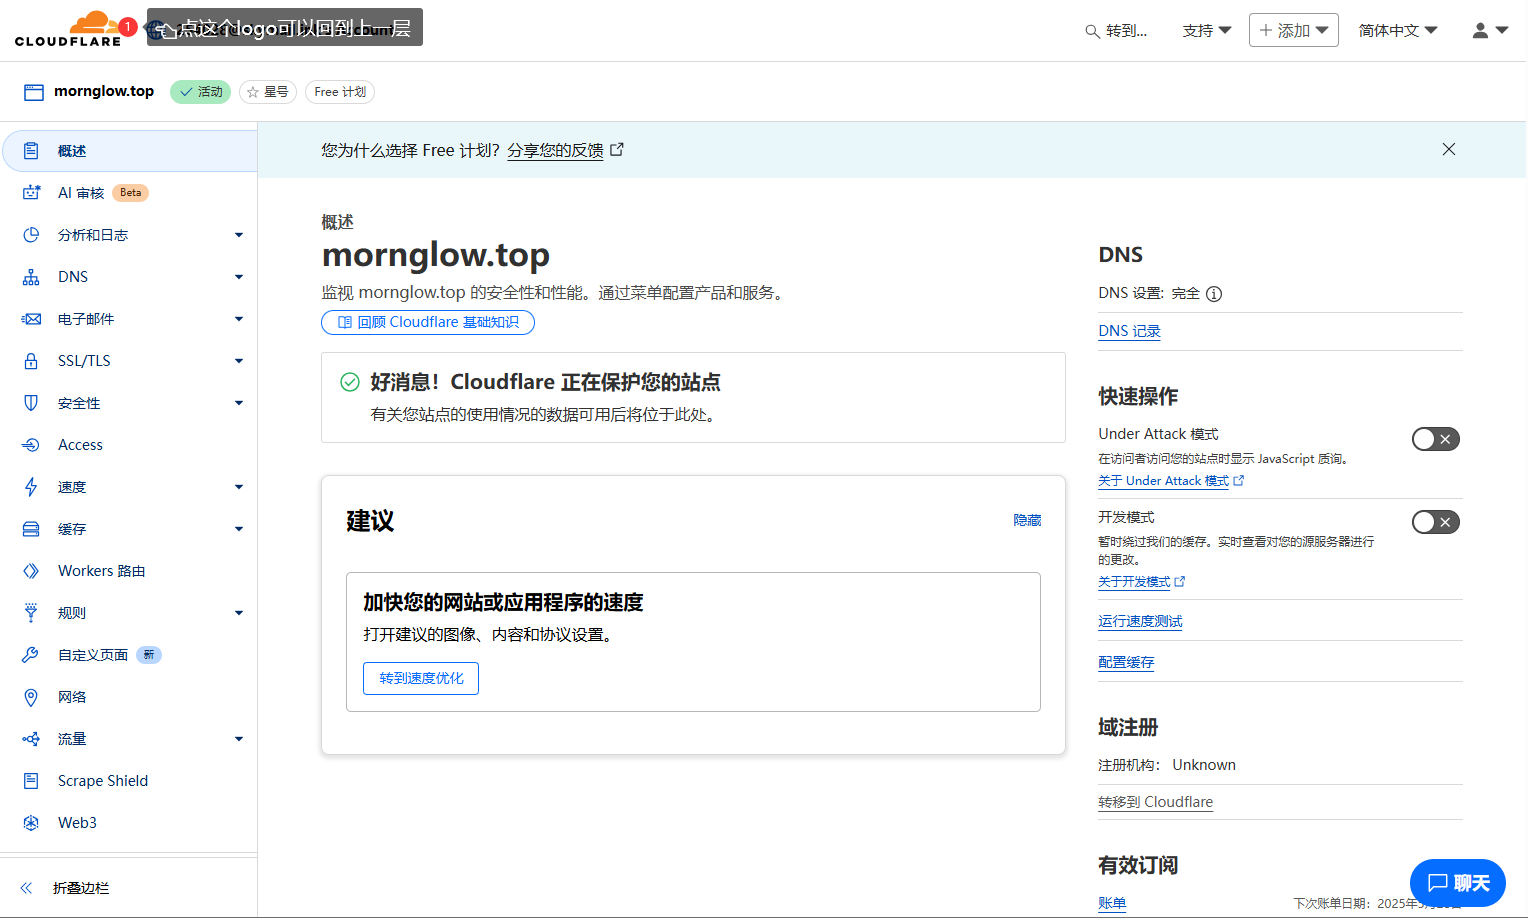
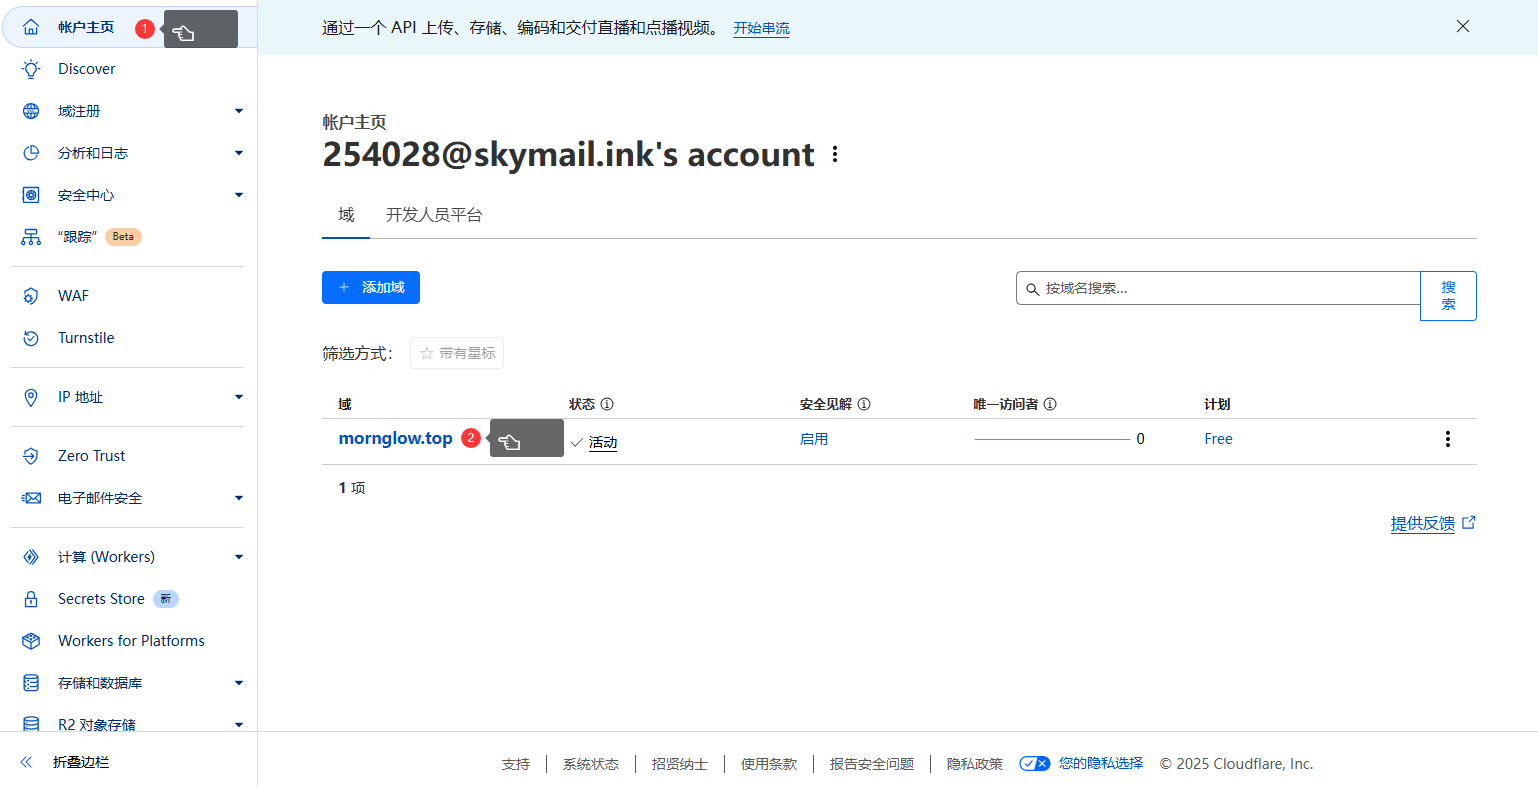
Now your account homepage will show your domain, domain binding is complete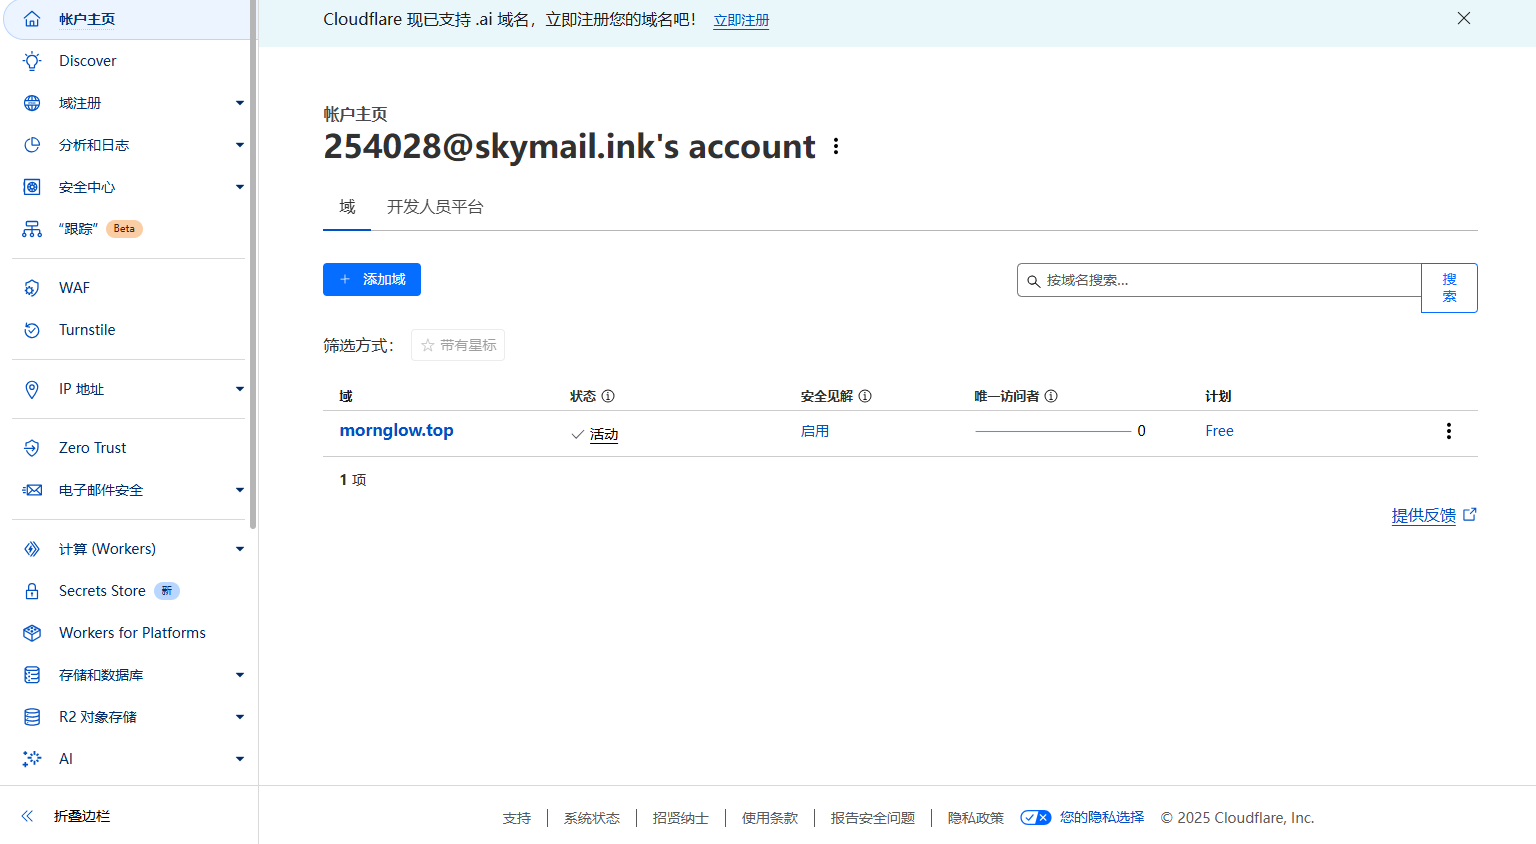
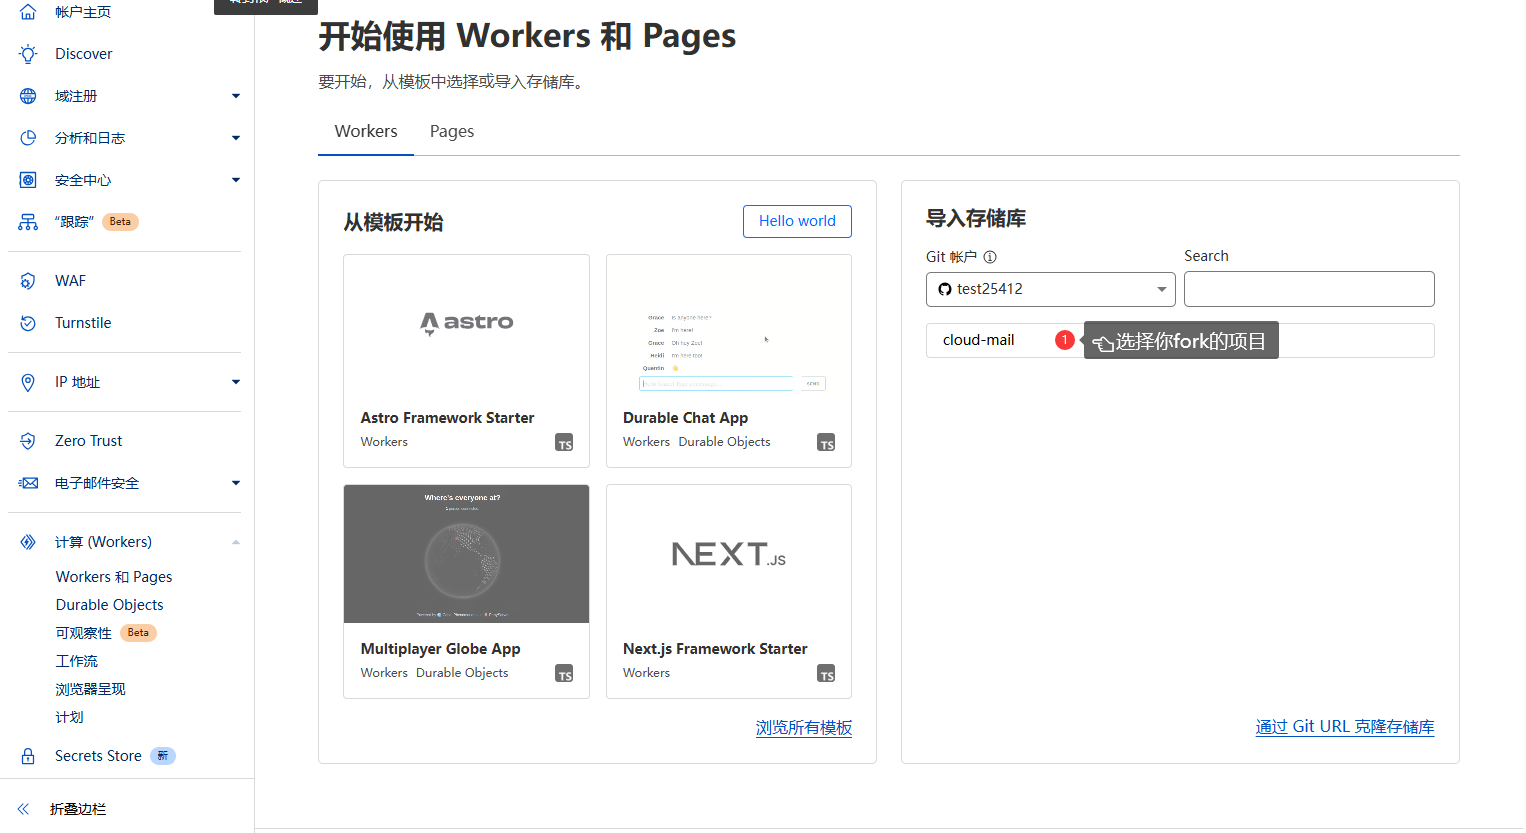
2 Create Worker Project
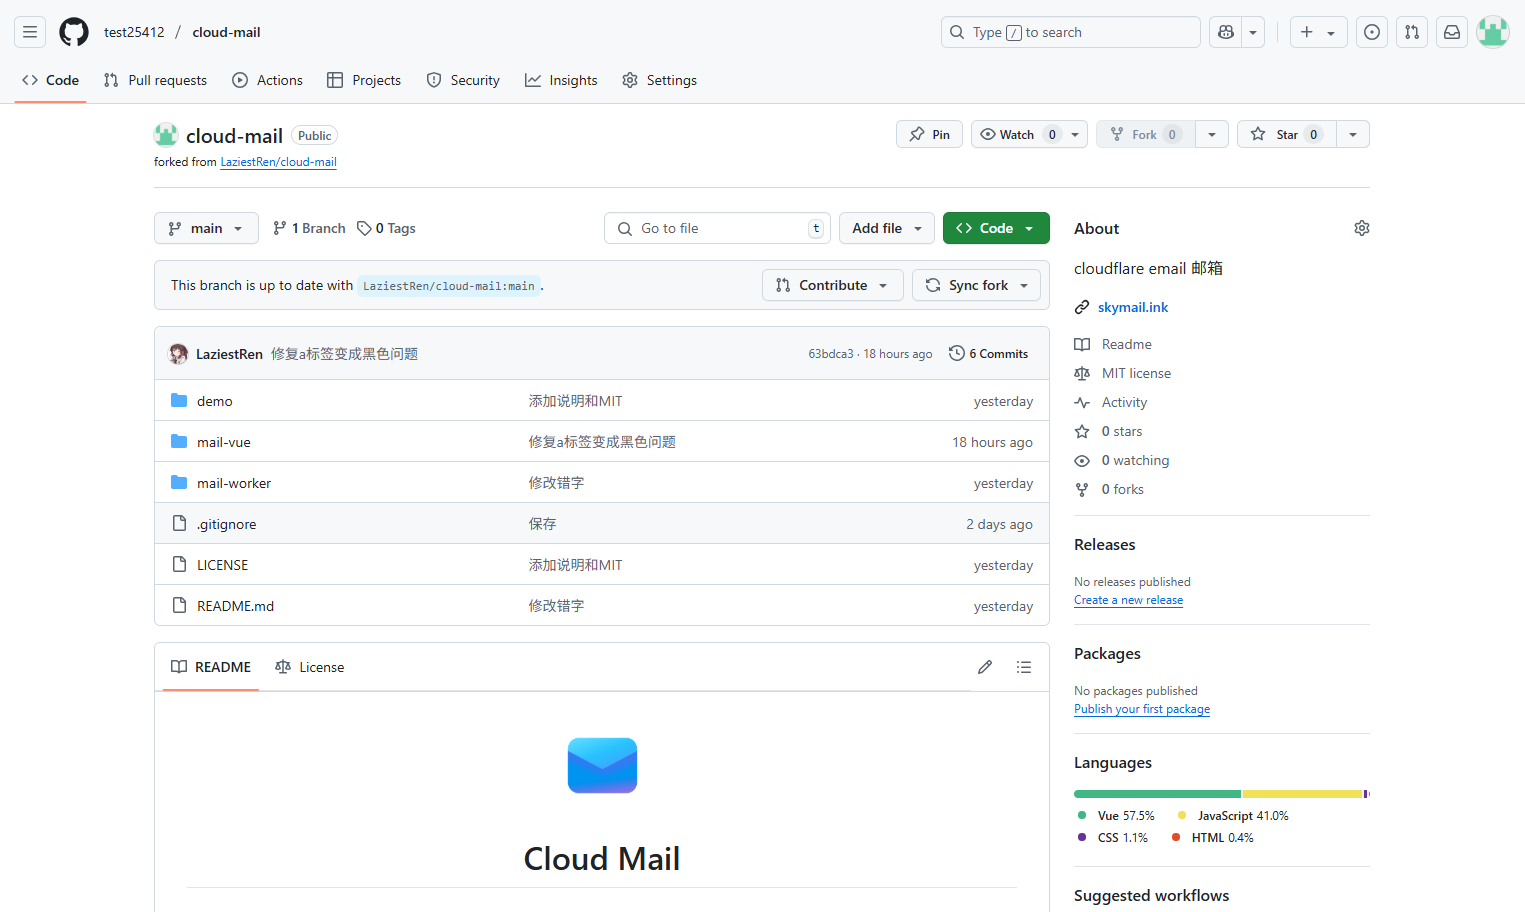
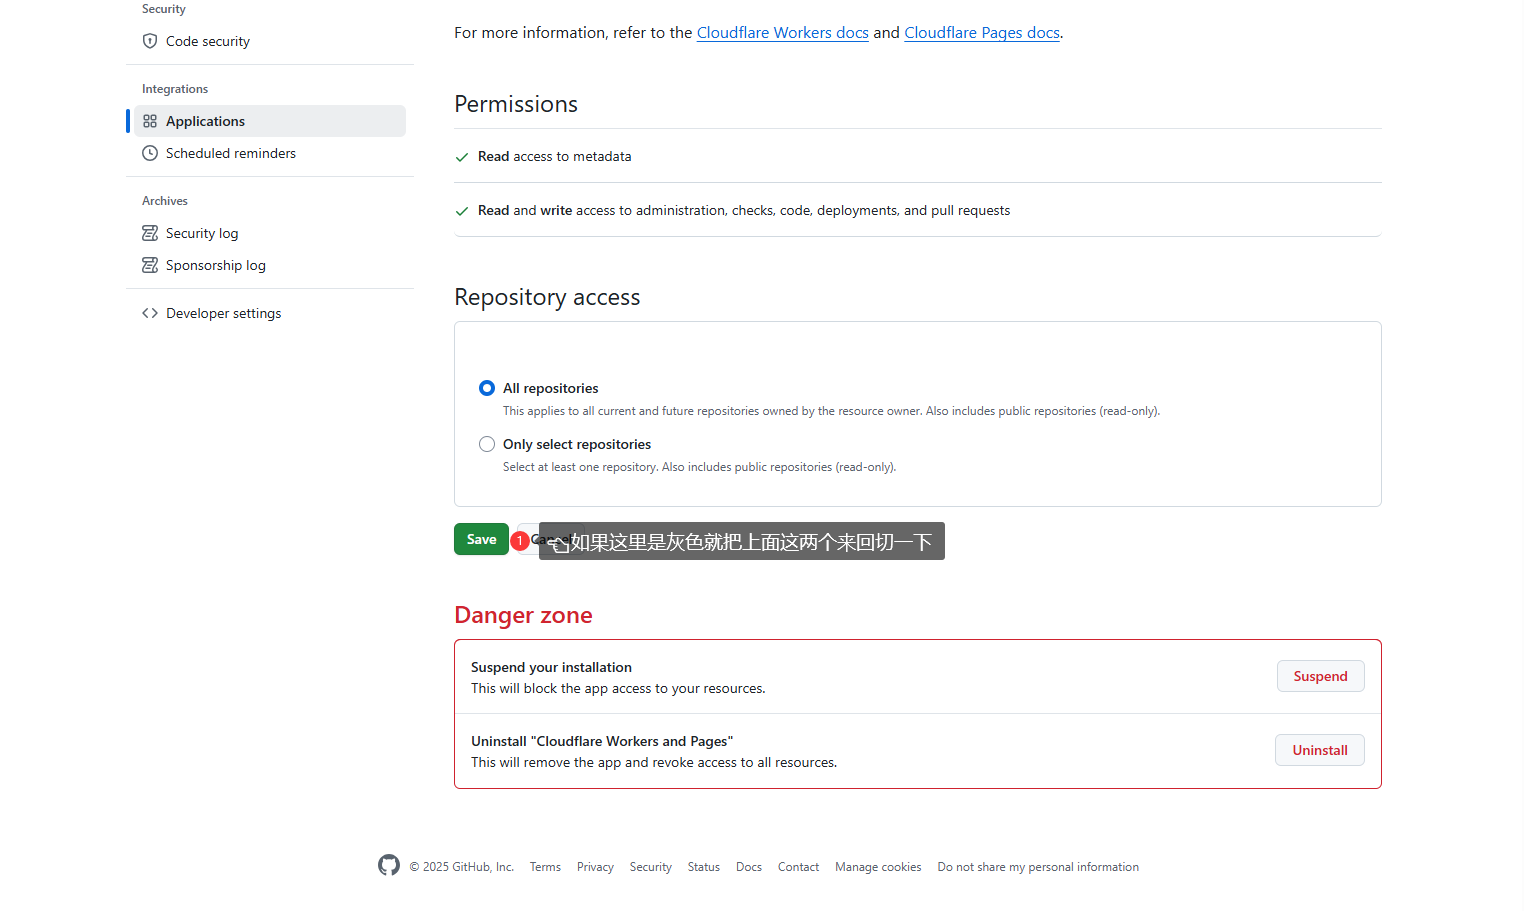
Go to the project repository and fork the project code to your own repo
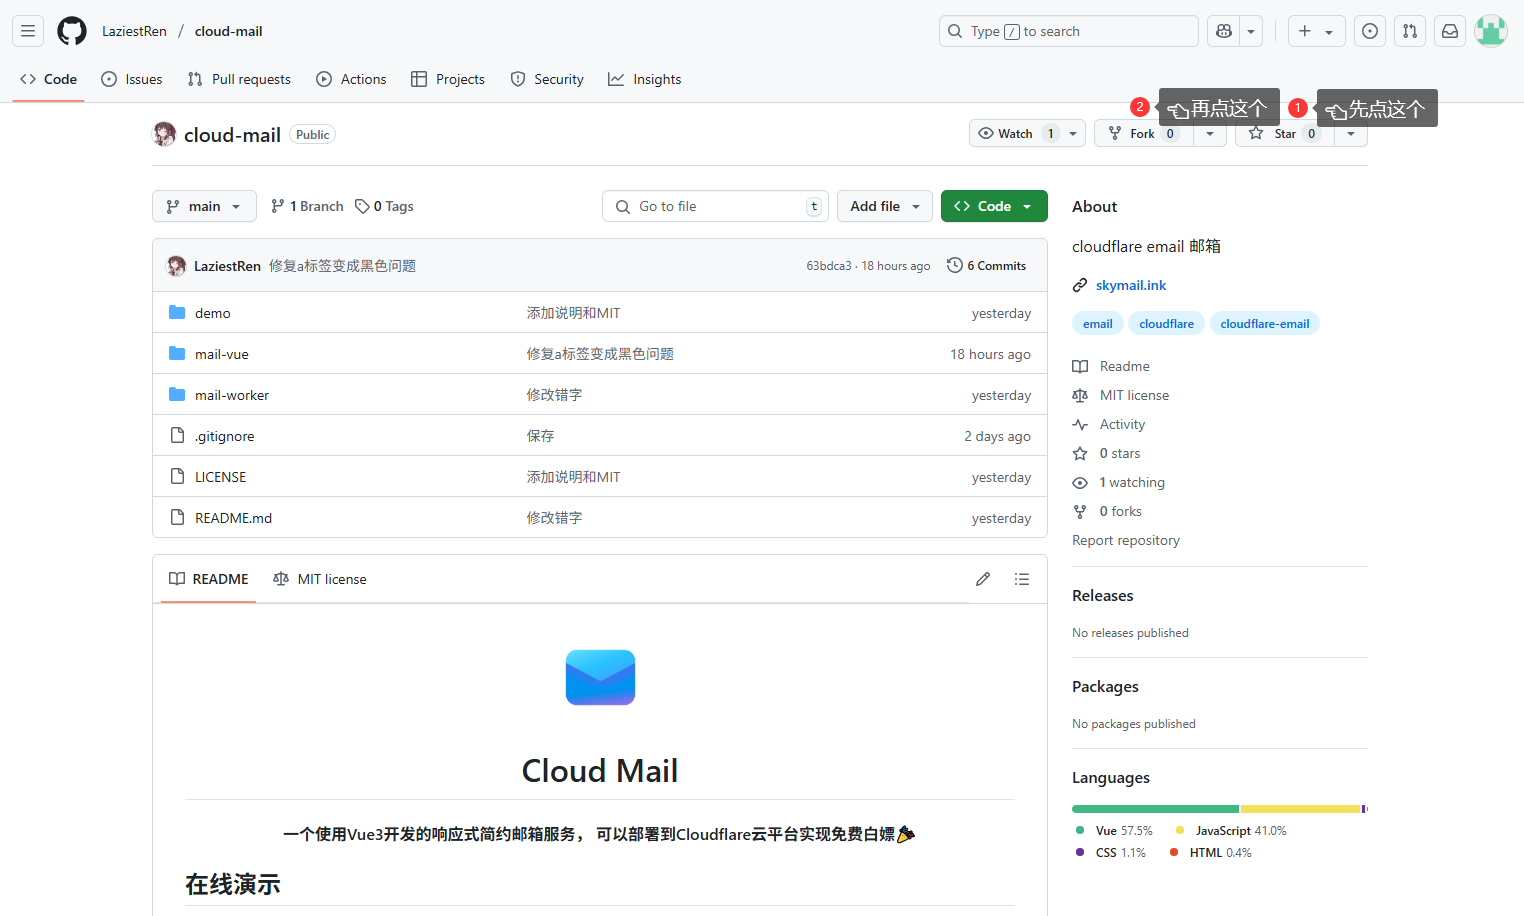
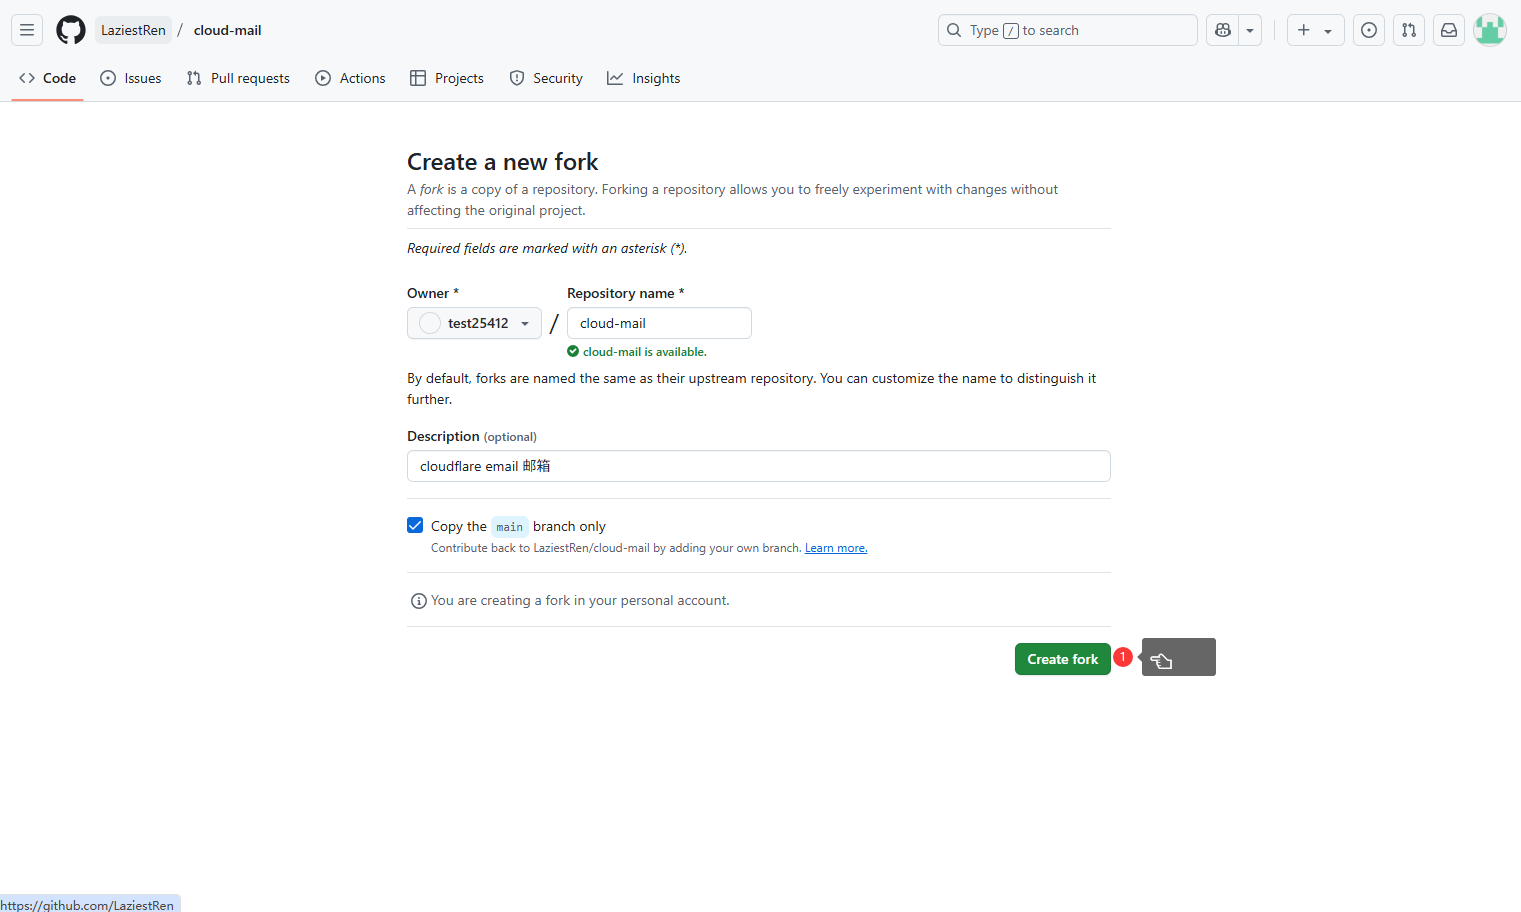
This copies the repository to your account
Go back to Cloudflare dashboard, find the Workers page and import your GitHub repository code
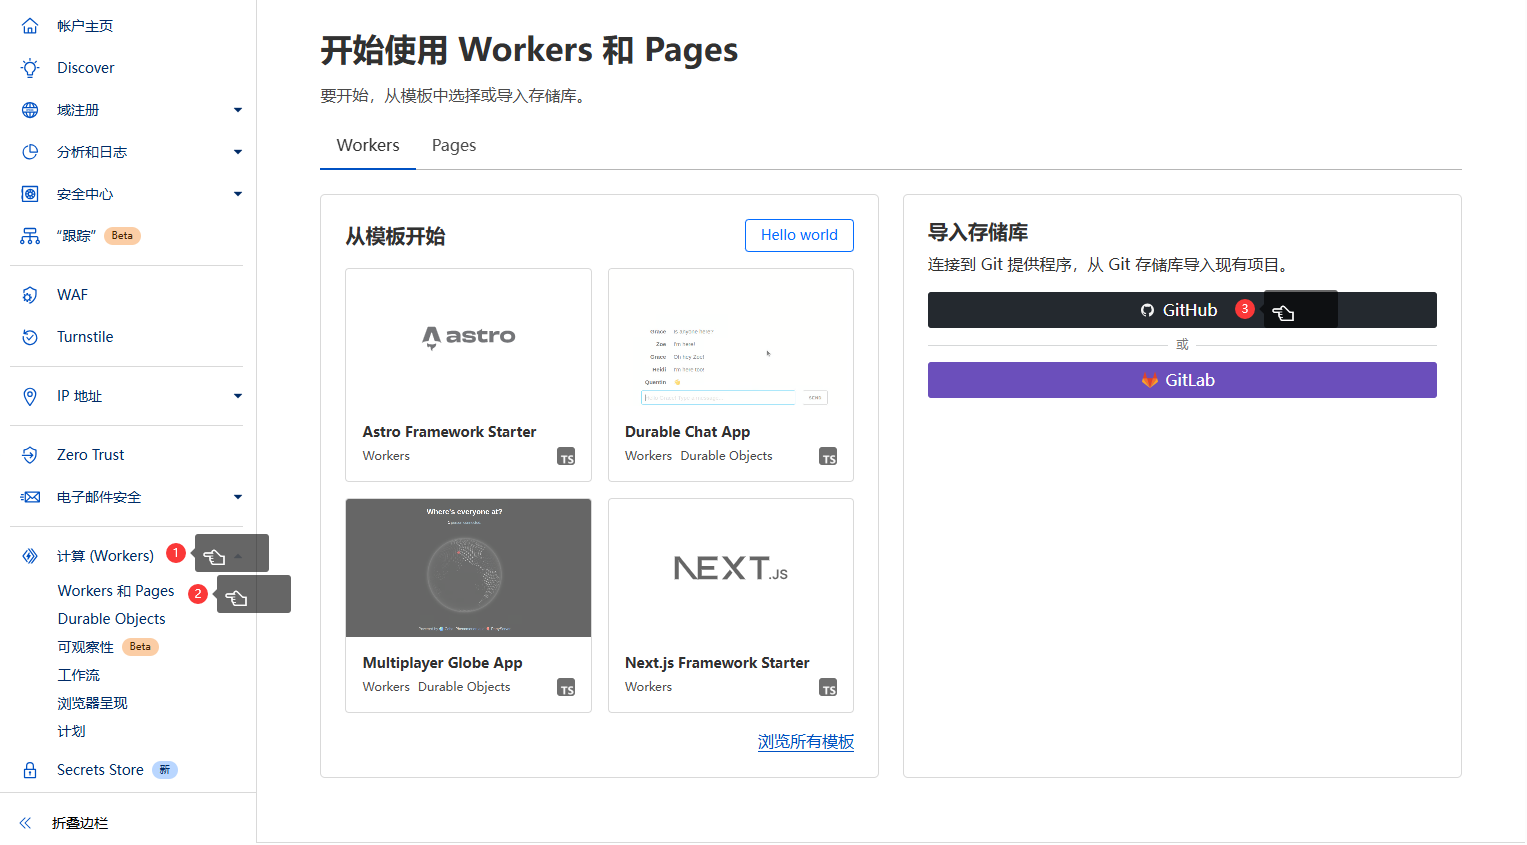
Set the start directory
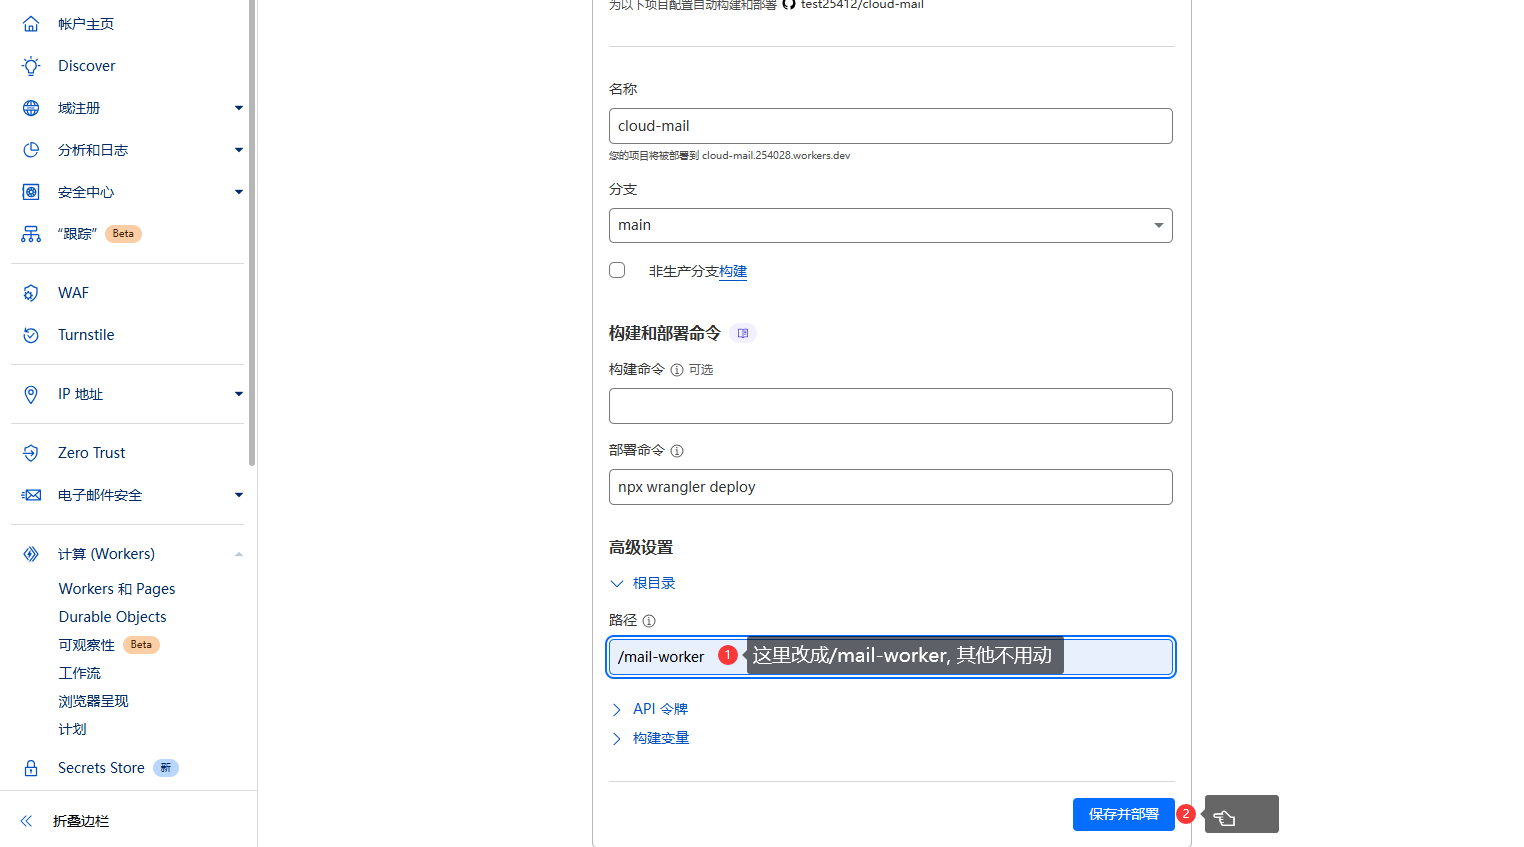
Wait for build and deployment to complete
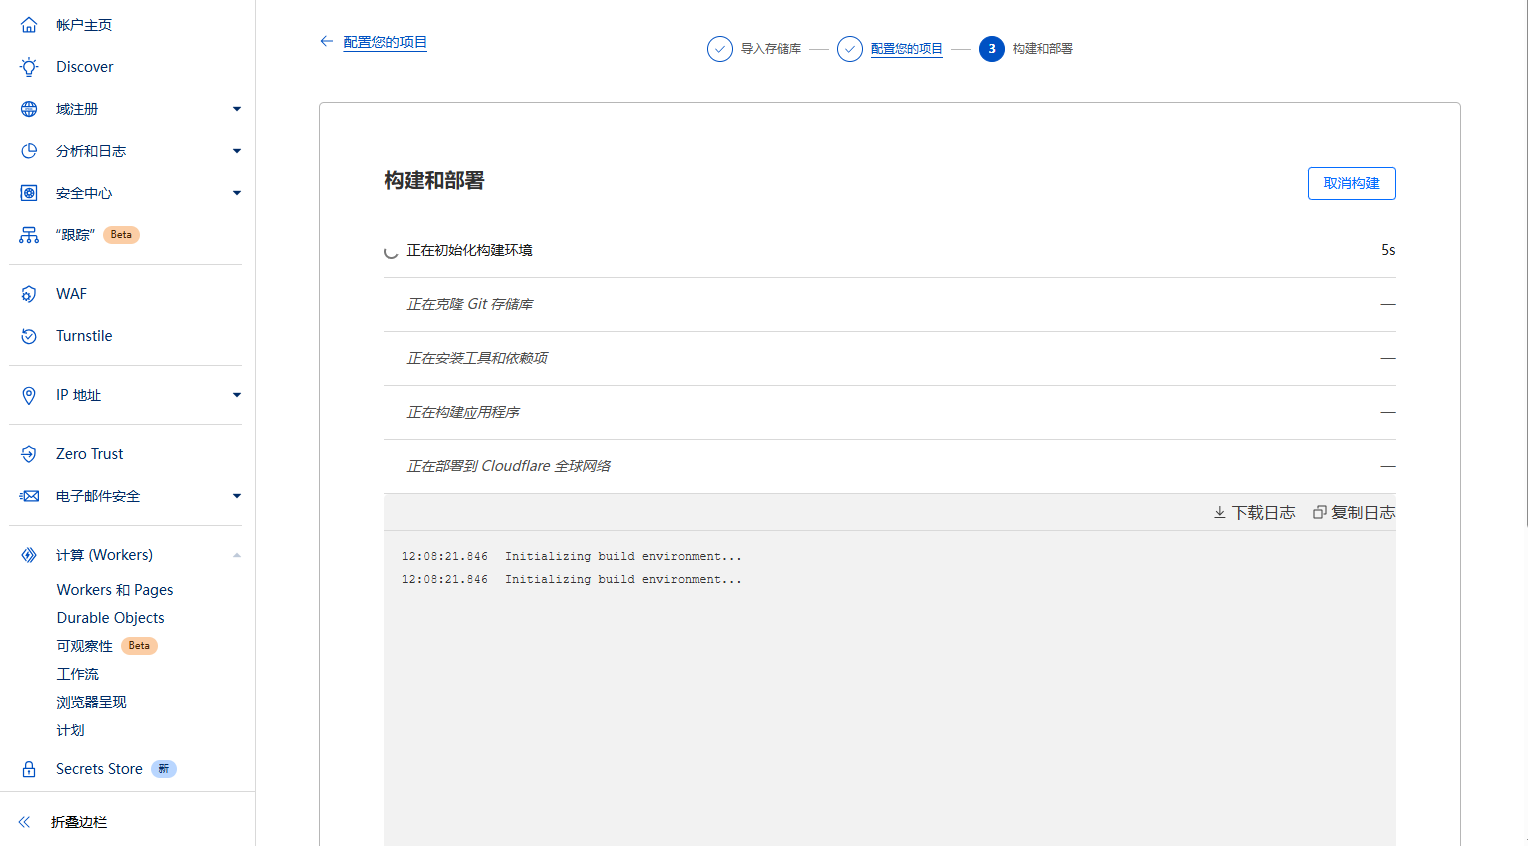
Page after build completion
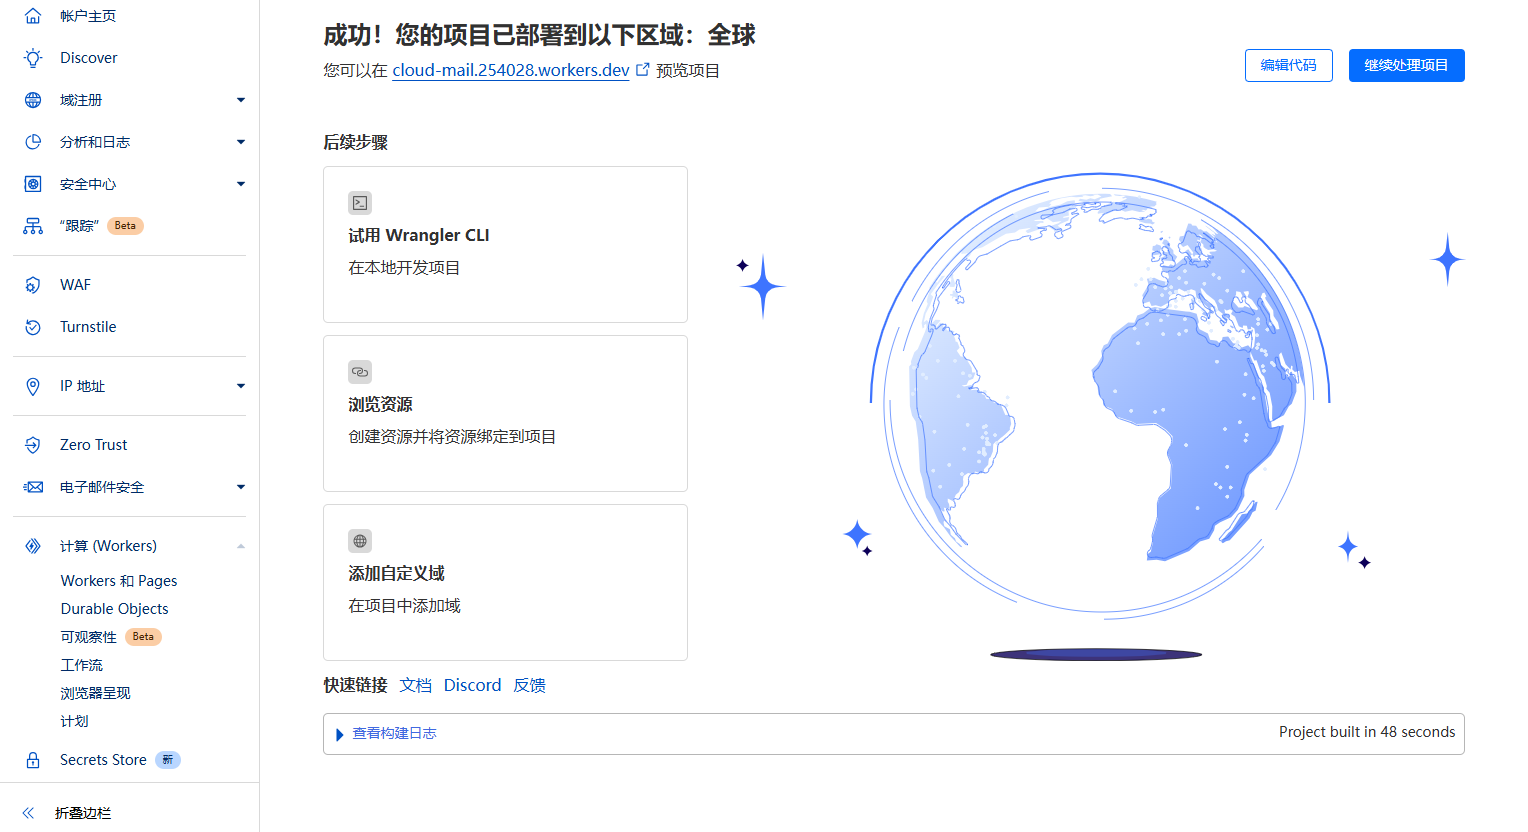
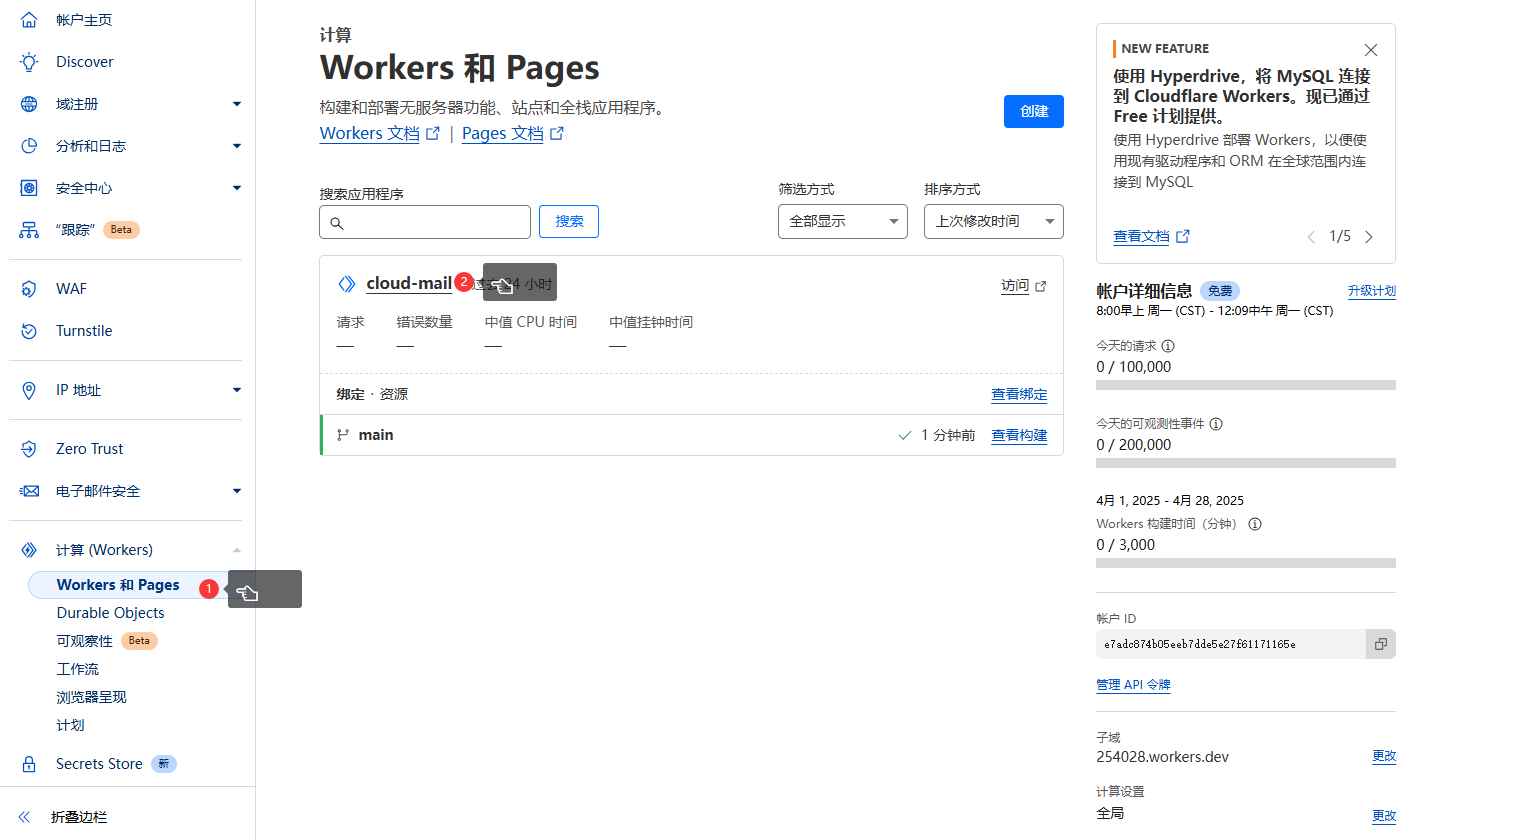
Now the project will appear in the worker list. Click its name to view and configure
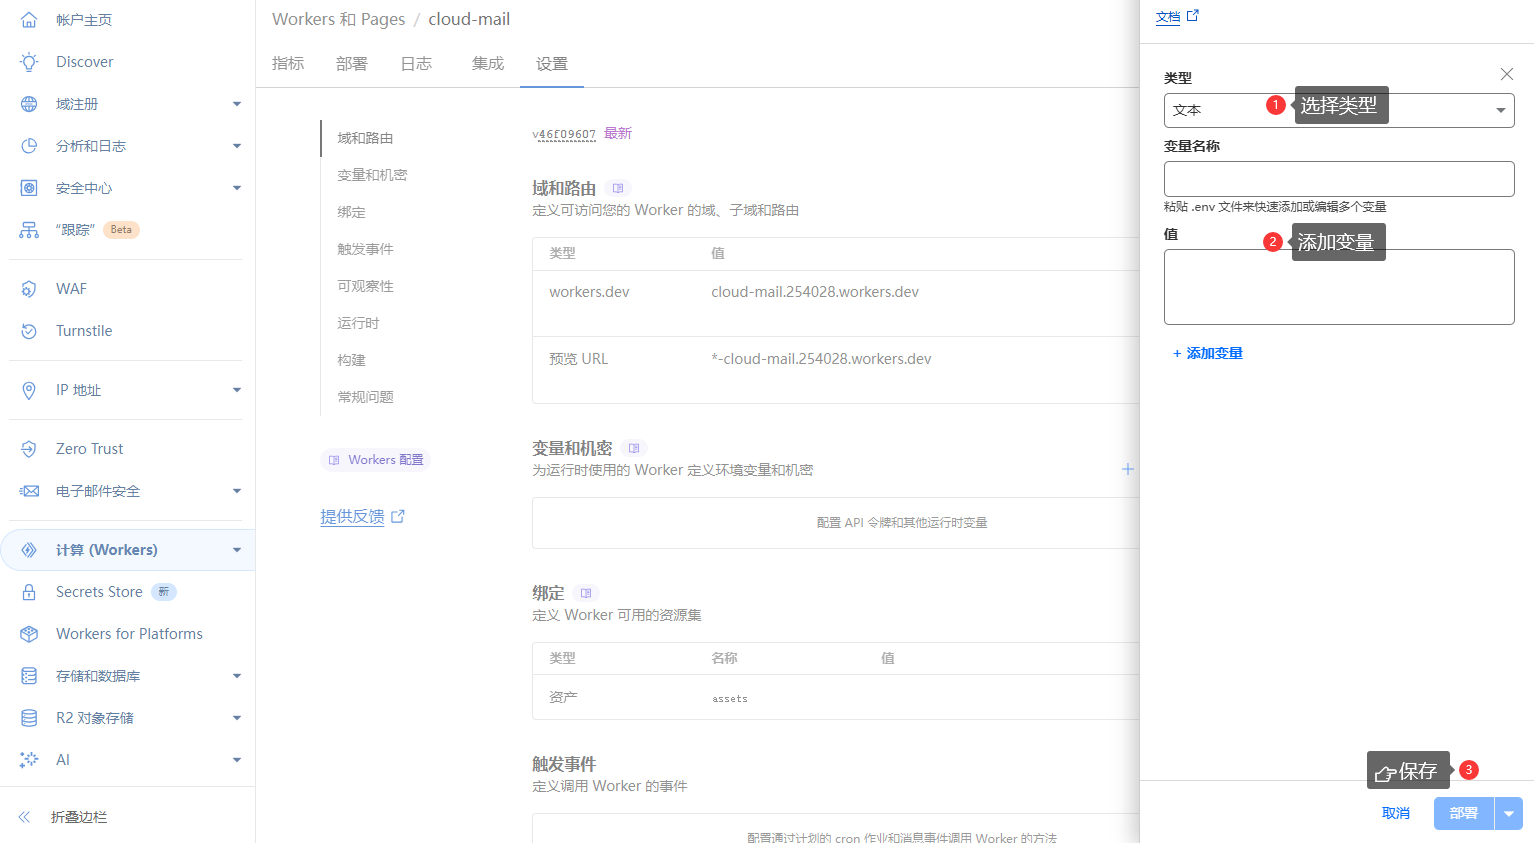
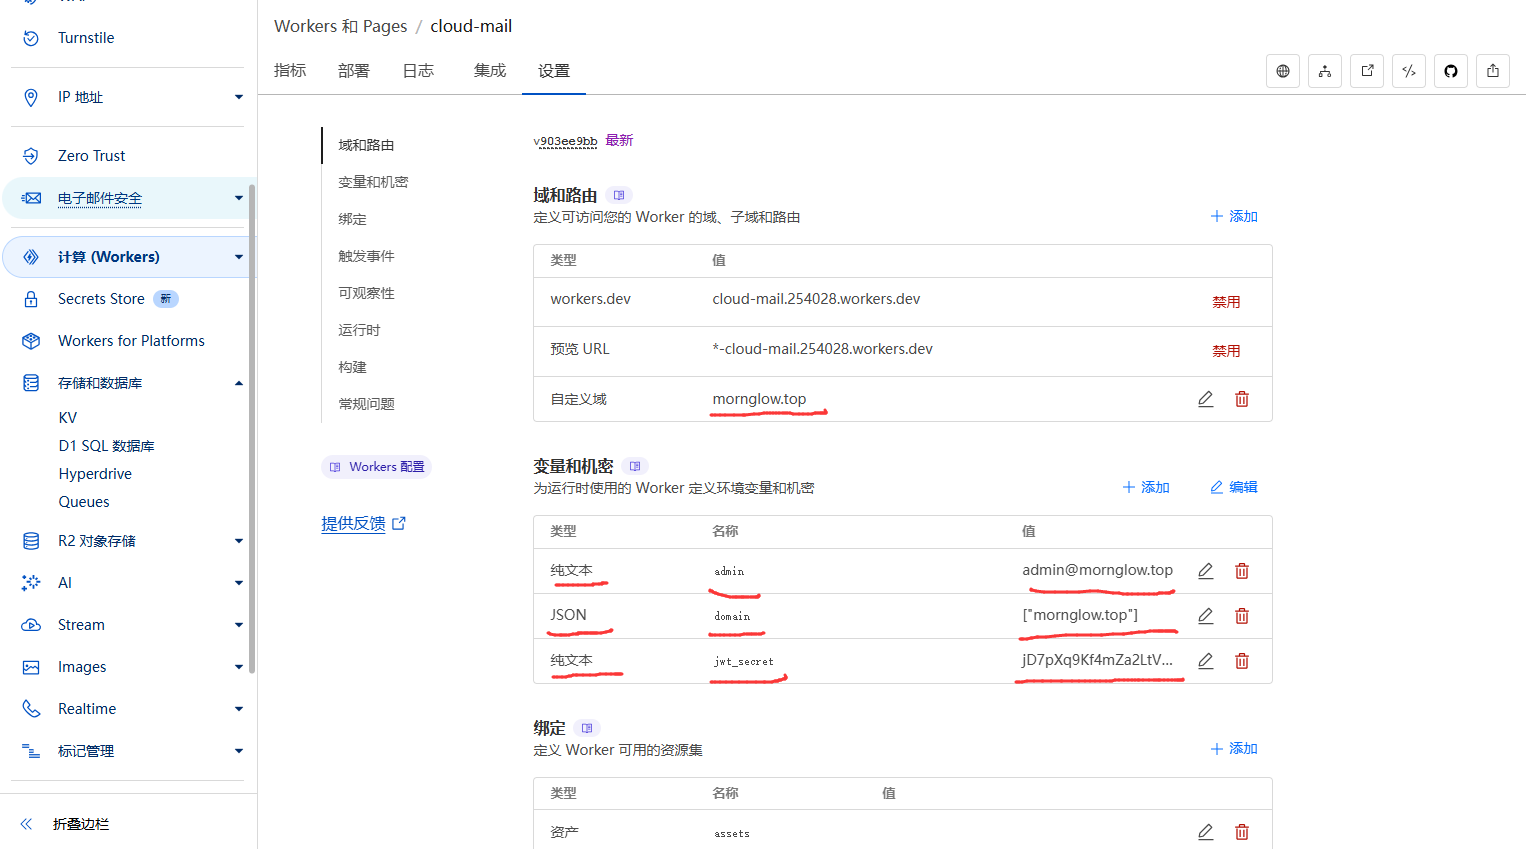
3 Set Environment Variables
The service also needs some environment variables and database bindings to run properly
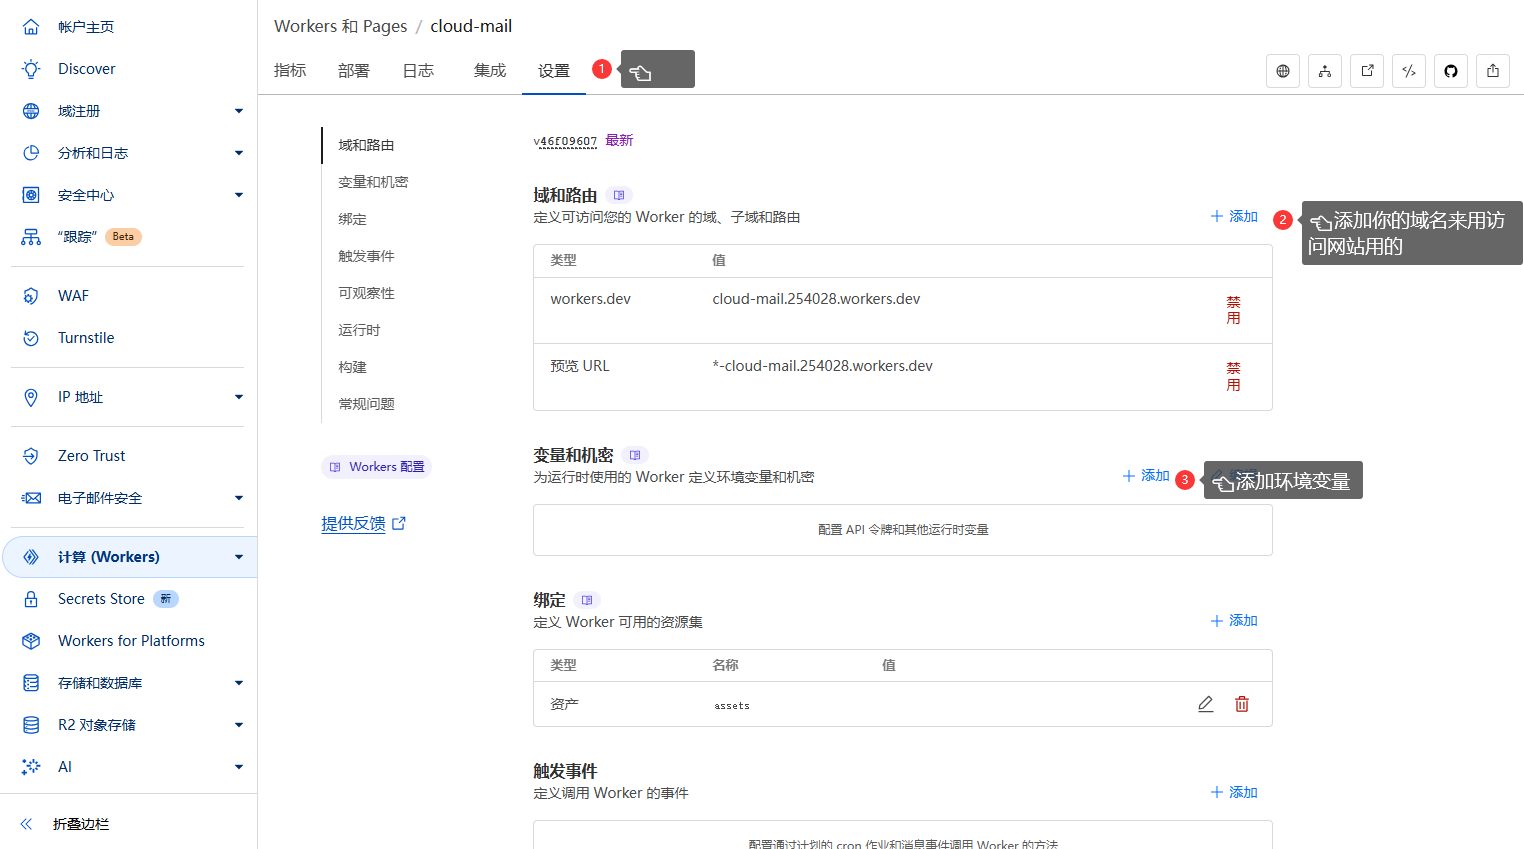
Add the following variables, Note that the domain is of JSON type. The admin account must be registered on the registration page.
| Variable Name | Value | Type | Purpose |
|---|---|---|---|
| domain | ["yourdomain"], e.g. ["mornglow.top"], multiple domains: ["domain1", "domain2"] | JSON | The website will use this domain as the email domain |
| admin | Administrator’s email, e.g. [email protected] | Plain Text | This user becomes the site admin after registration |
| jwt_secret | Any random string, e.g. Z7fxPq8mVL2bCr9XN1t | Plain Text | Security key for login token |
This is how it looks after setting custom domain and environment variables
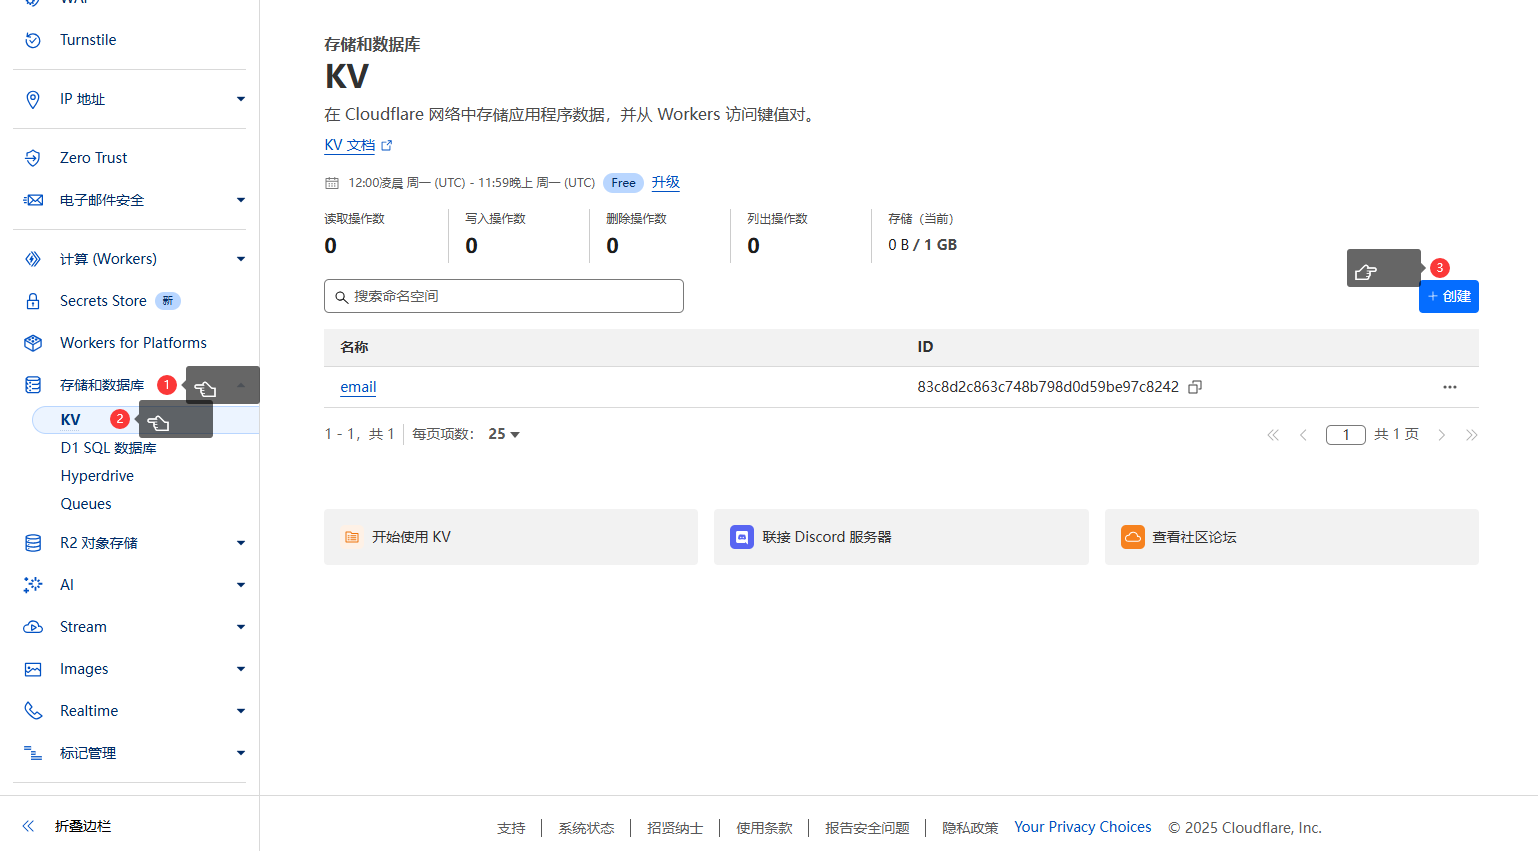
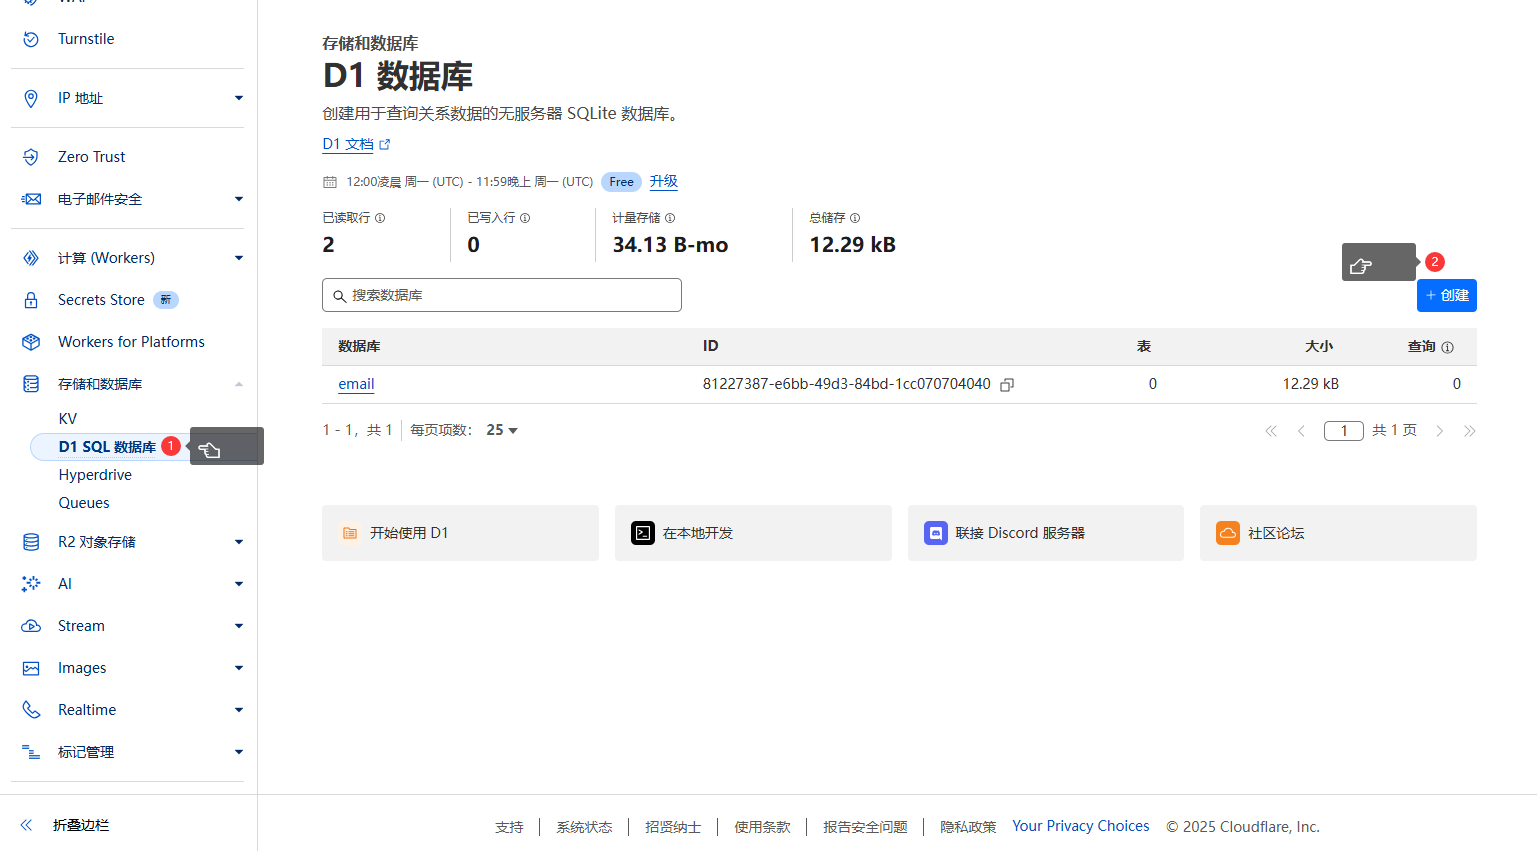
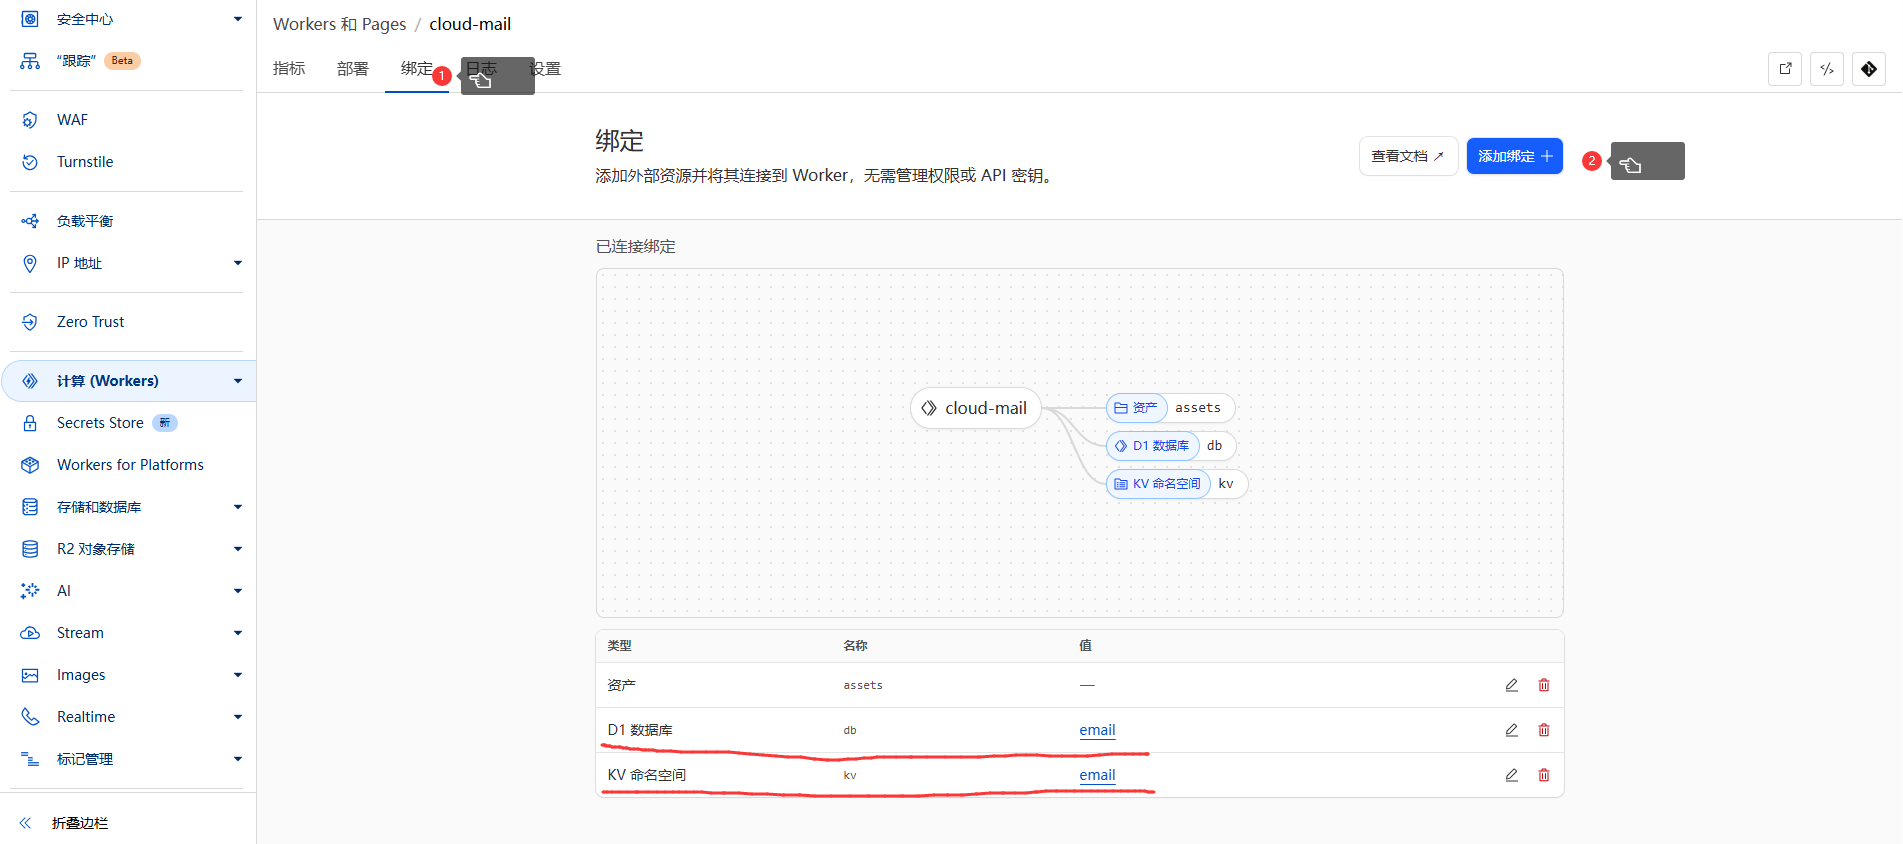
4 Bind Database
Go to Storage and Database in the left menu, create a KV database, name it arbitrarily
Create a D1 database, name arbitrarily, location near you
Go back to worker settings and bind the created databases
D1 database variable name: db
KV database variable name: kv
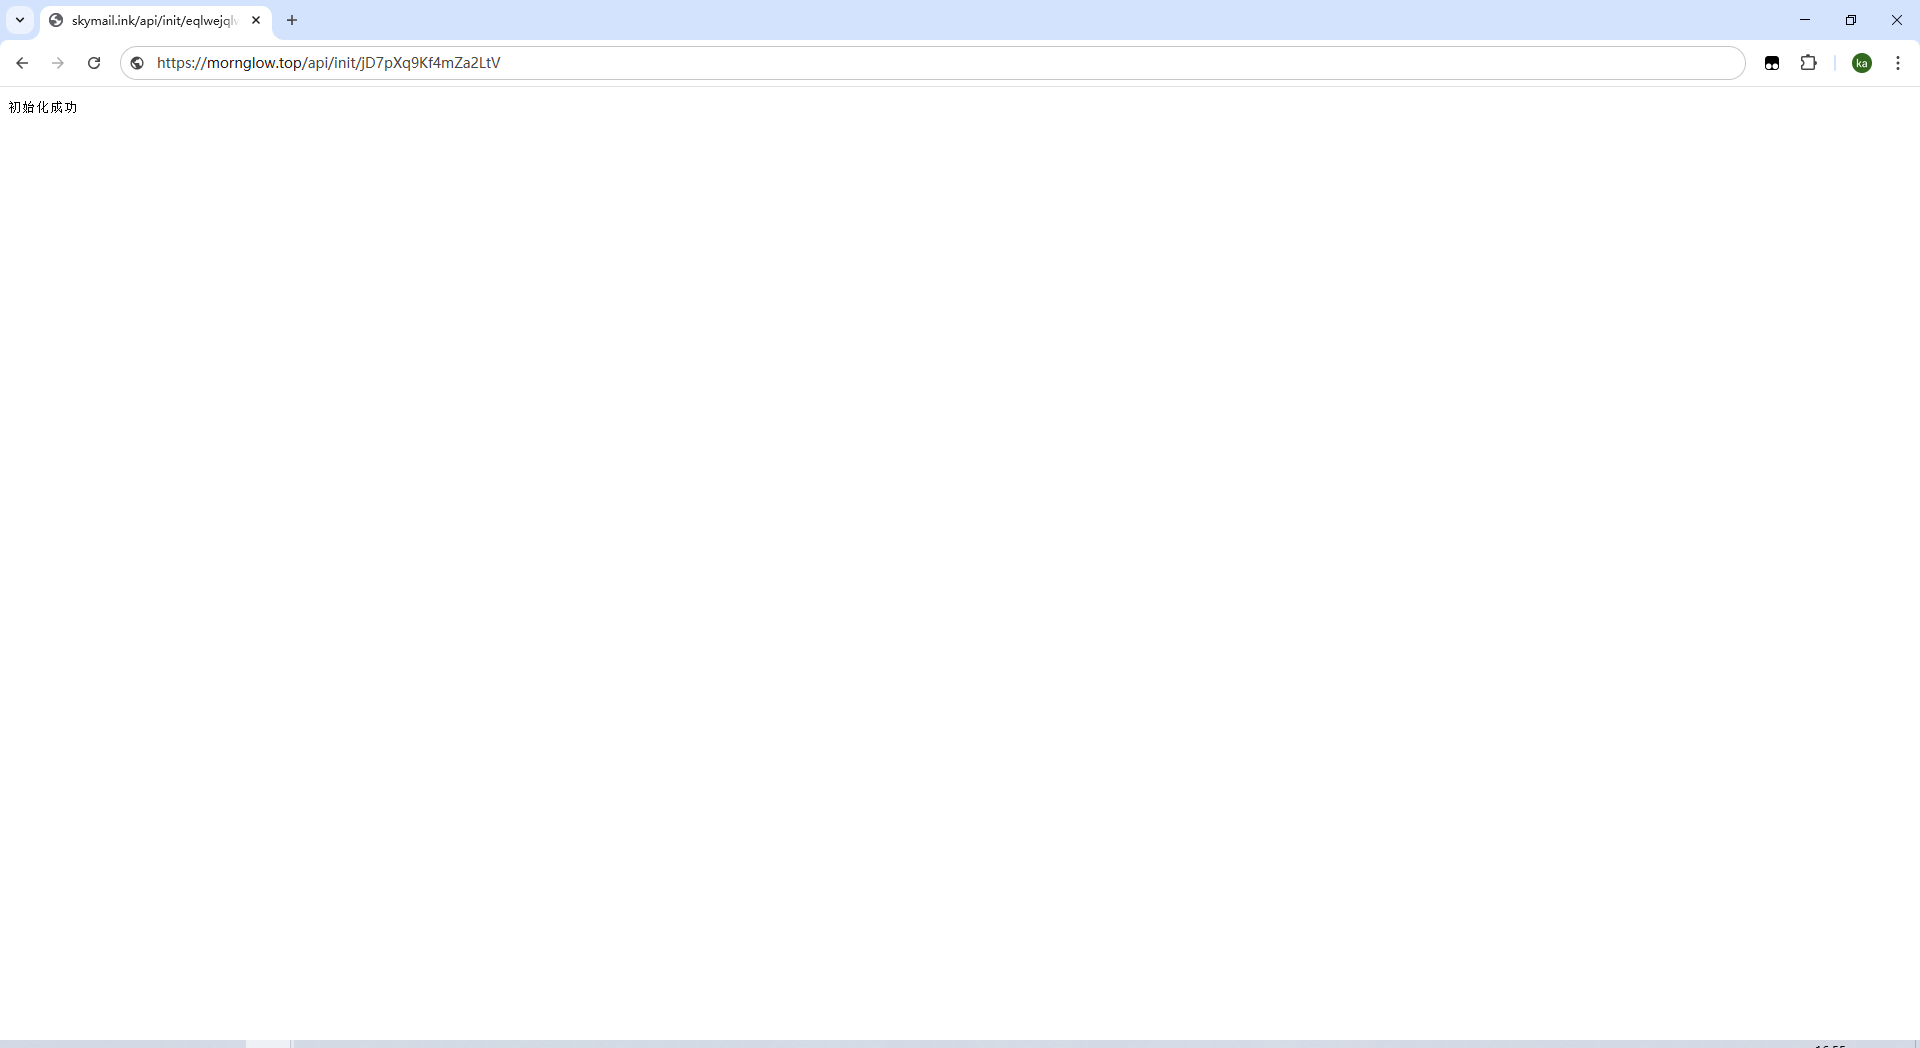
In browser, go to https://your-custom-domain/api/init/your-jwt_secret to auto-initialize the database
(if previously deployed, it will update without overwriting existing data)
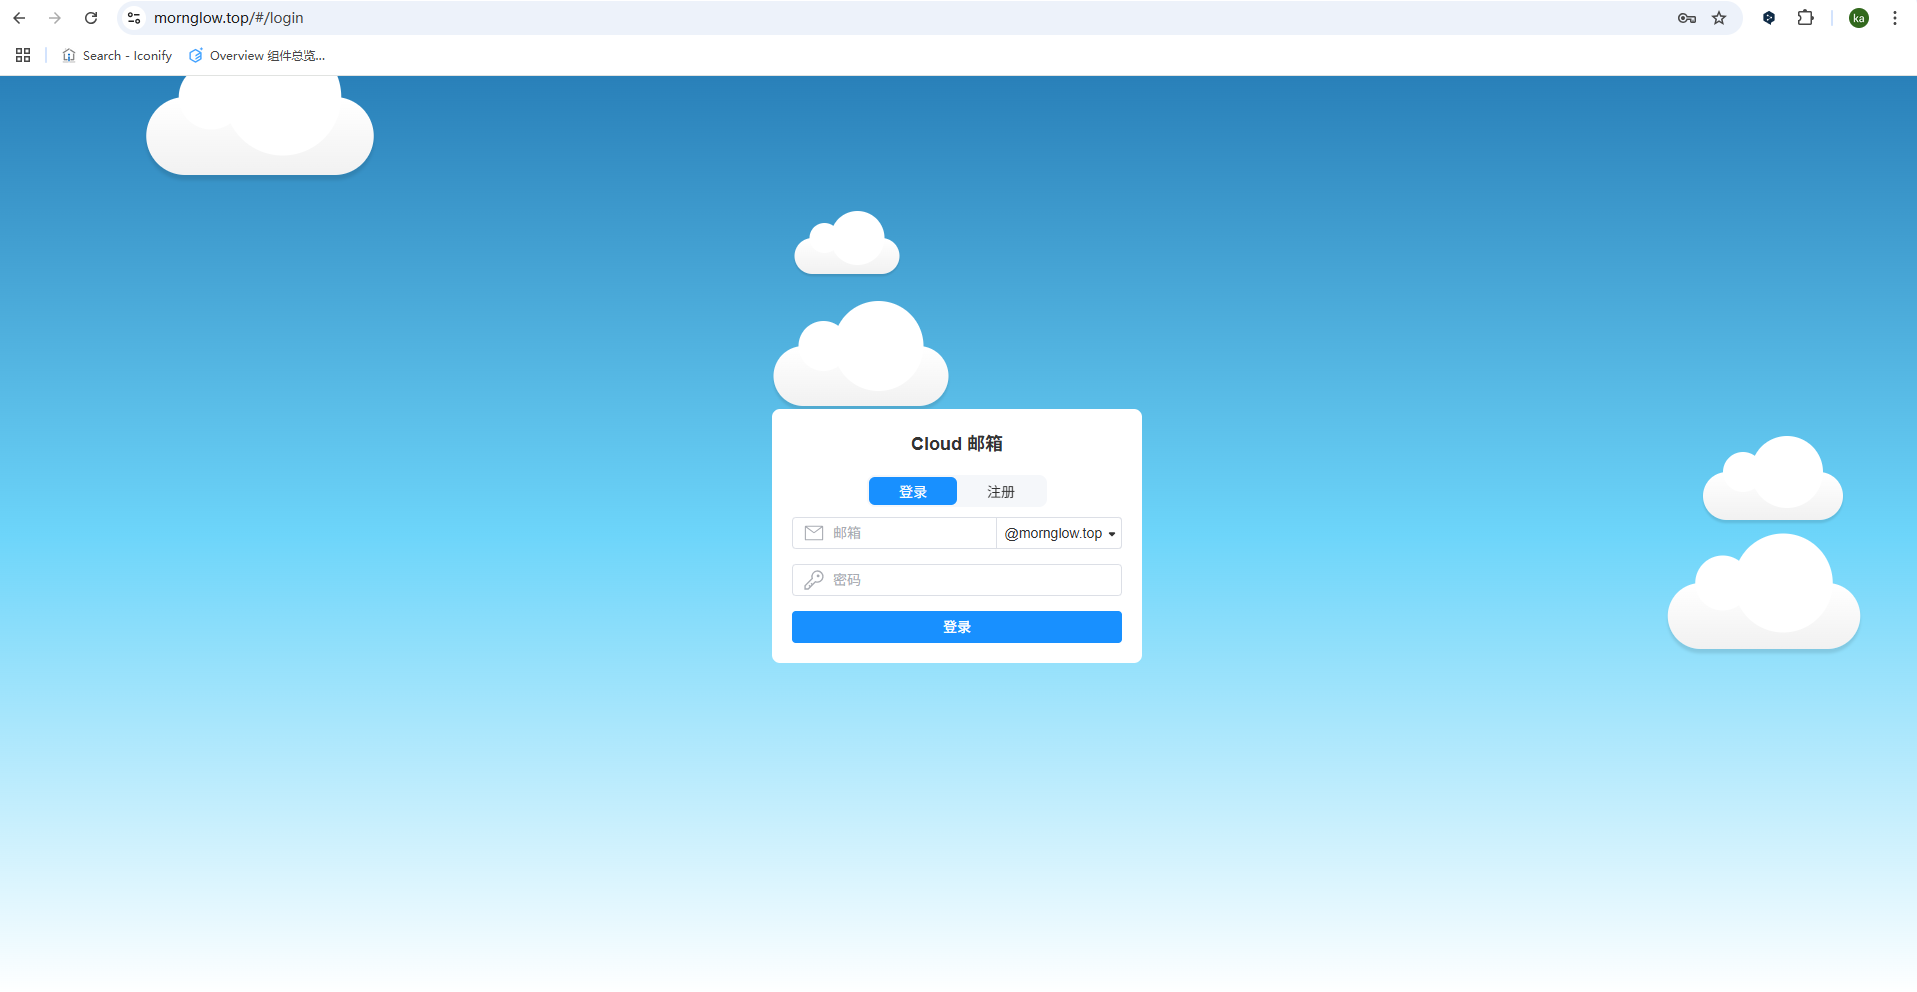
Go to your bound custom domain in browser, site should be accessible, register and login
5 Enable Email Receiving
Only after this step can you receive emails
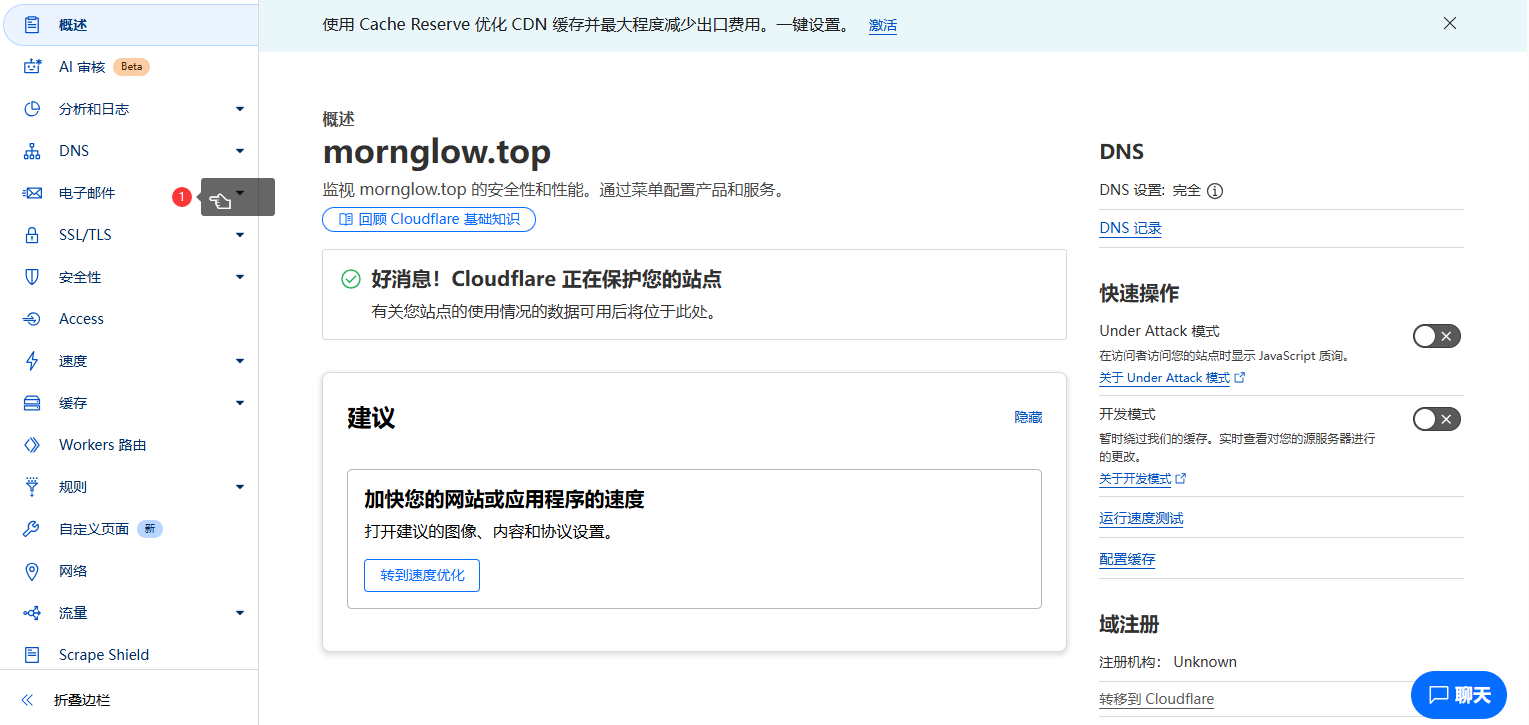
Go back to Cloudflare console, click Account Homepage, then your domain
The menu bar changes
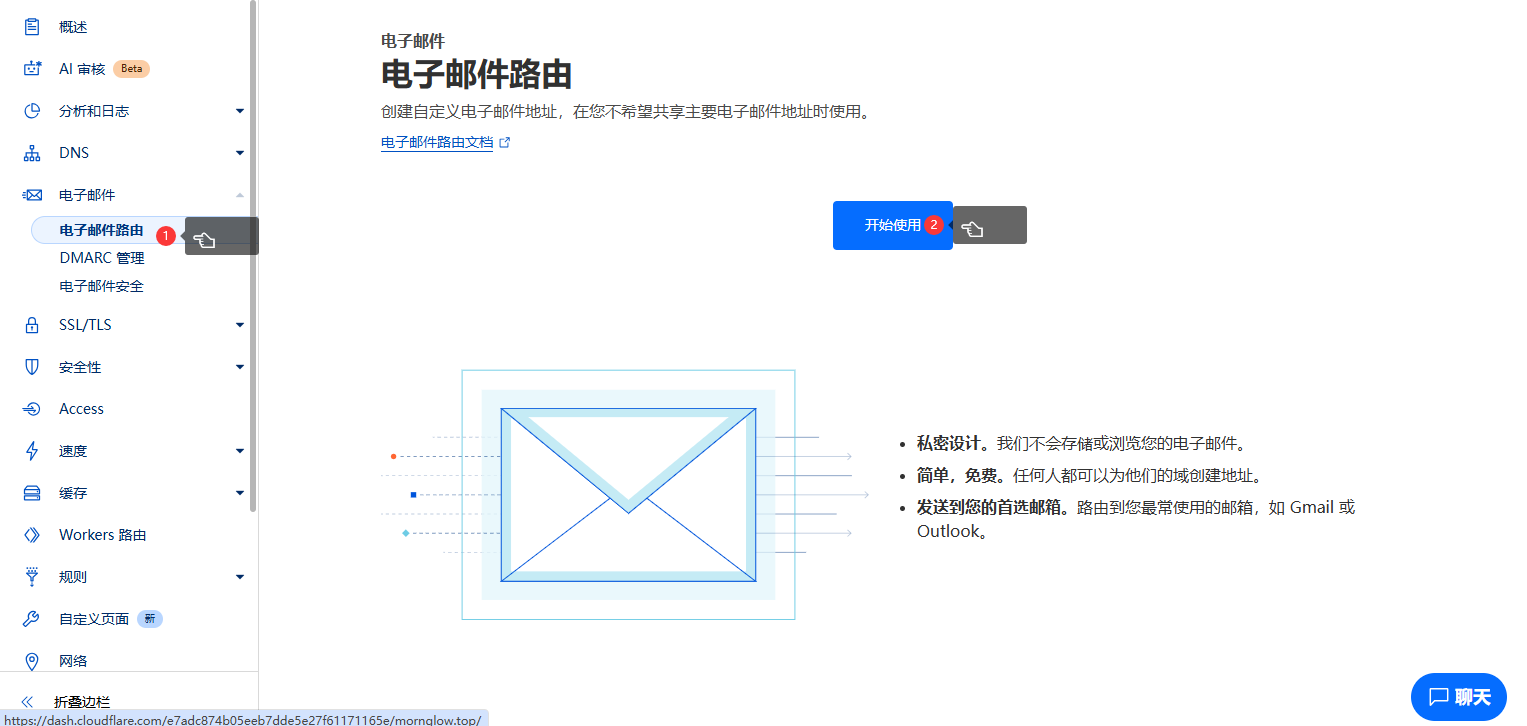
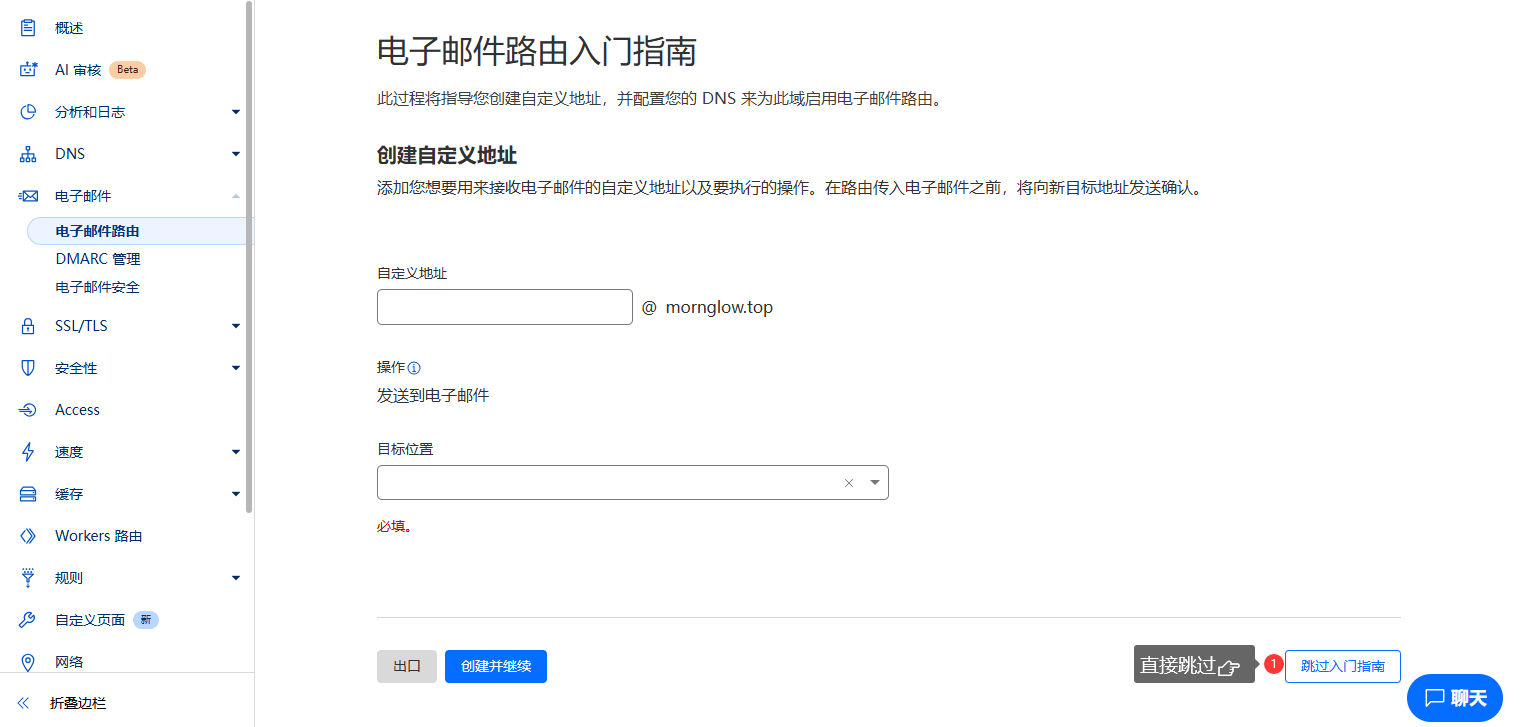
Enable email
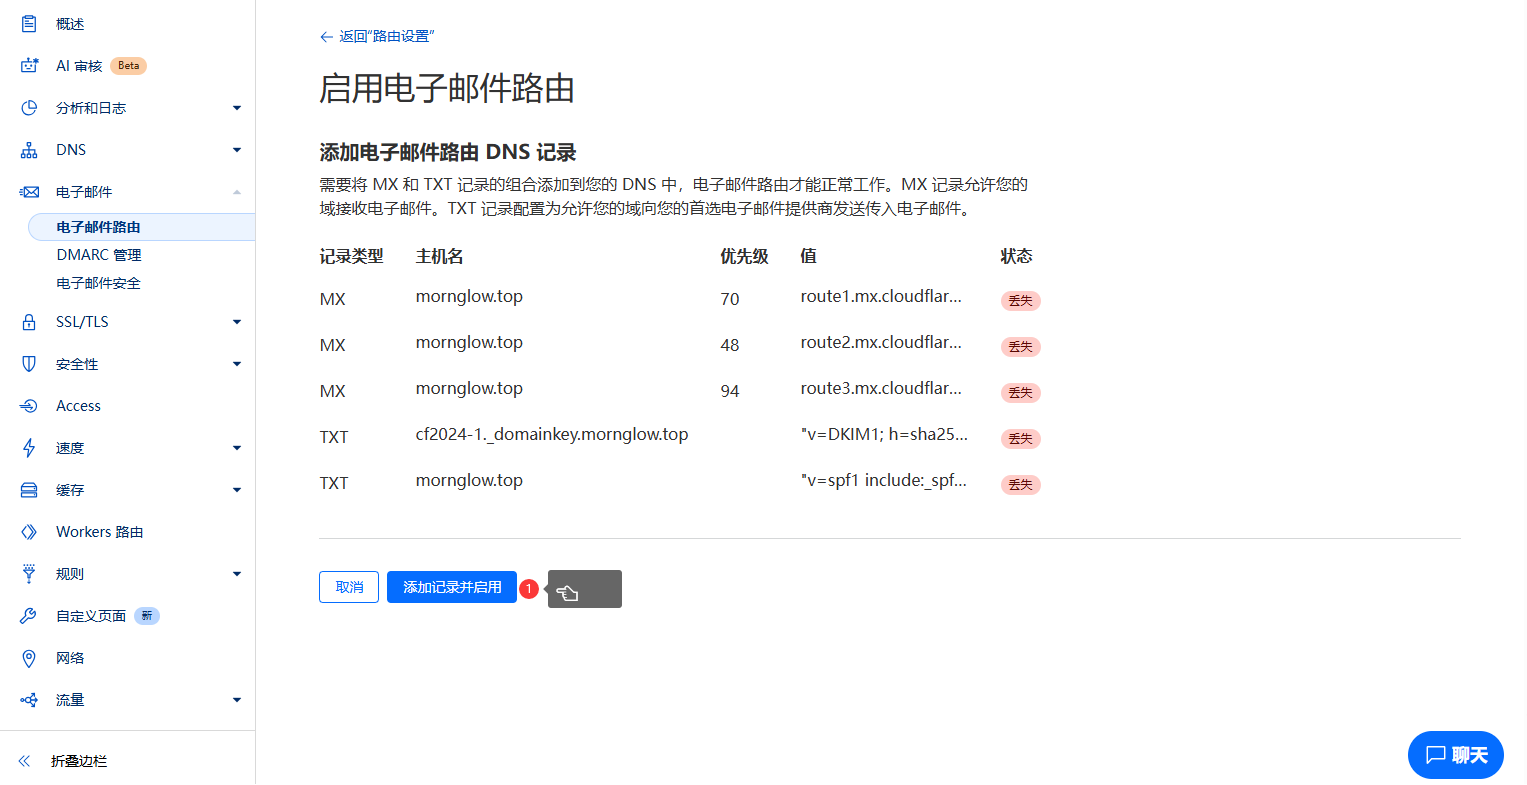
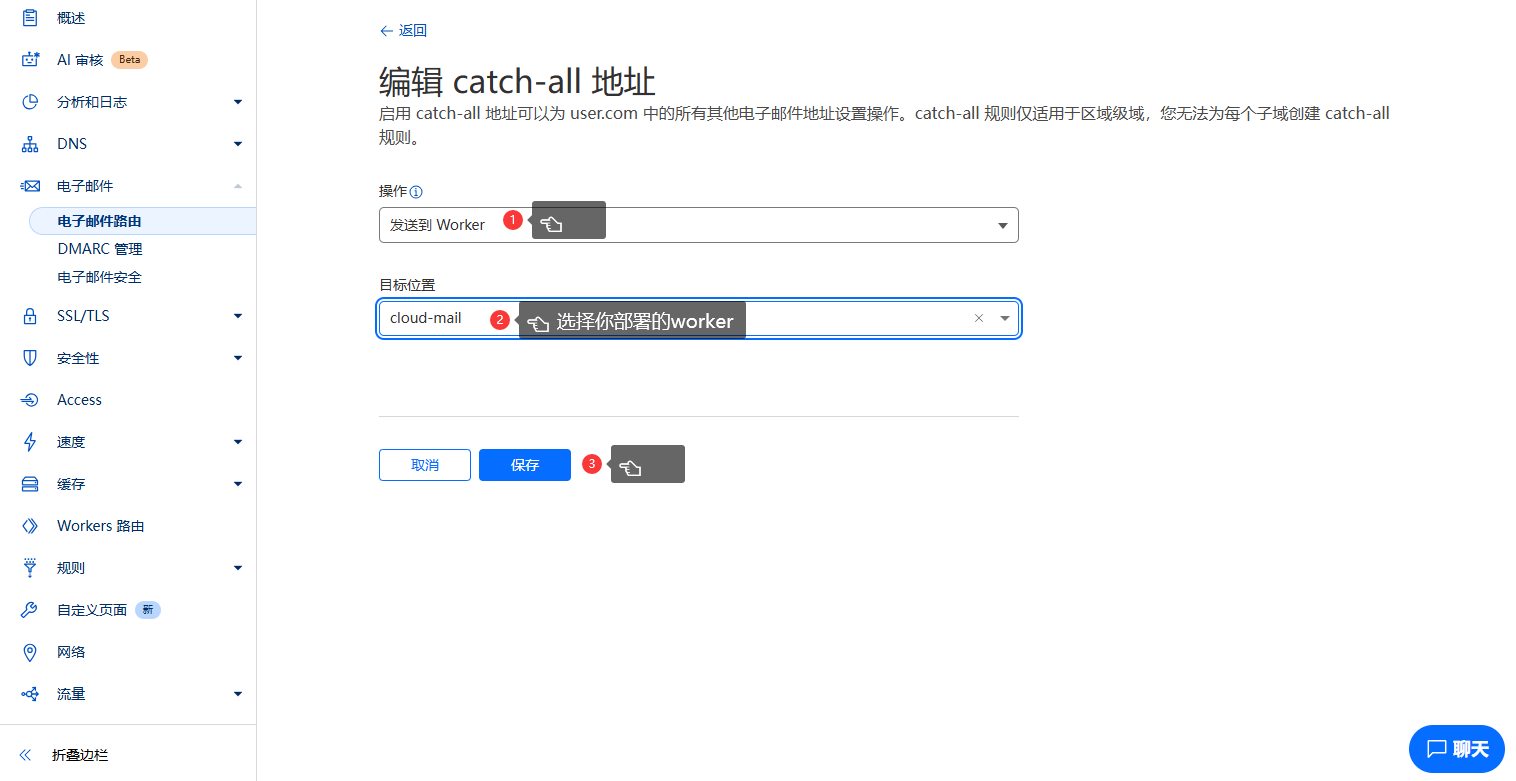
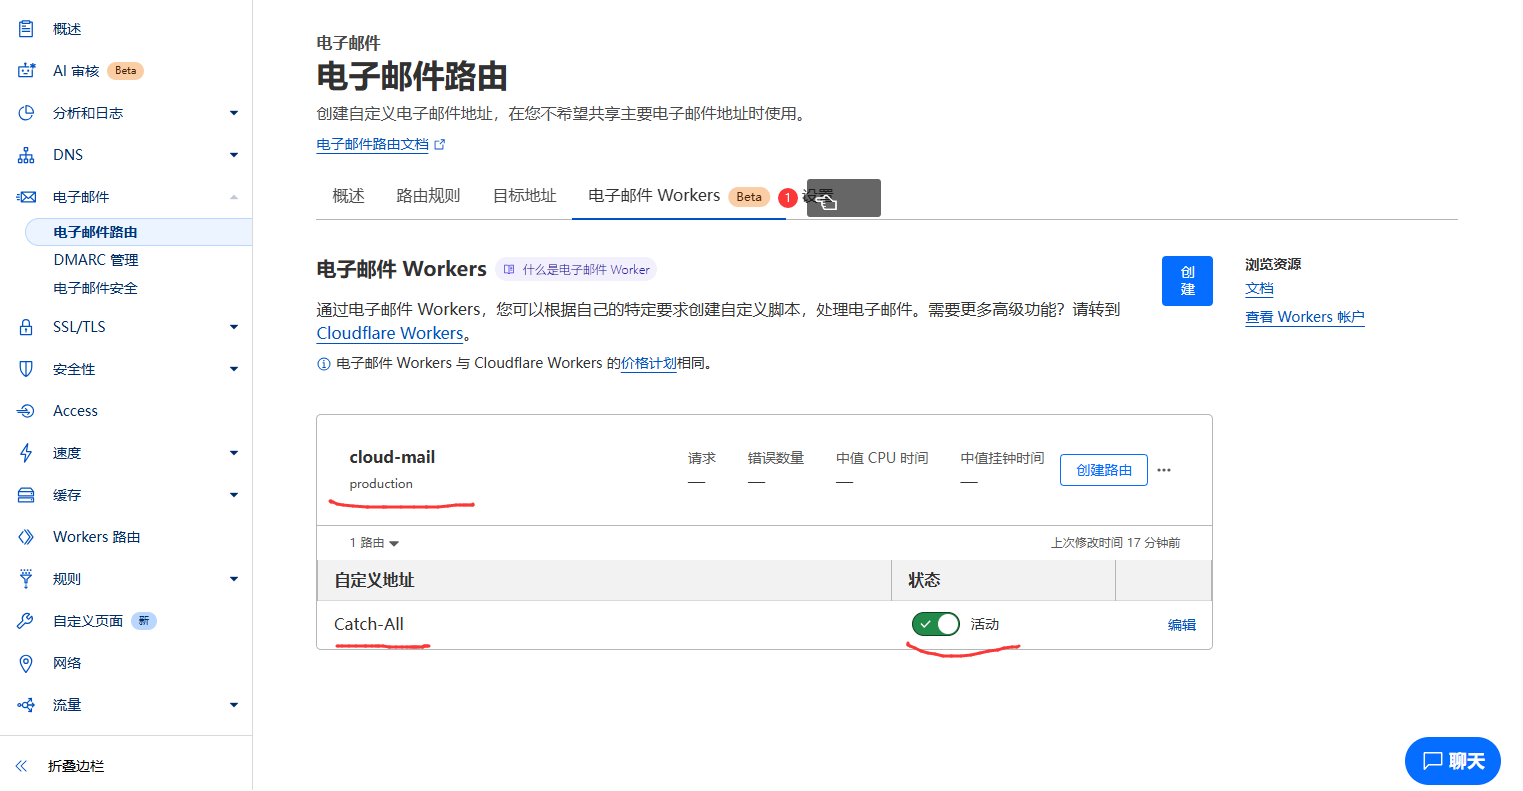
Set forwarding to Worker
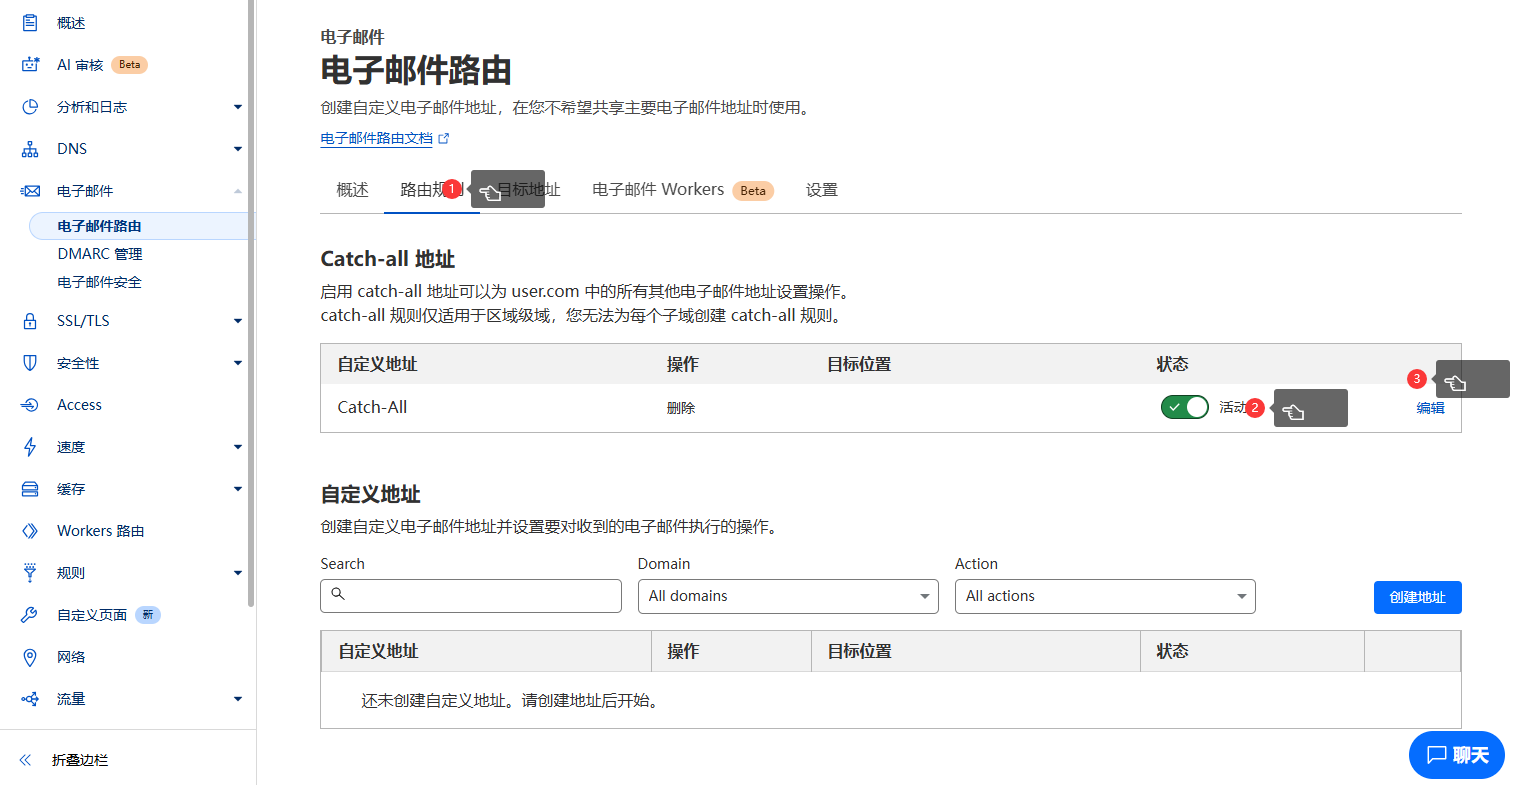
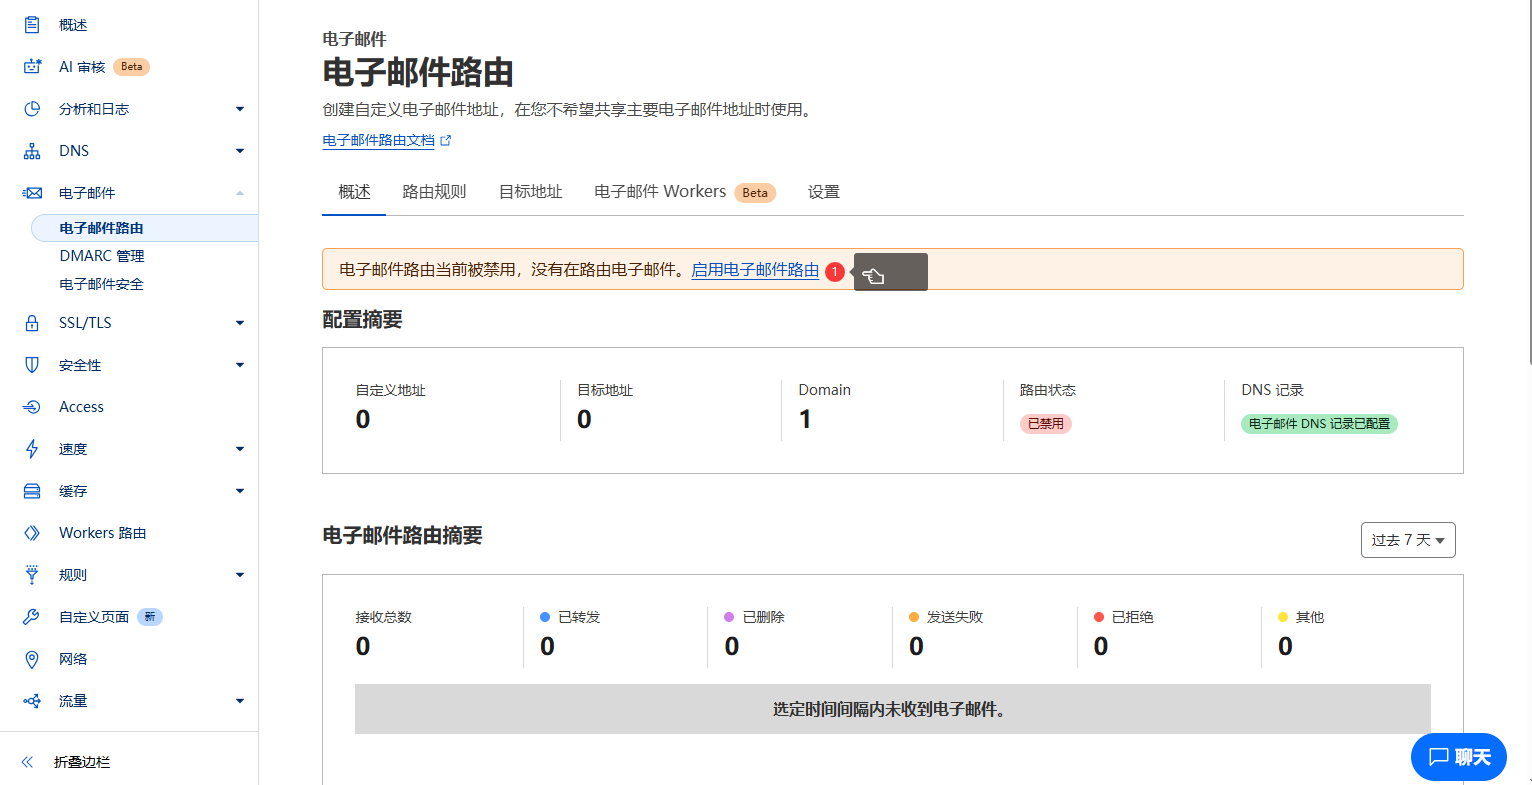
How it looks after setup
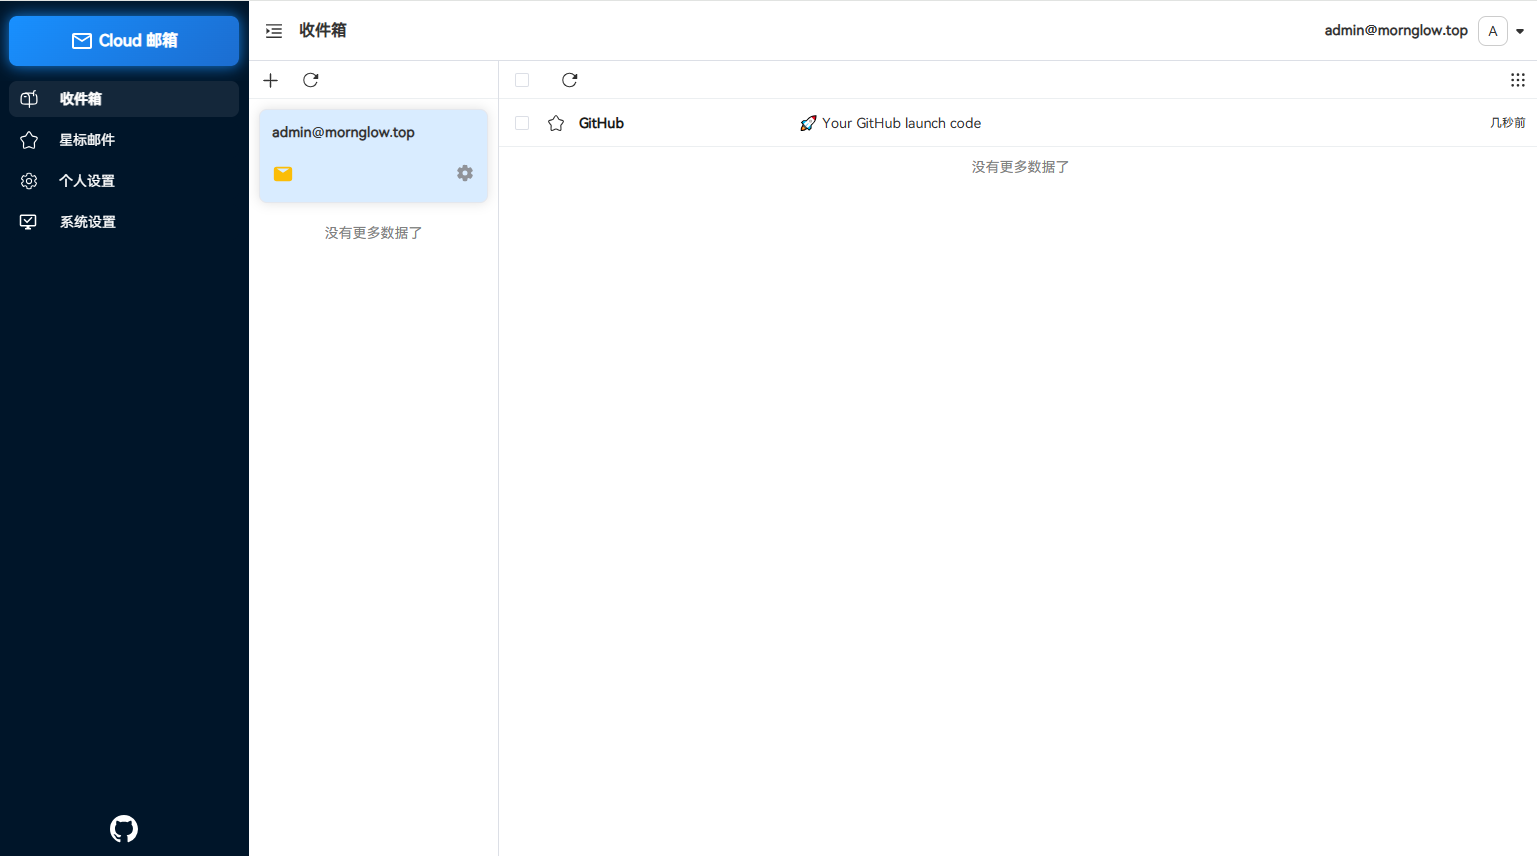
Test receiving emails
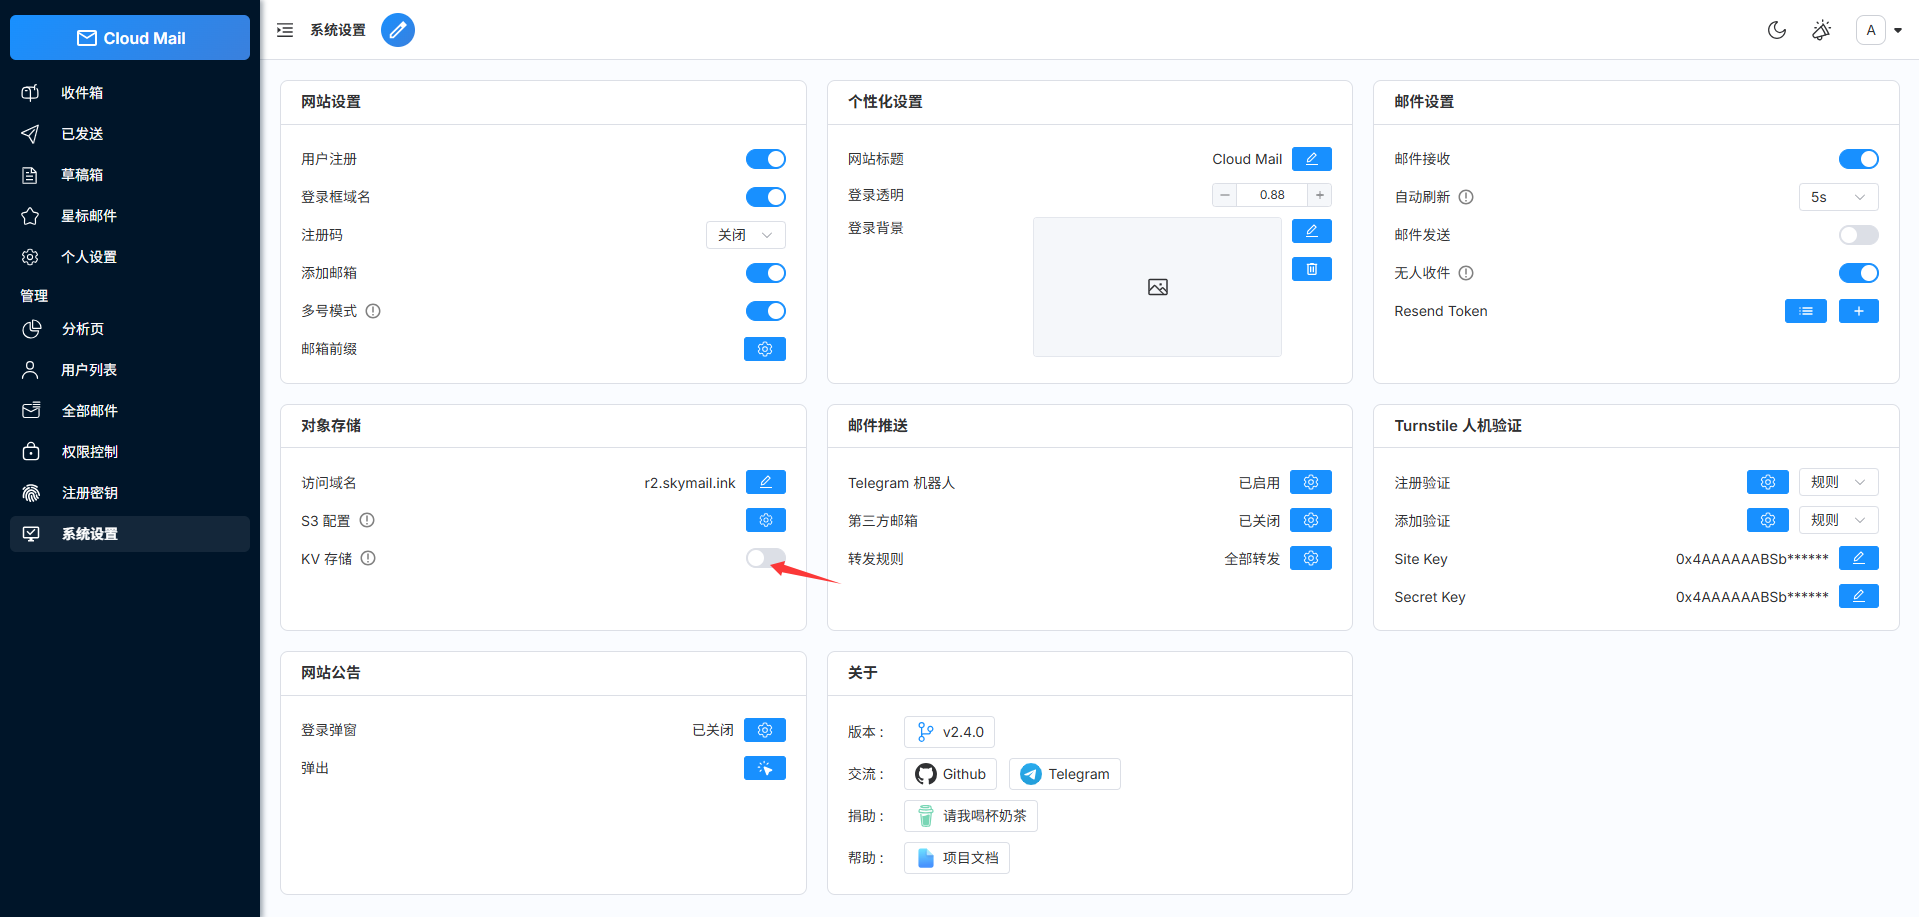
6 Attachment Receiving/Sending
After this step, you can send and receive attachments
If you’re unable to use R2, you can use KV storage instead, and set the access domain to the Worker’s custom domain.
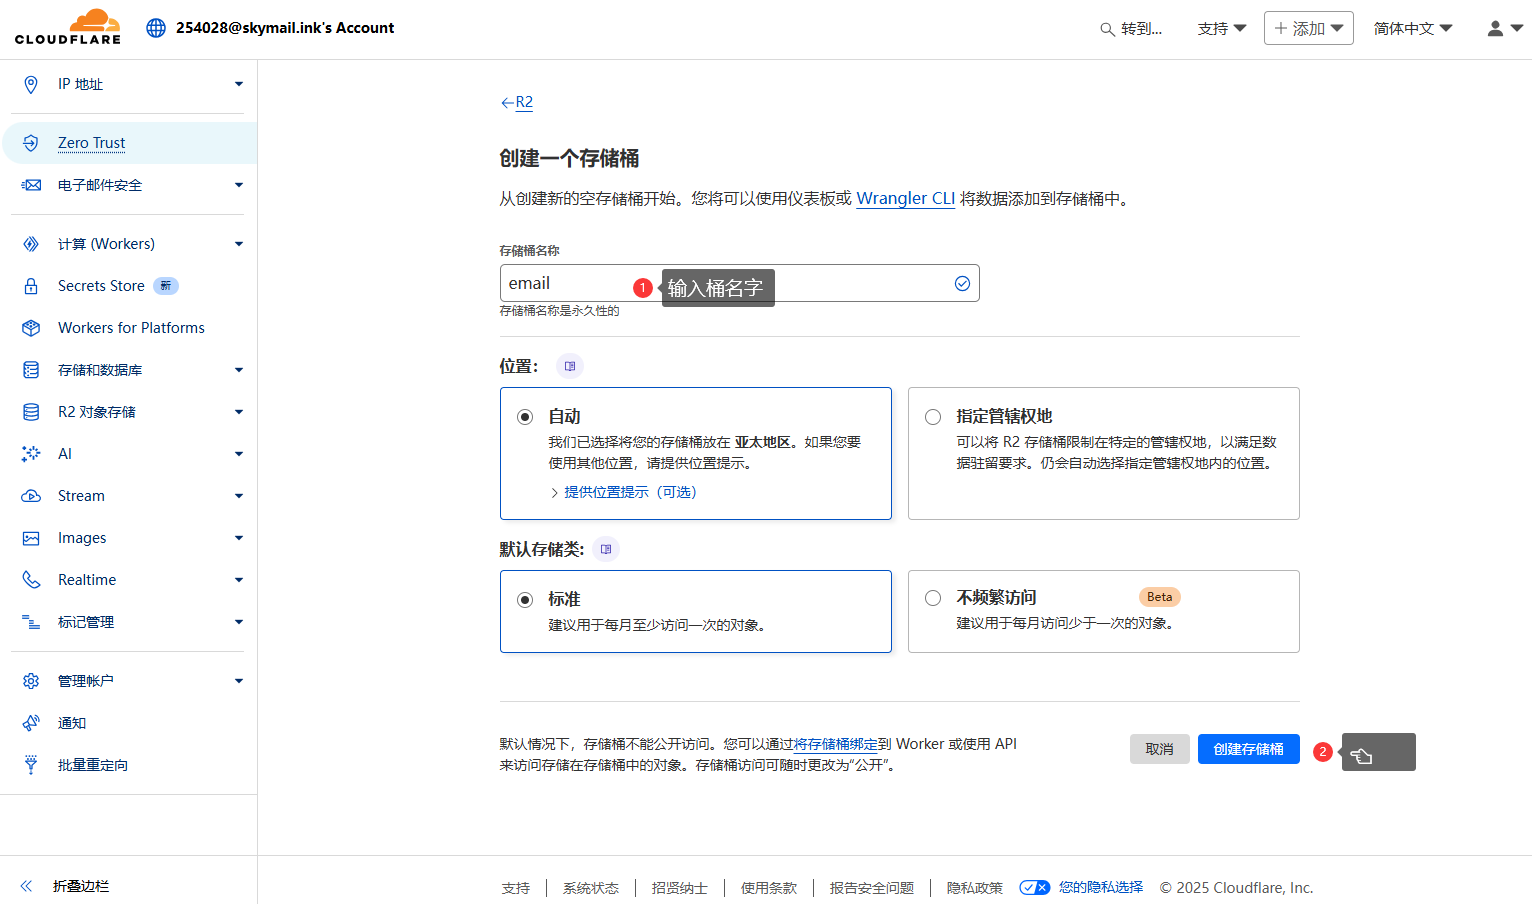
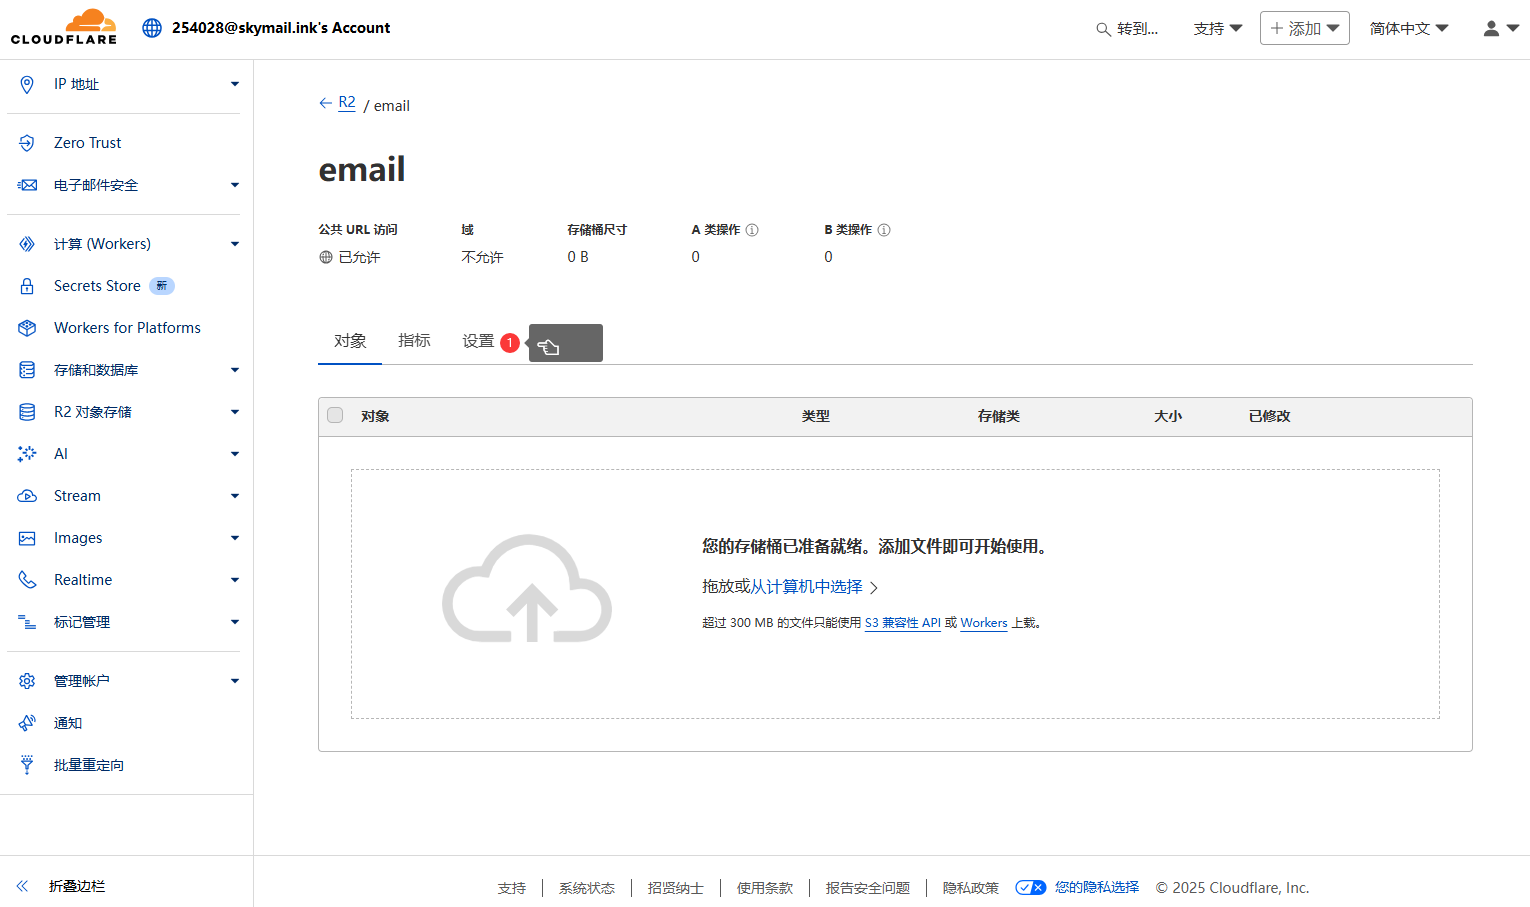
Go back to previous menu, find R2 Object Storage, create a bucket
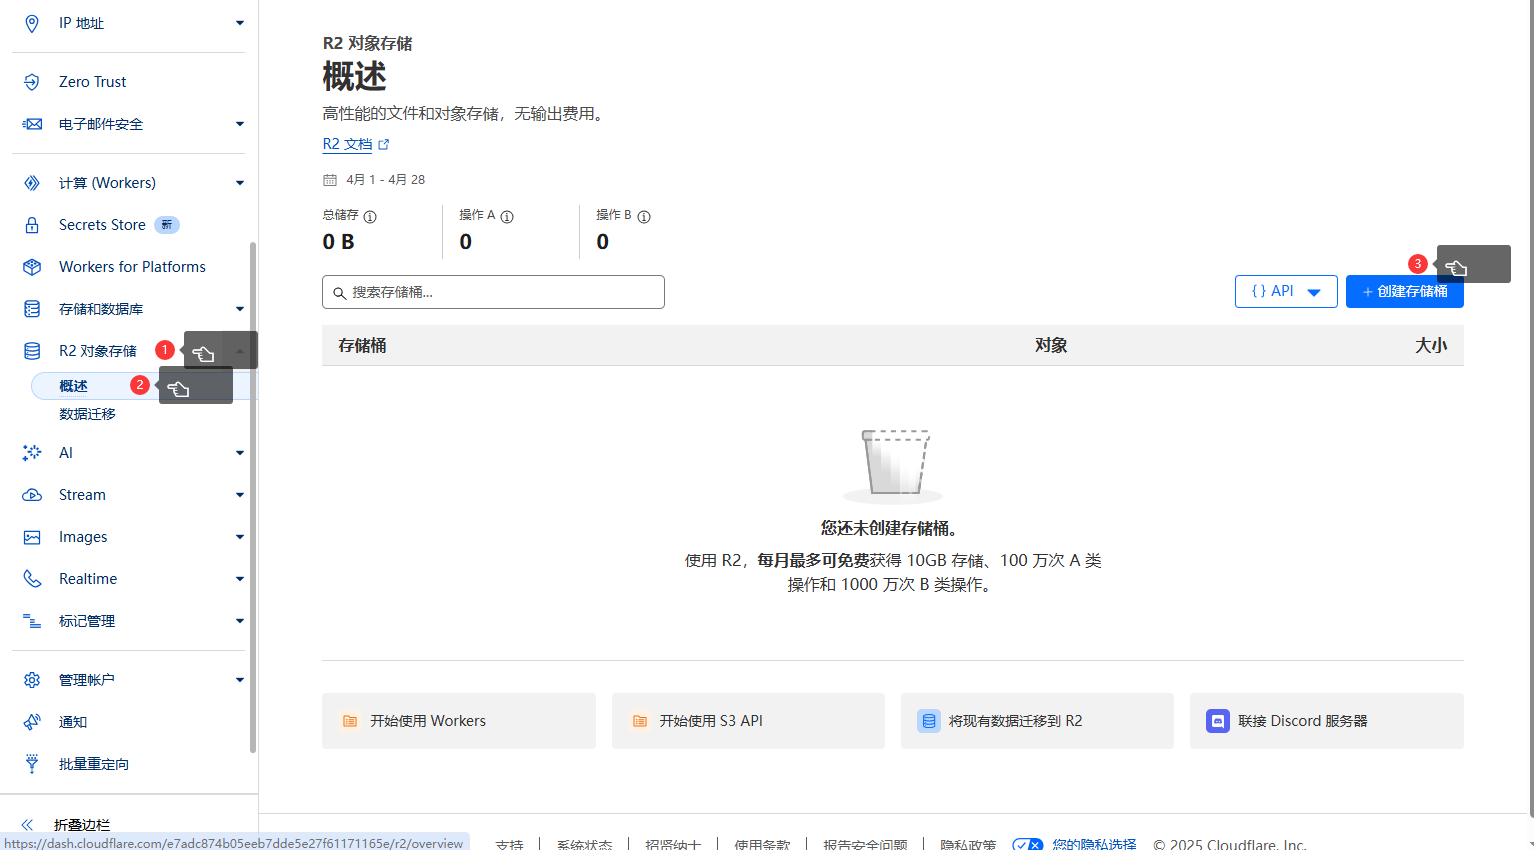
Bucket name can be anything, location near you
Set custom domain
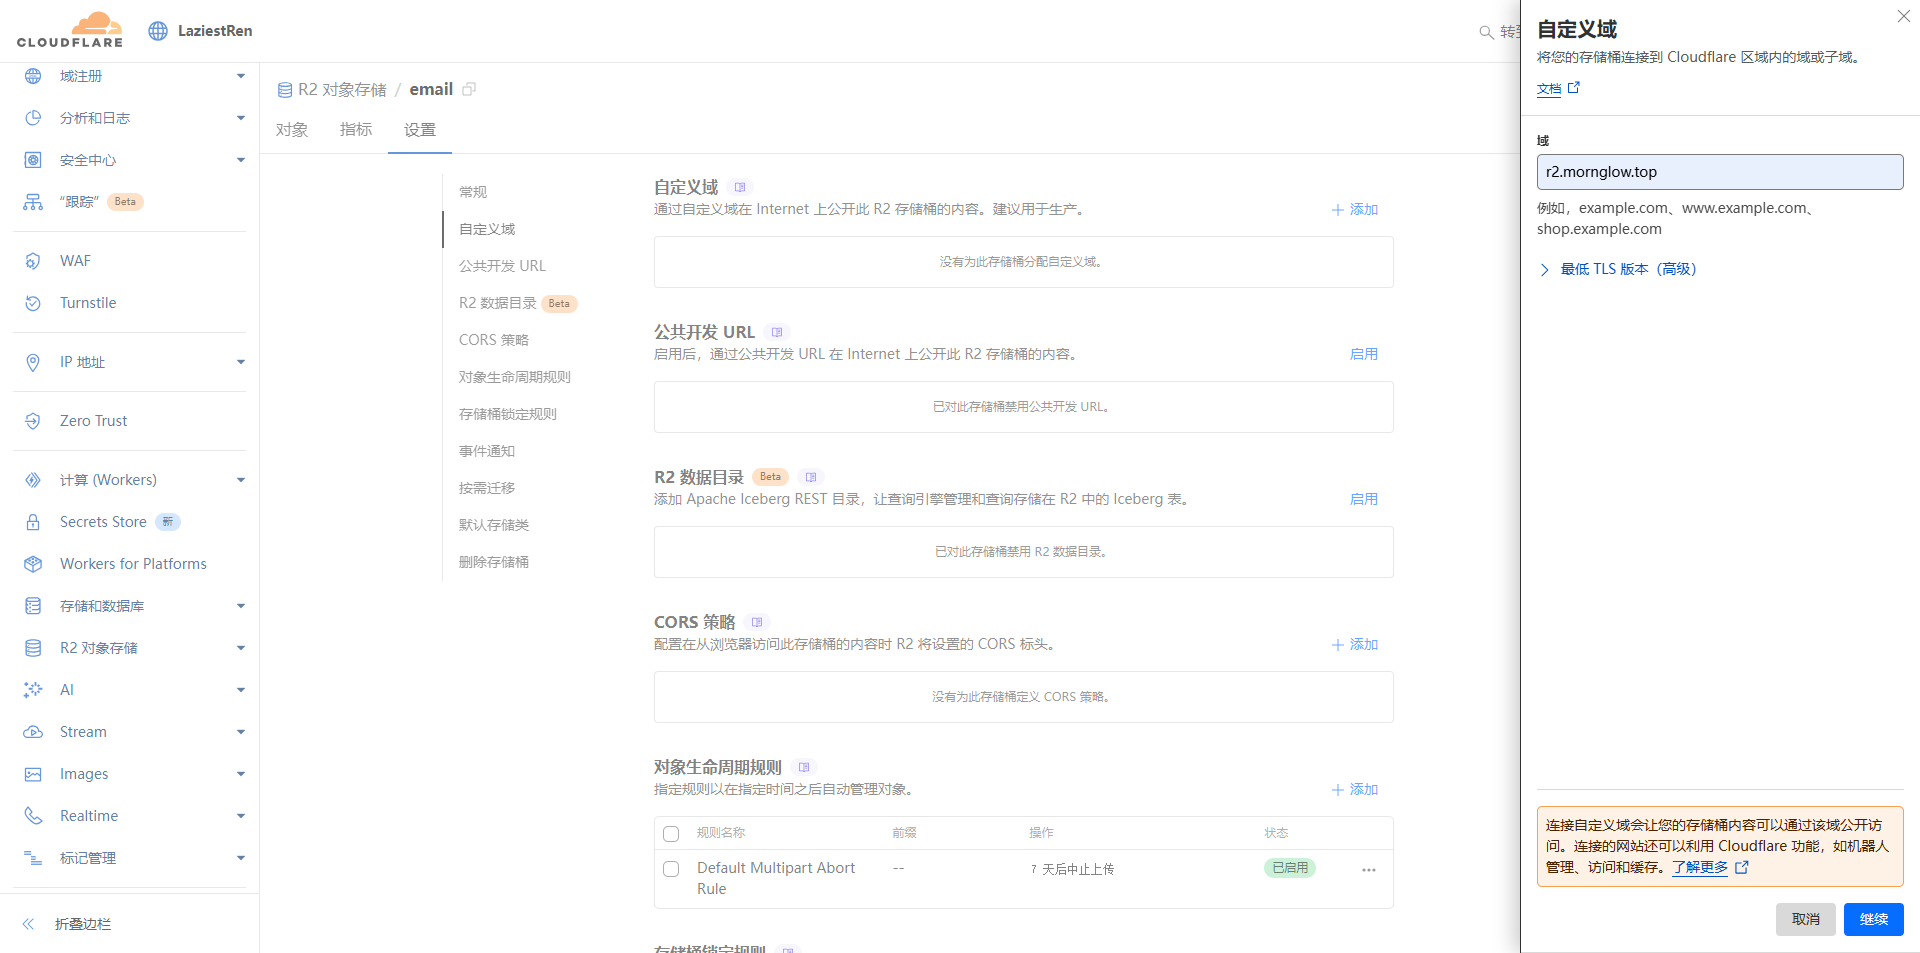
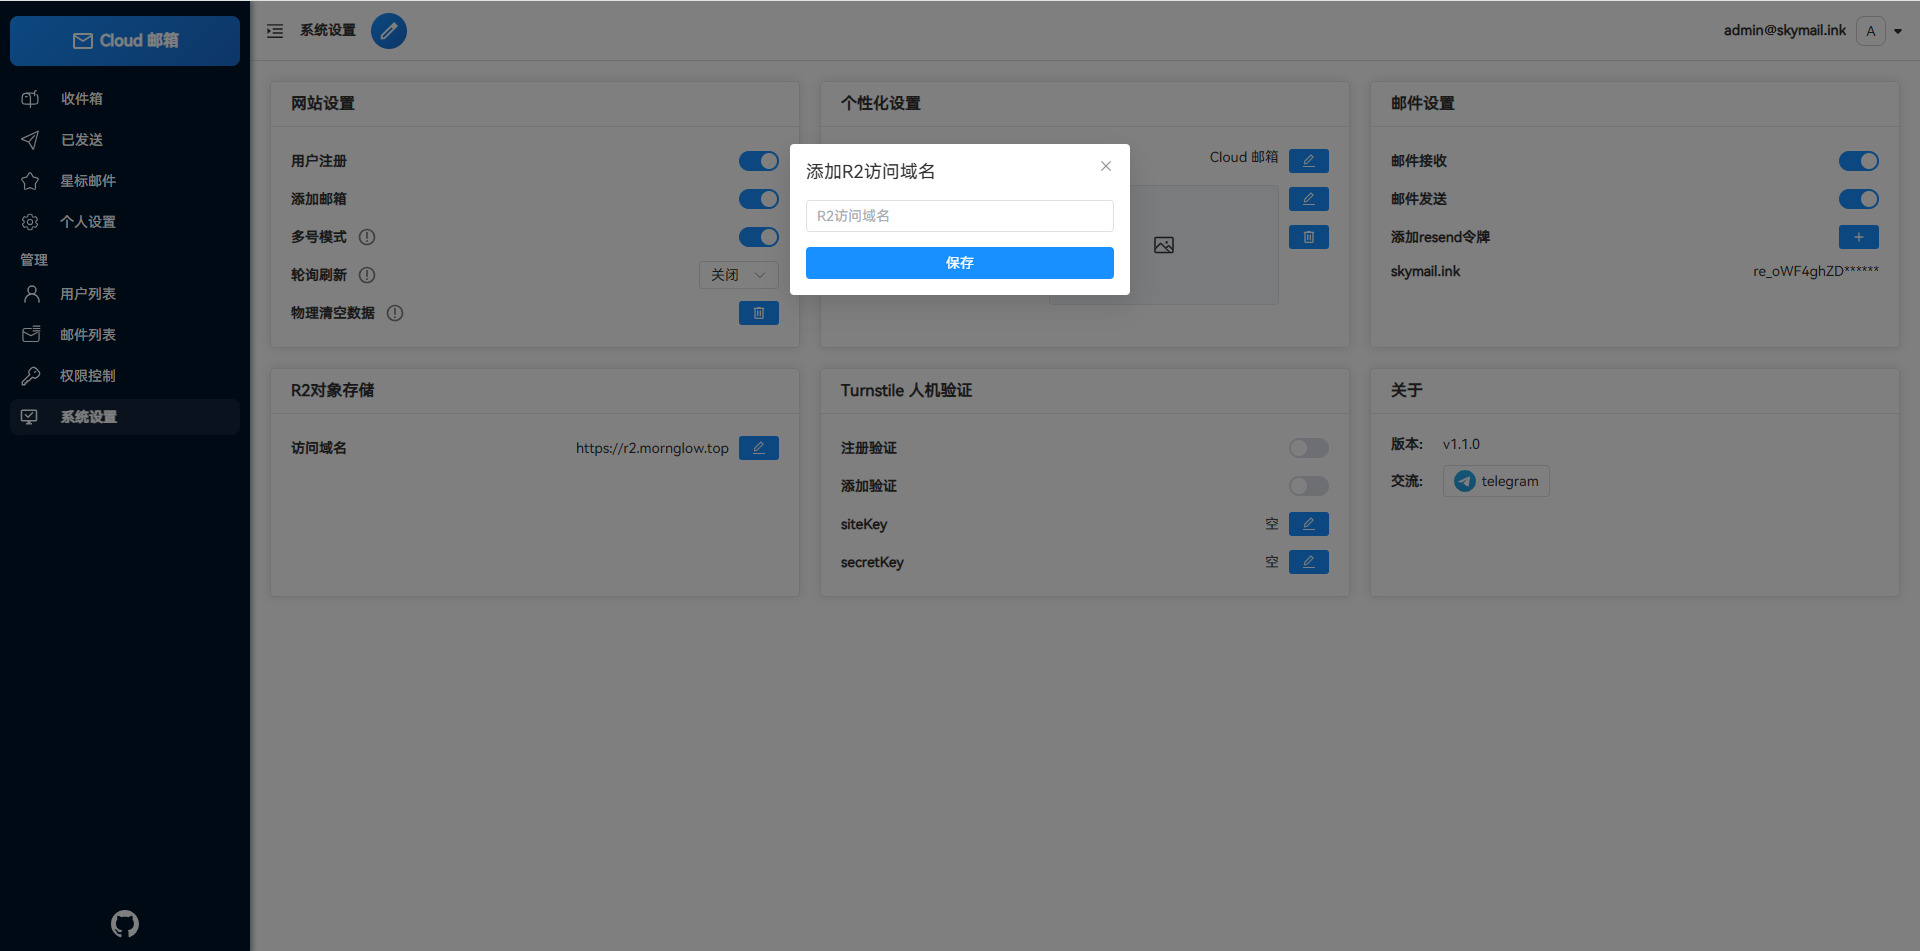
Add custom domain to project settings
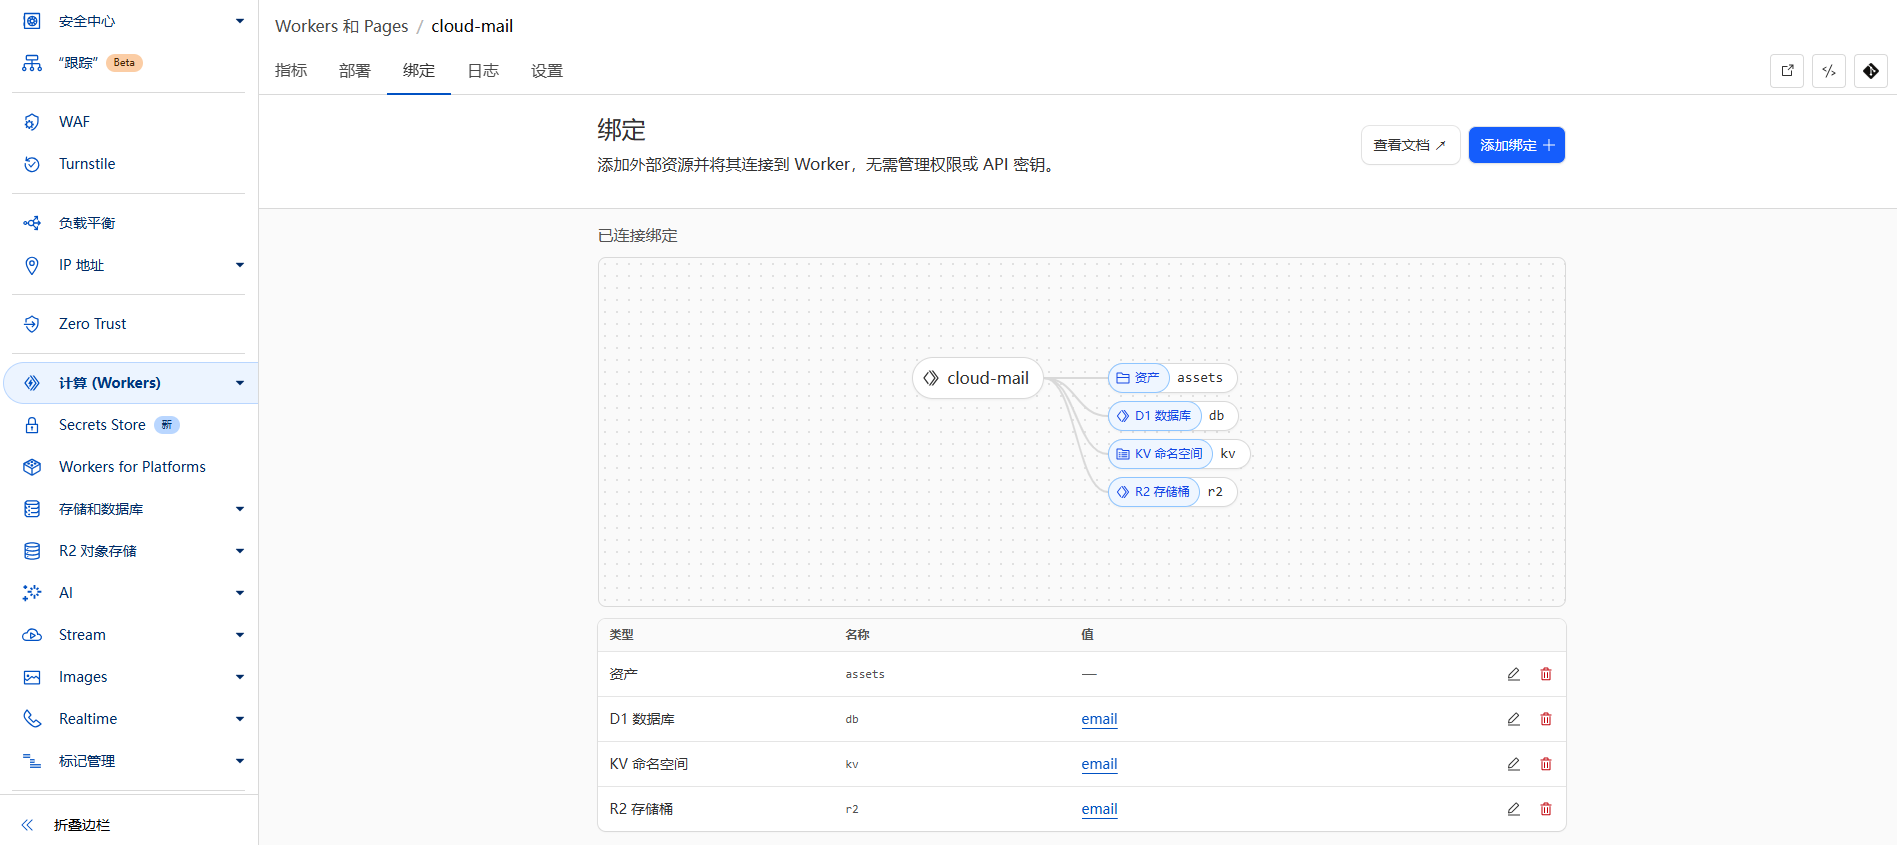
Go back to worker, bind the created R2 bucket
R2 bucket variable name: r2
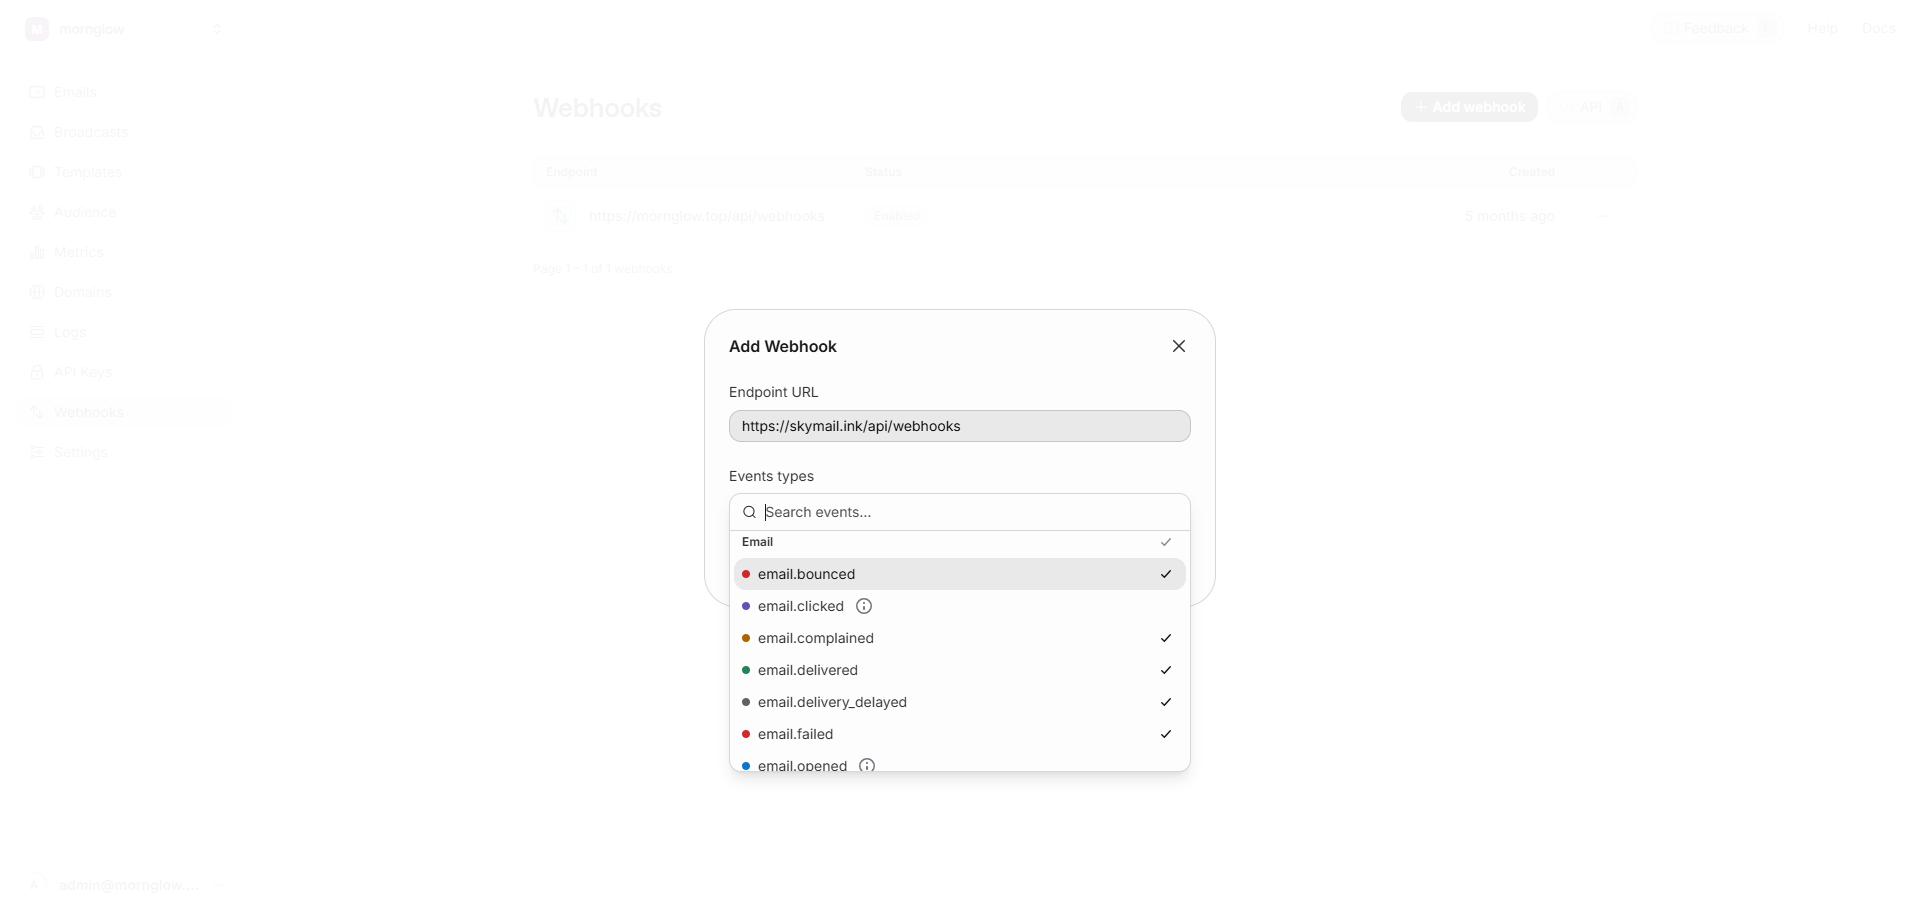
7 Email Sending
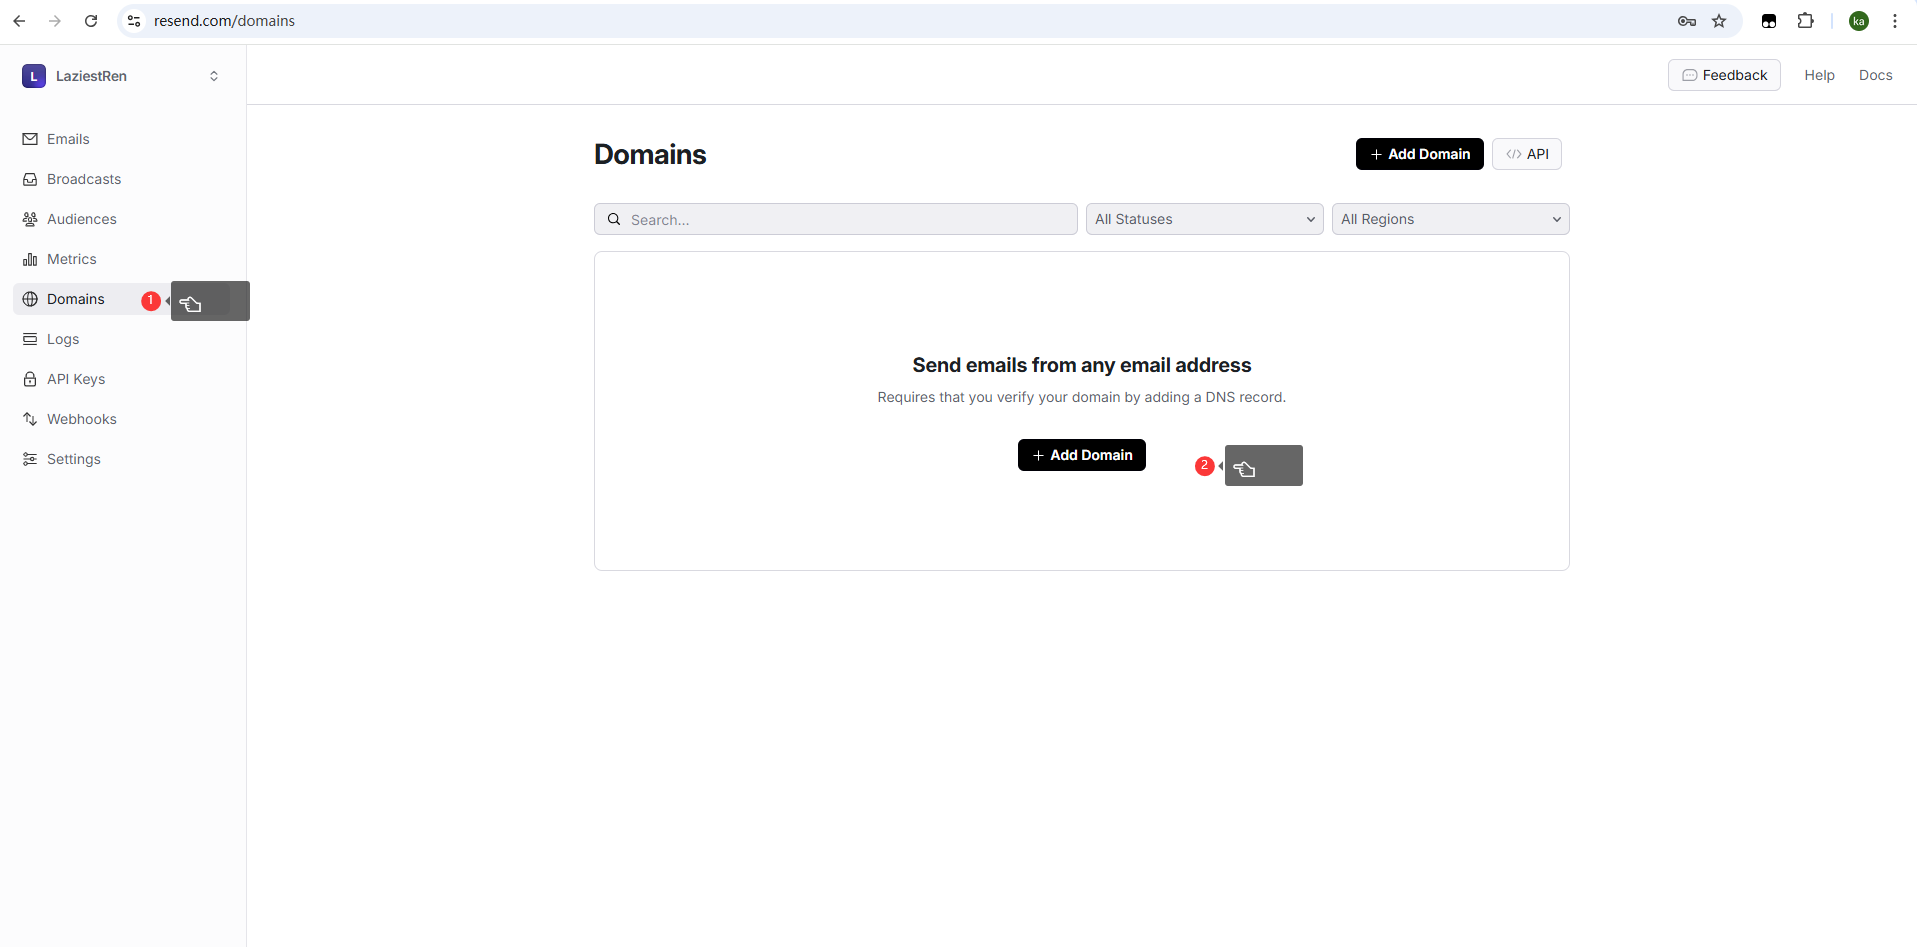
Use third-party service Resend to send emails
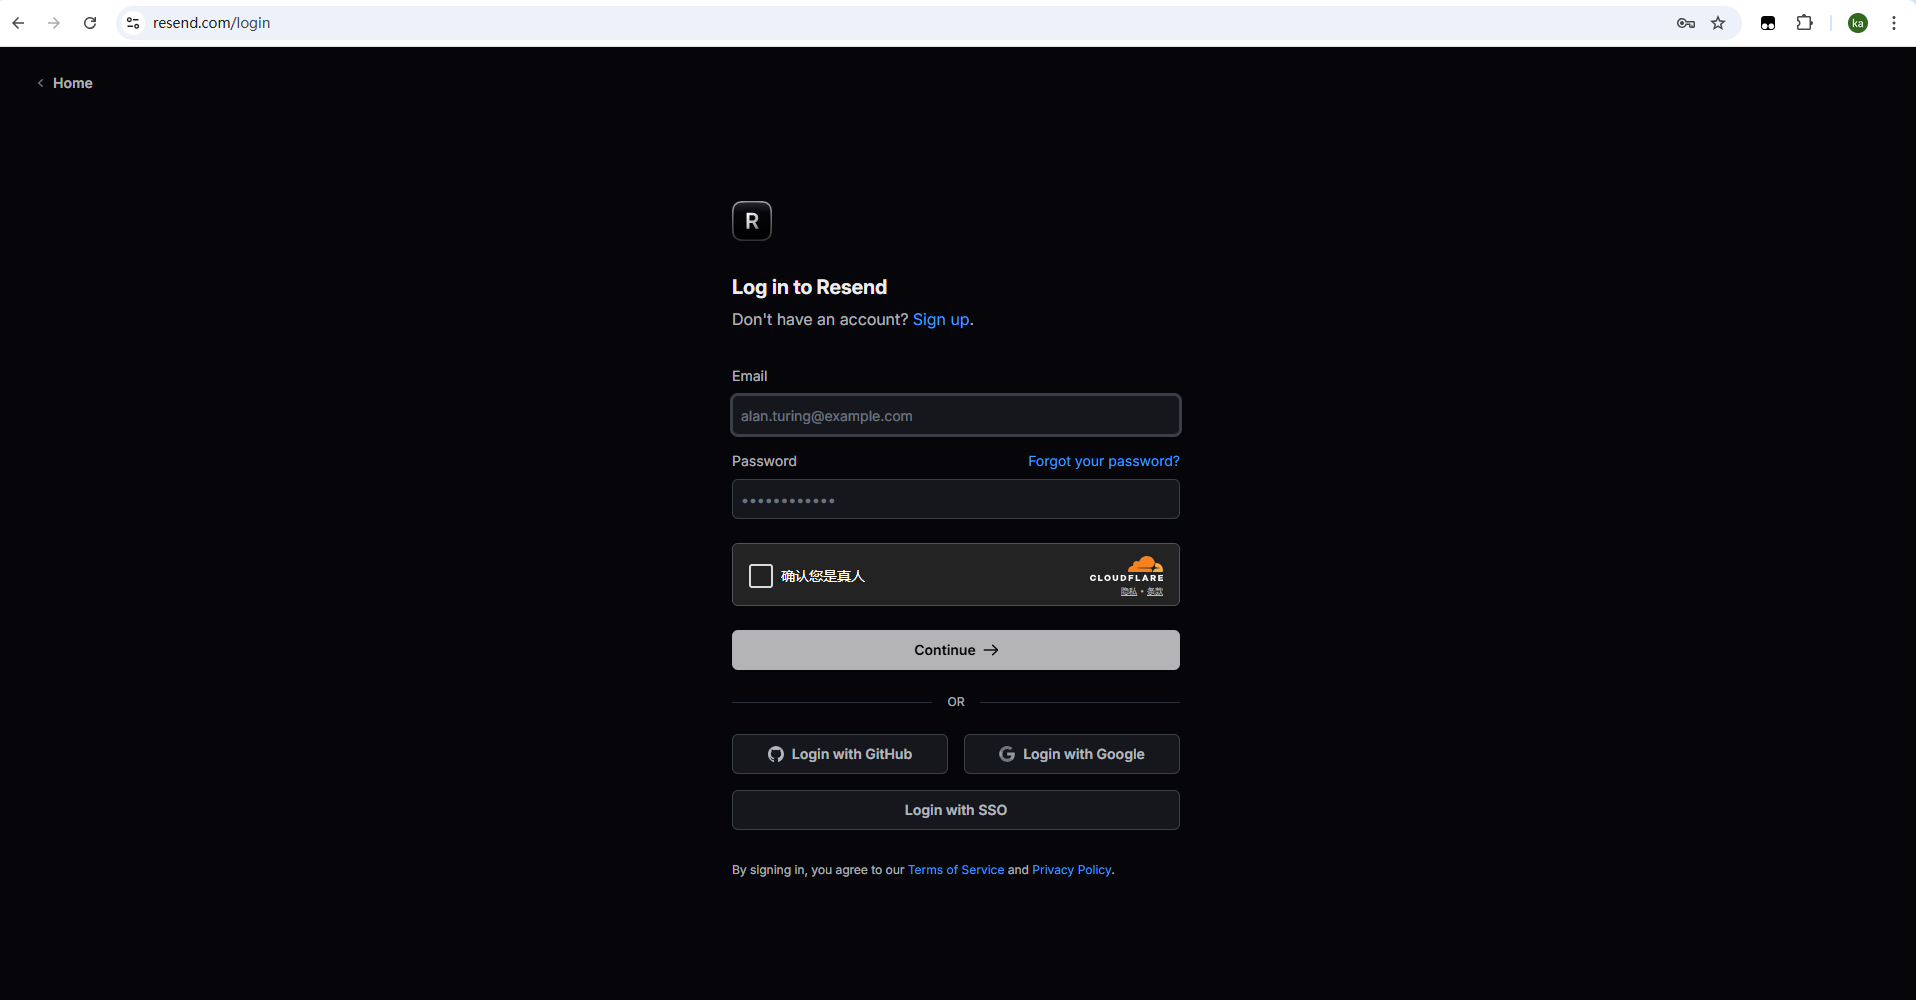
Go to resend.com to register
Add domain
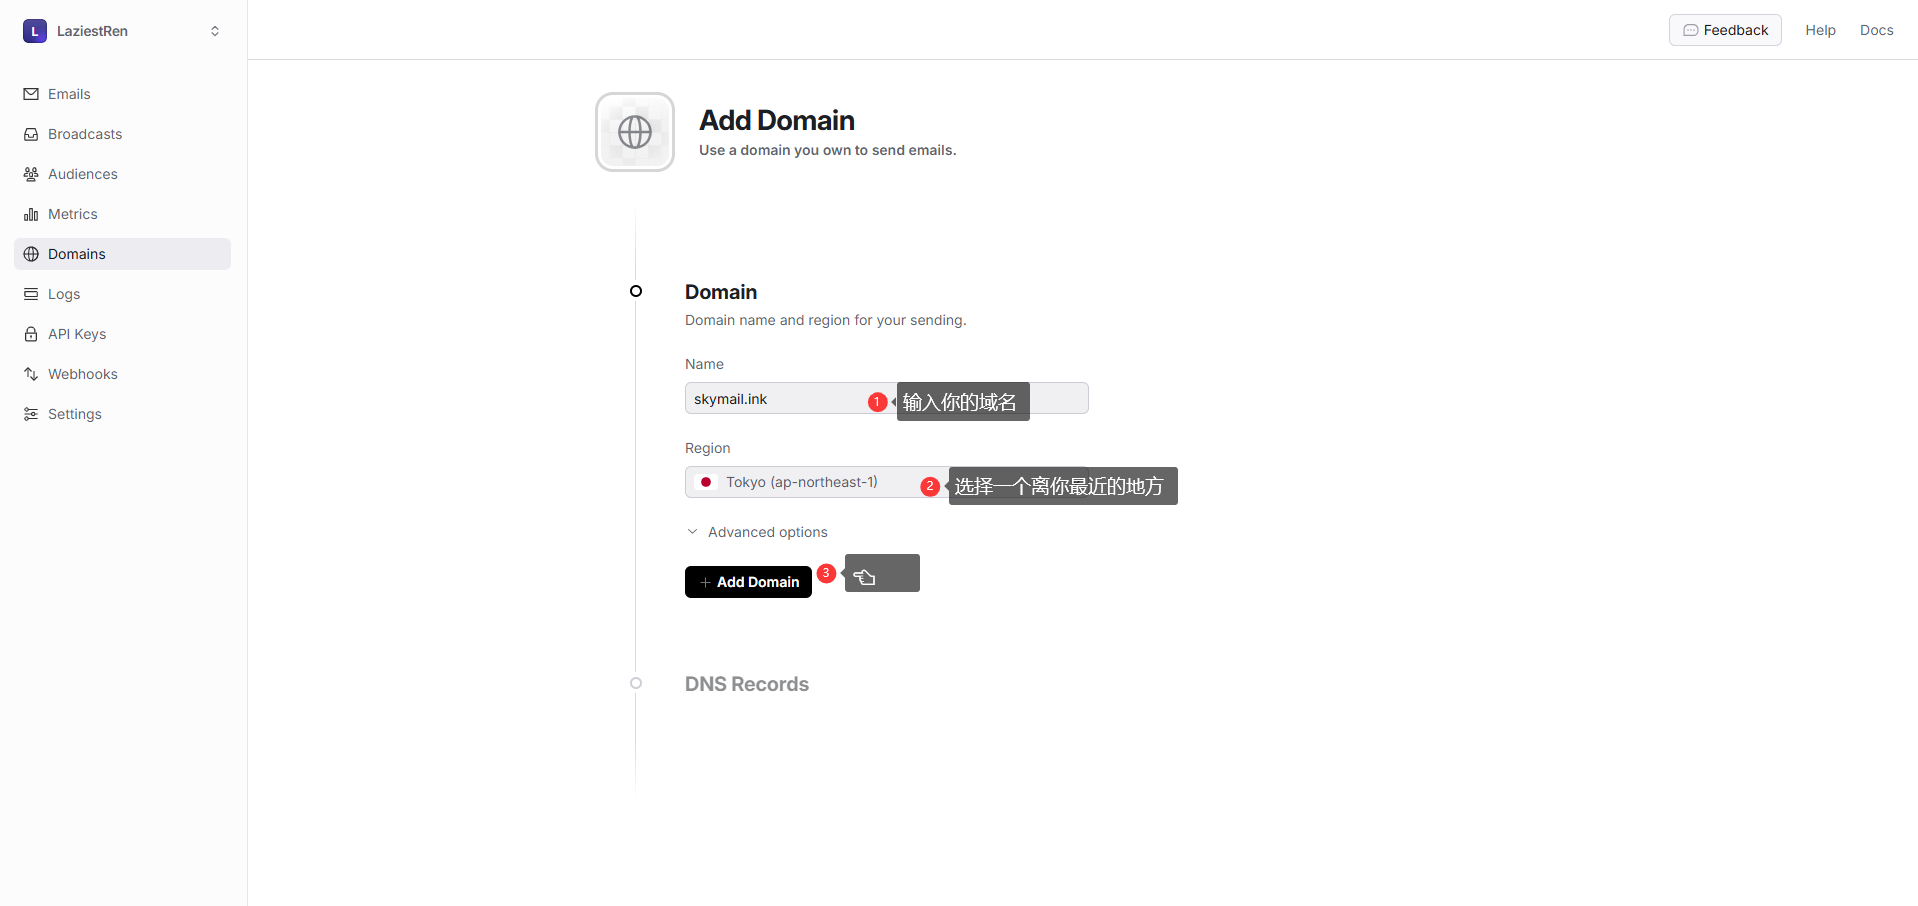
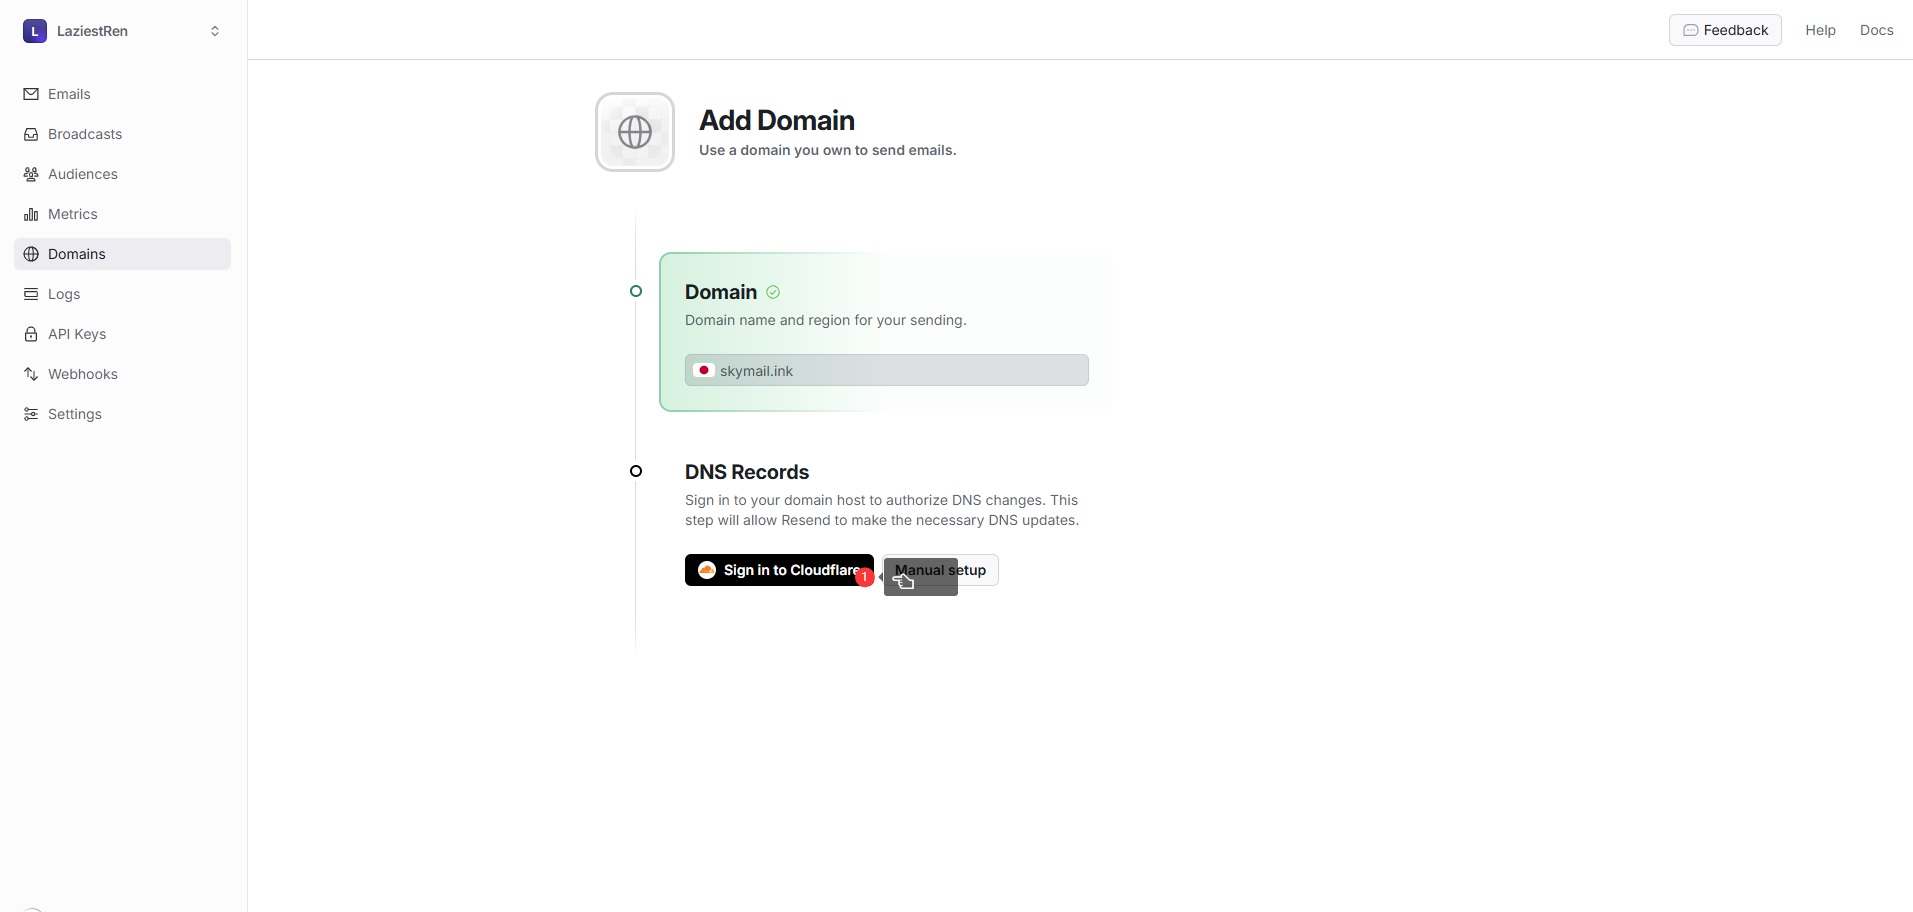
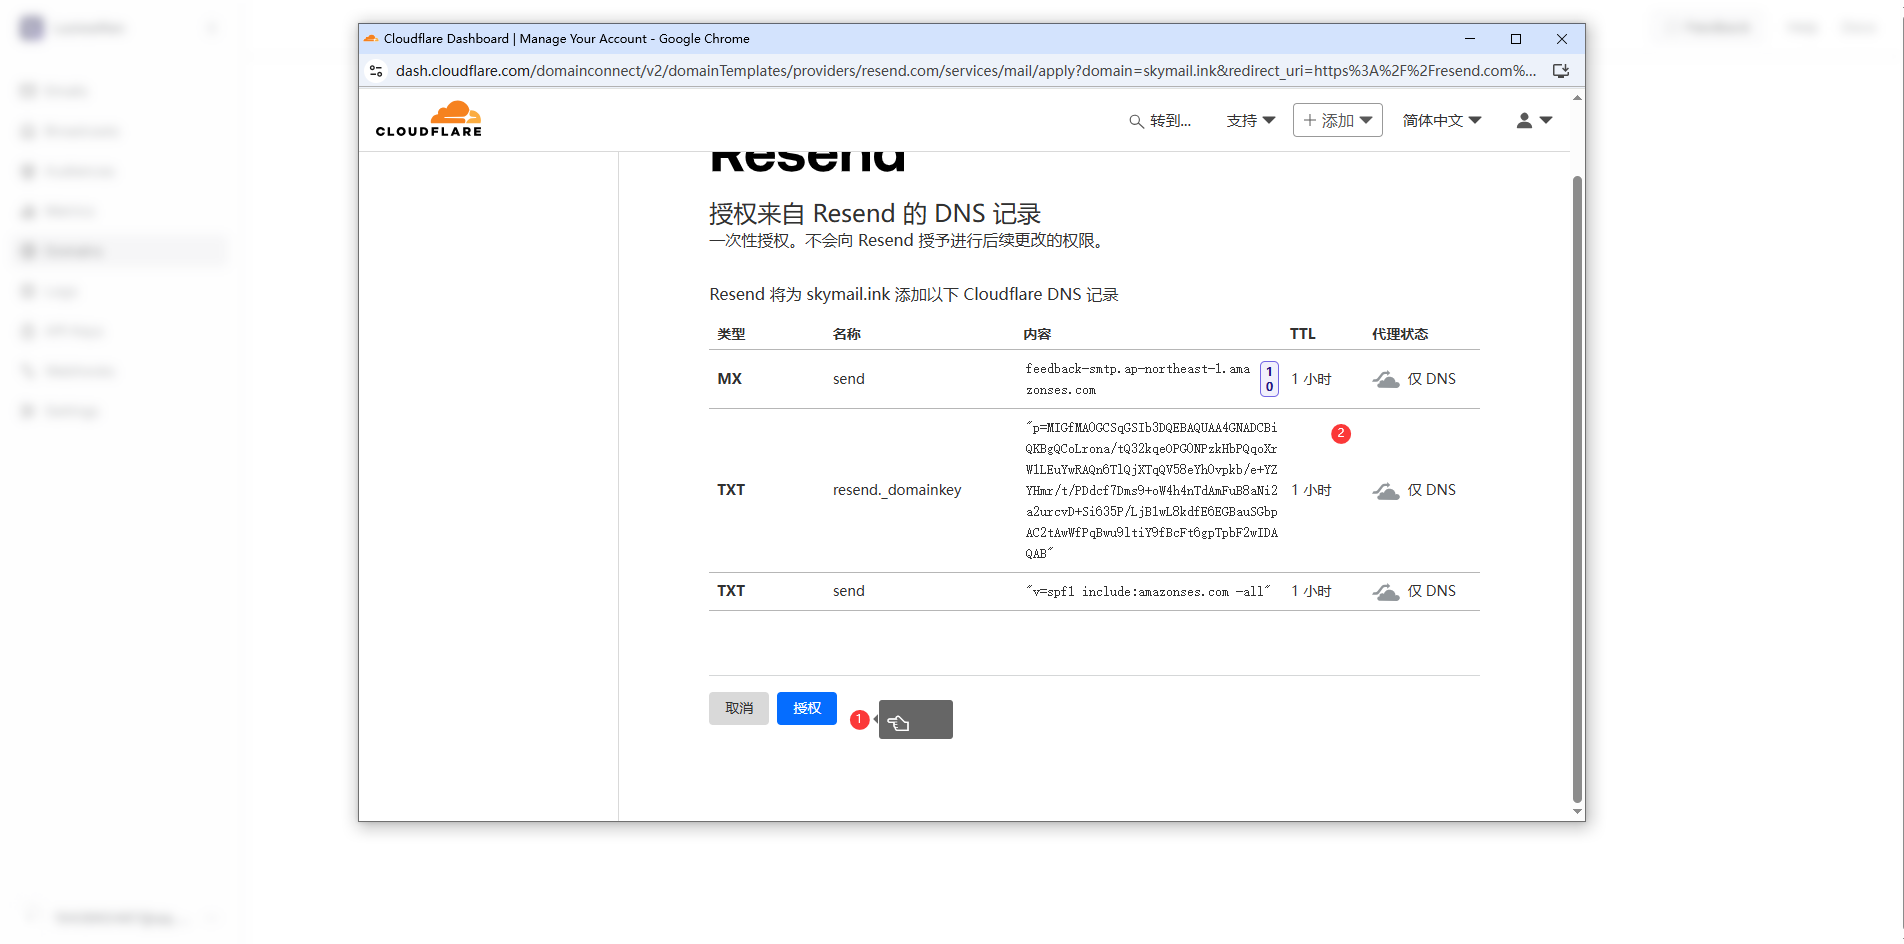
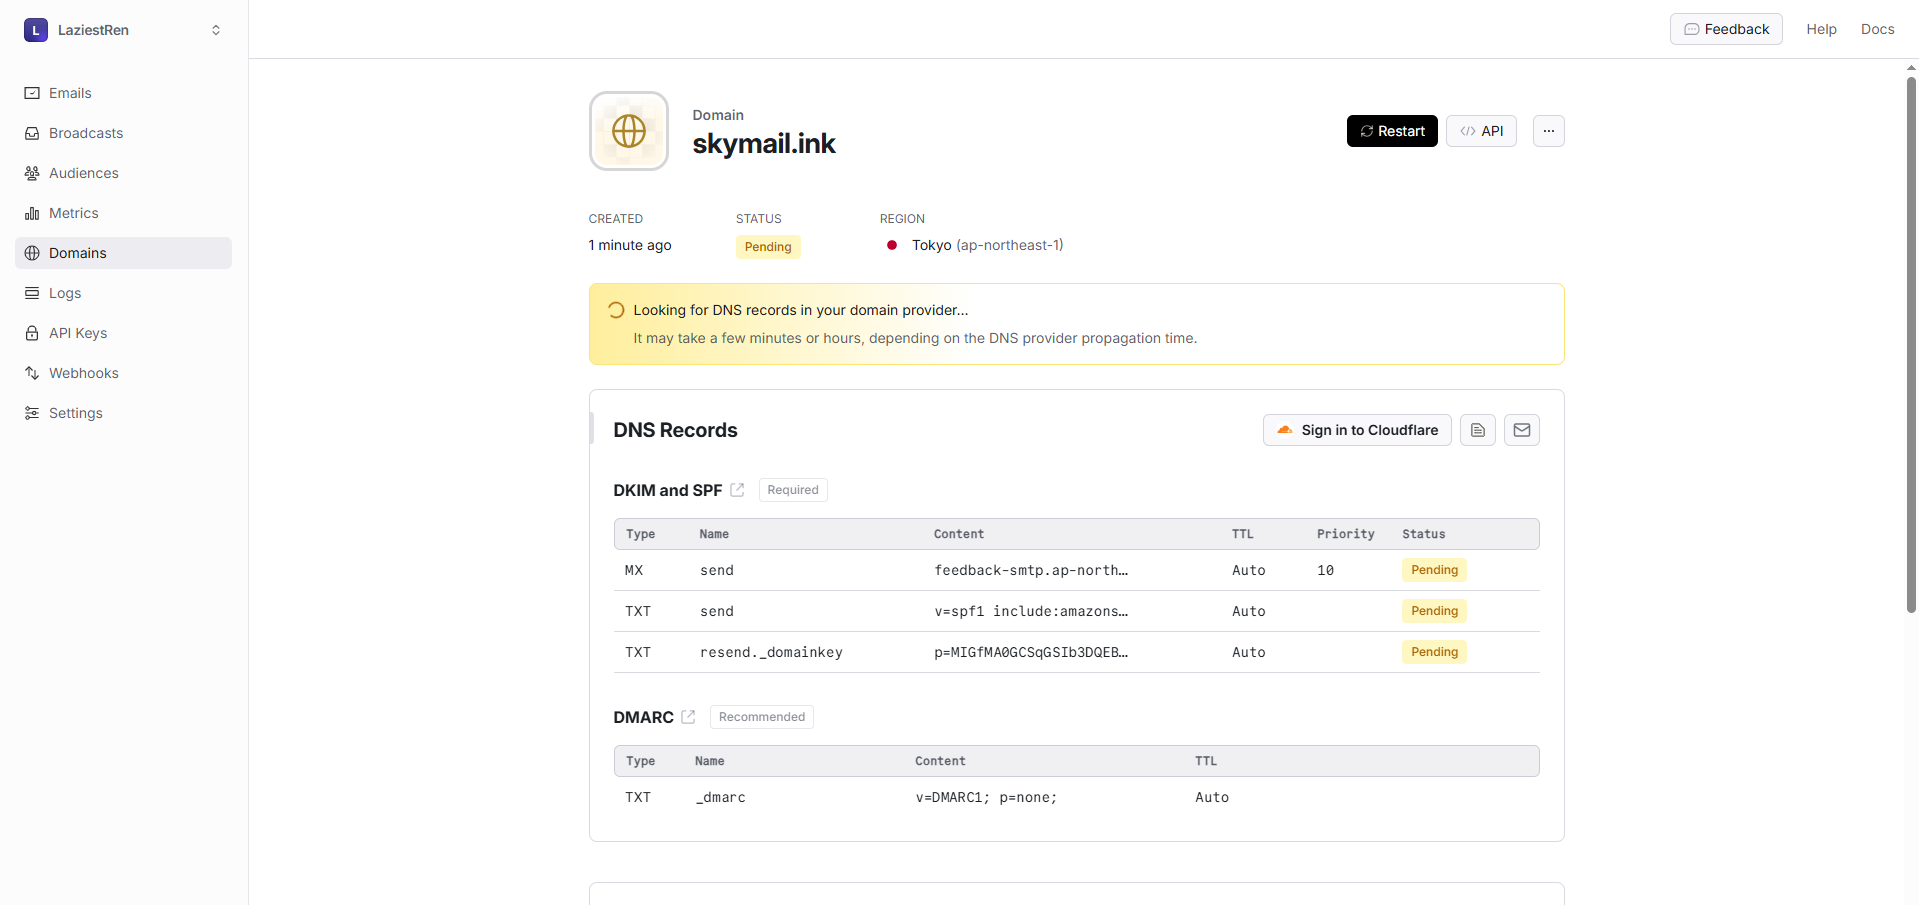
Wait for verification
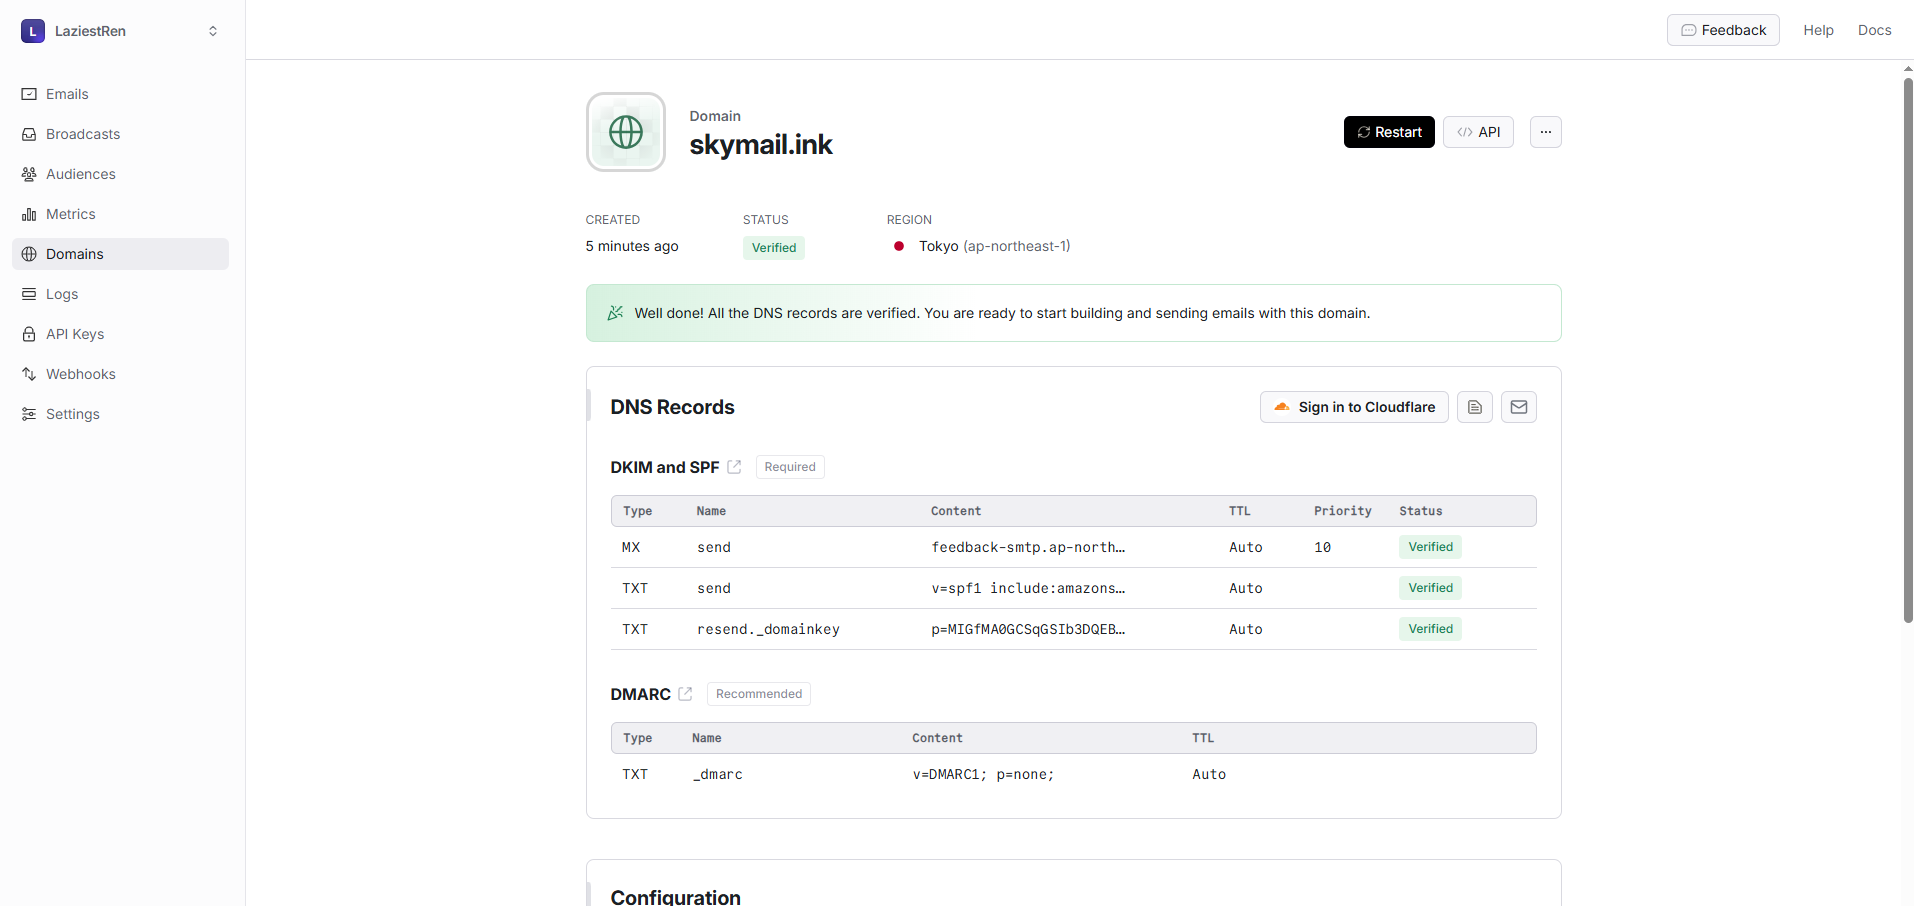
After verification completed
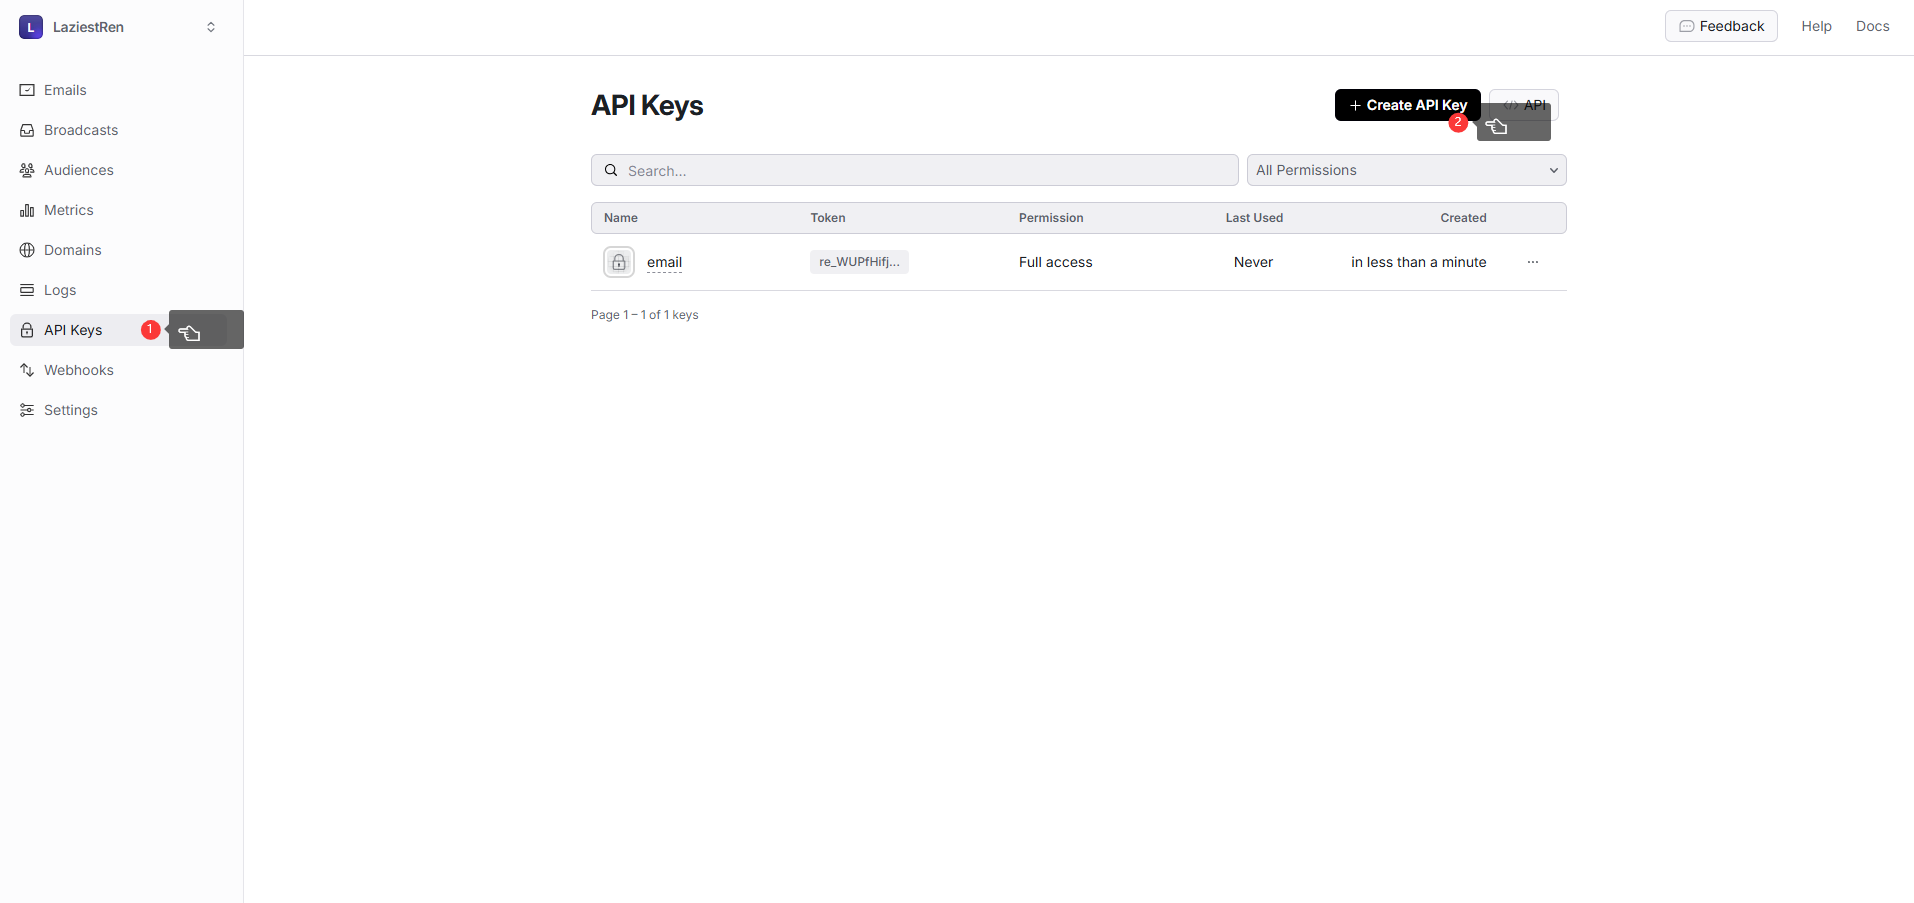
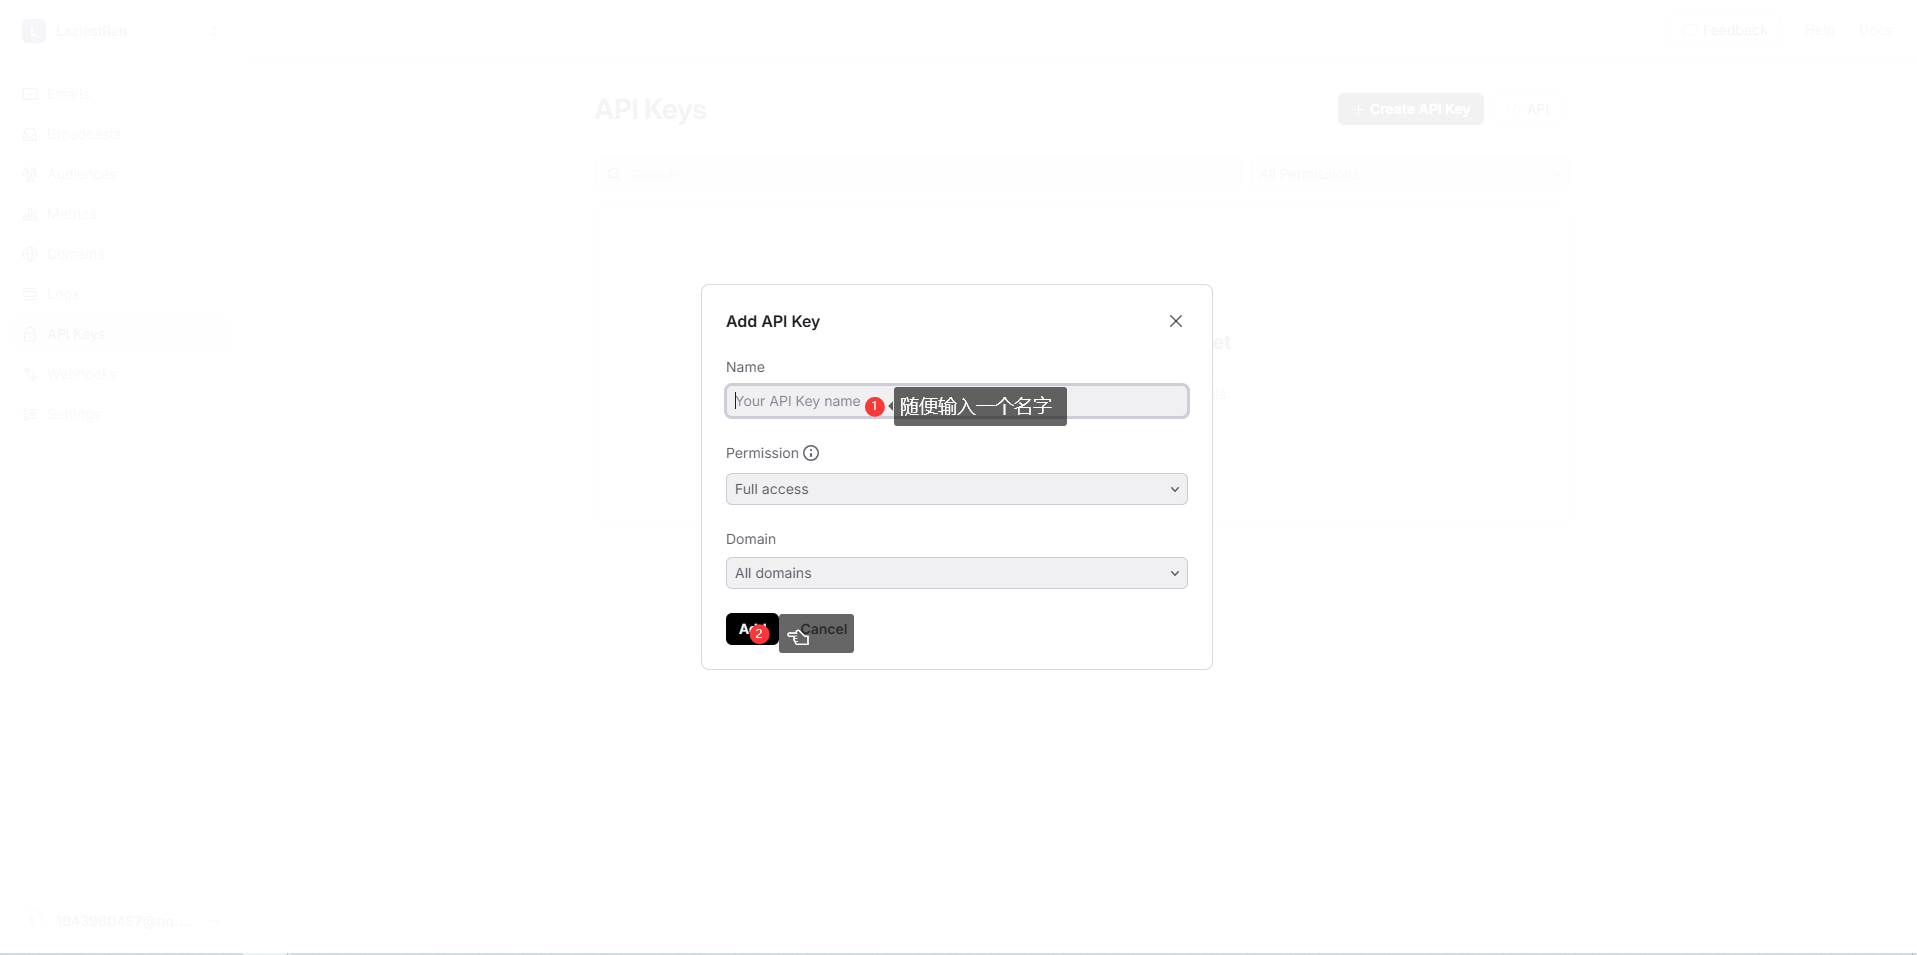
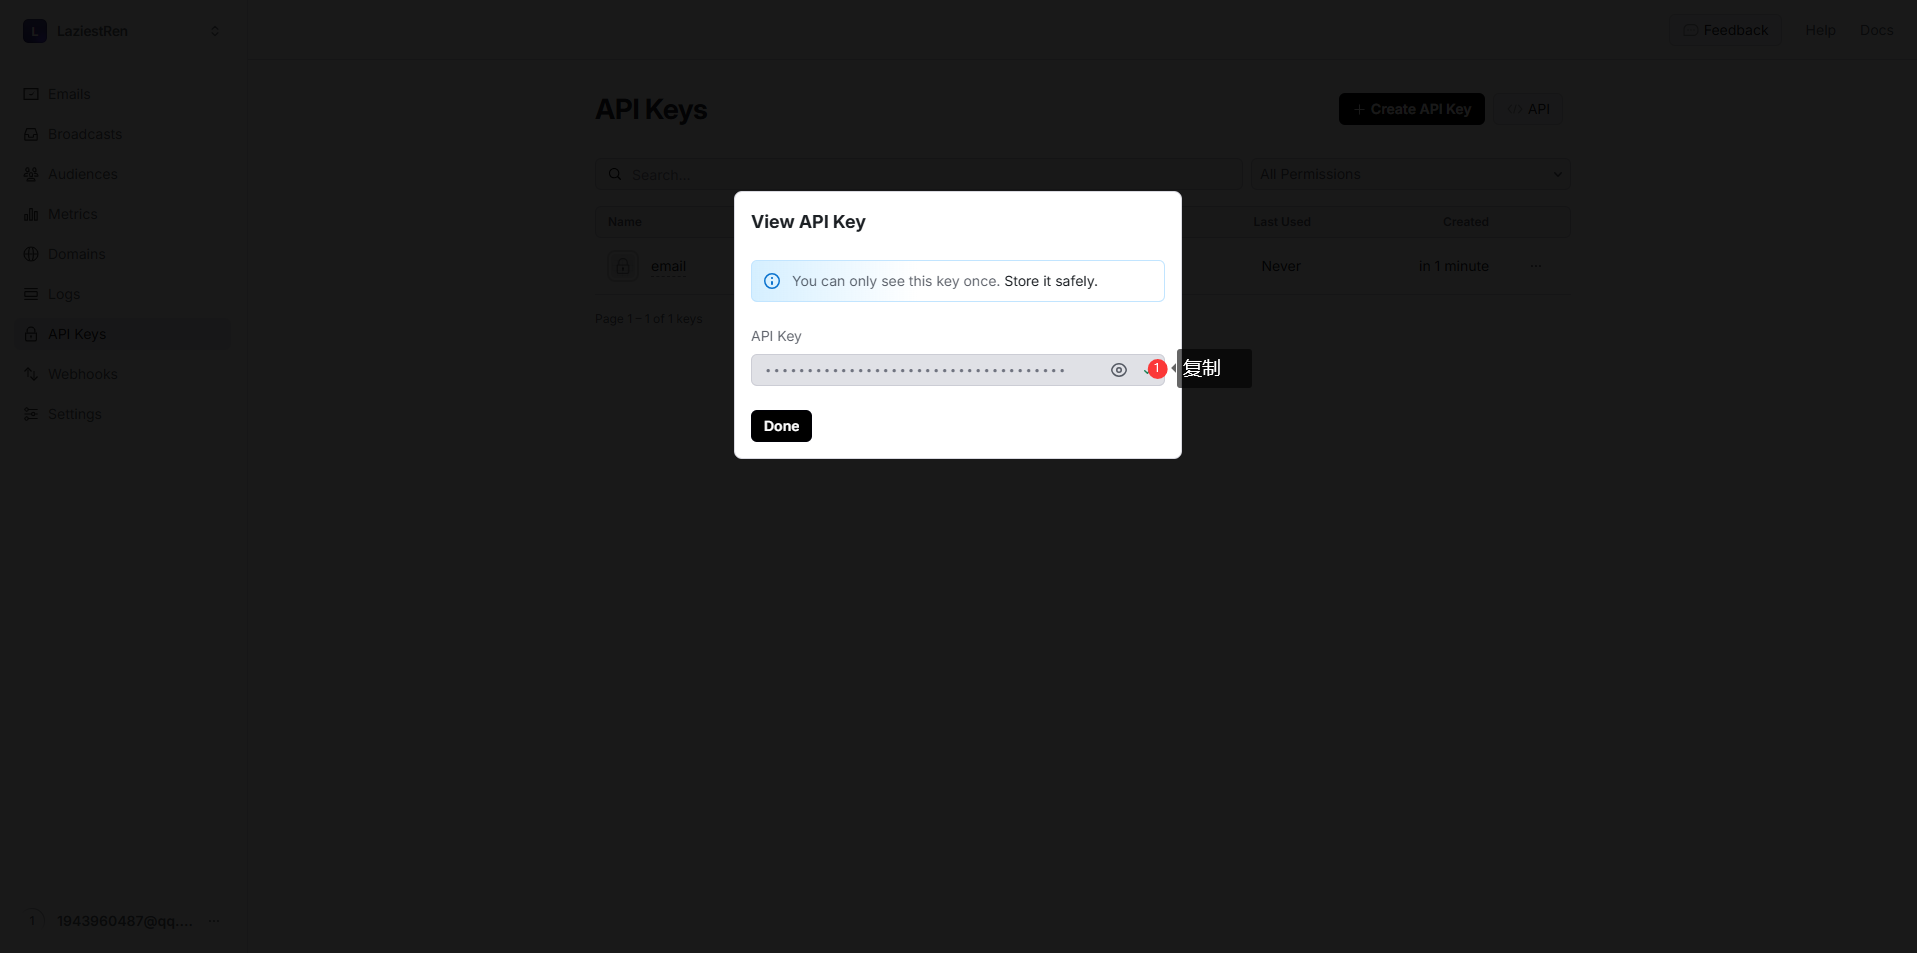
Create API Key
Back to project site settings
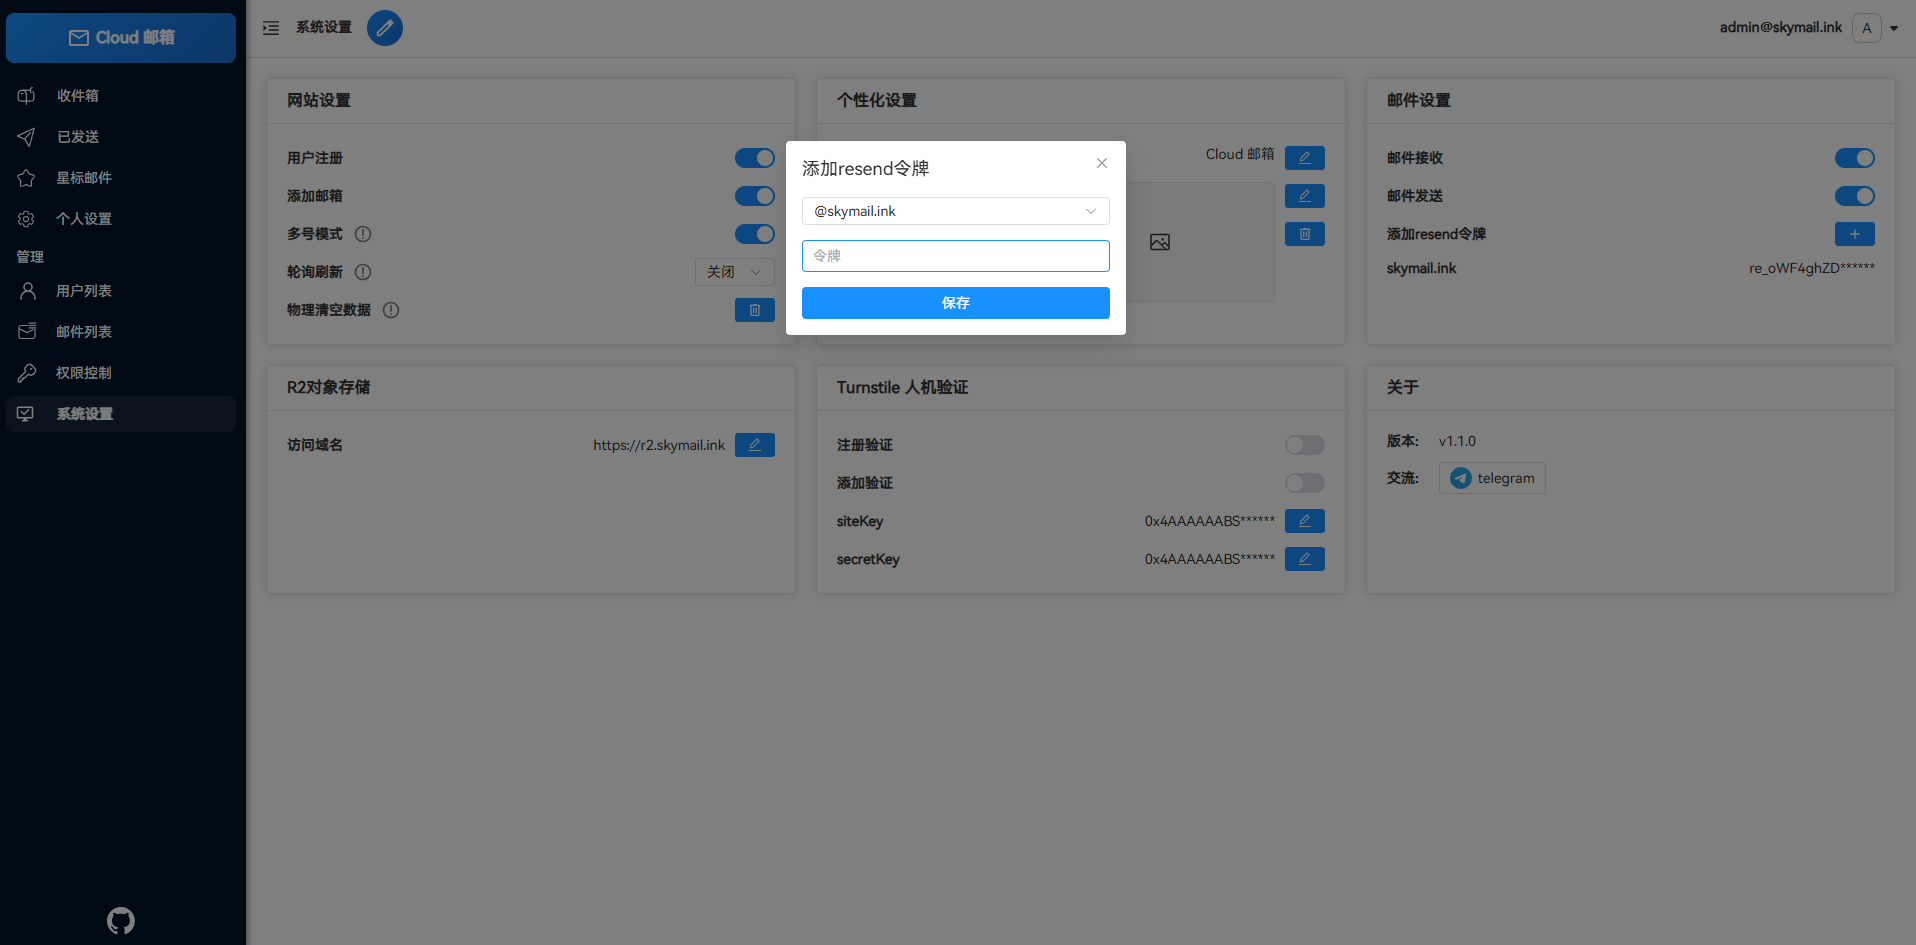
Set email status callback URL
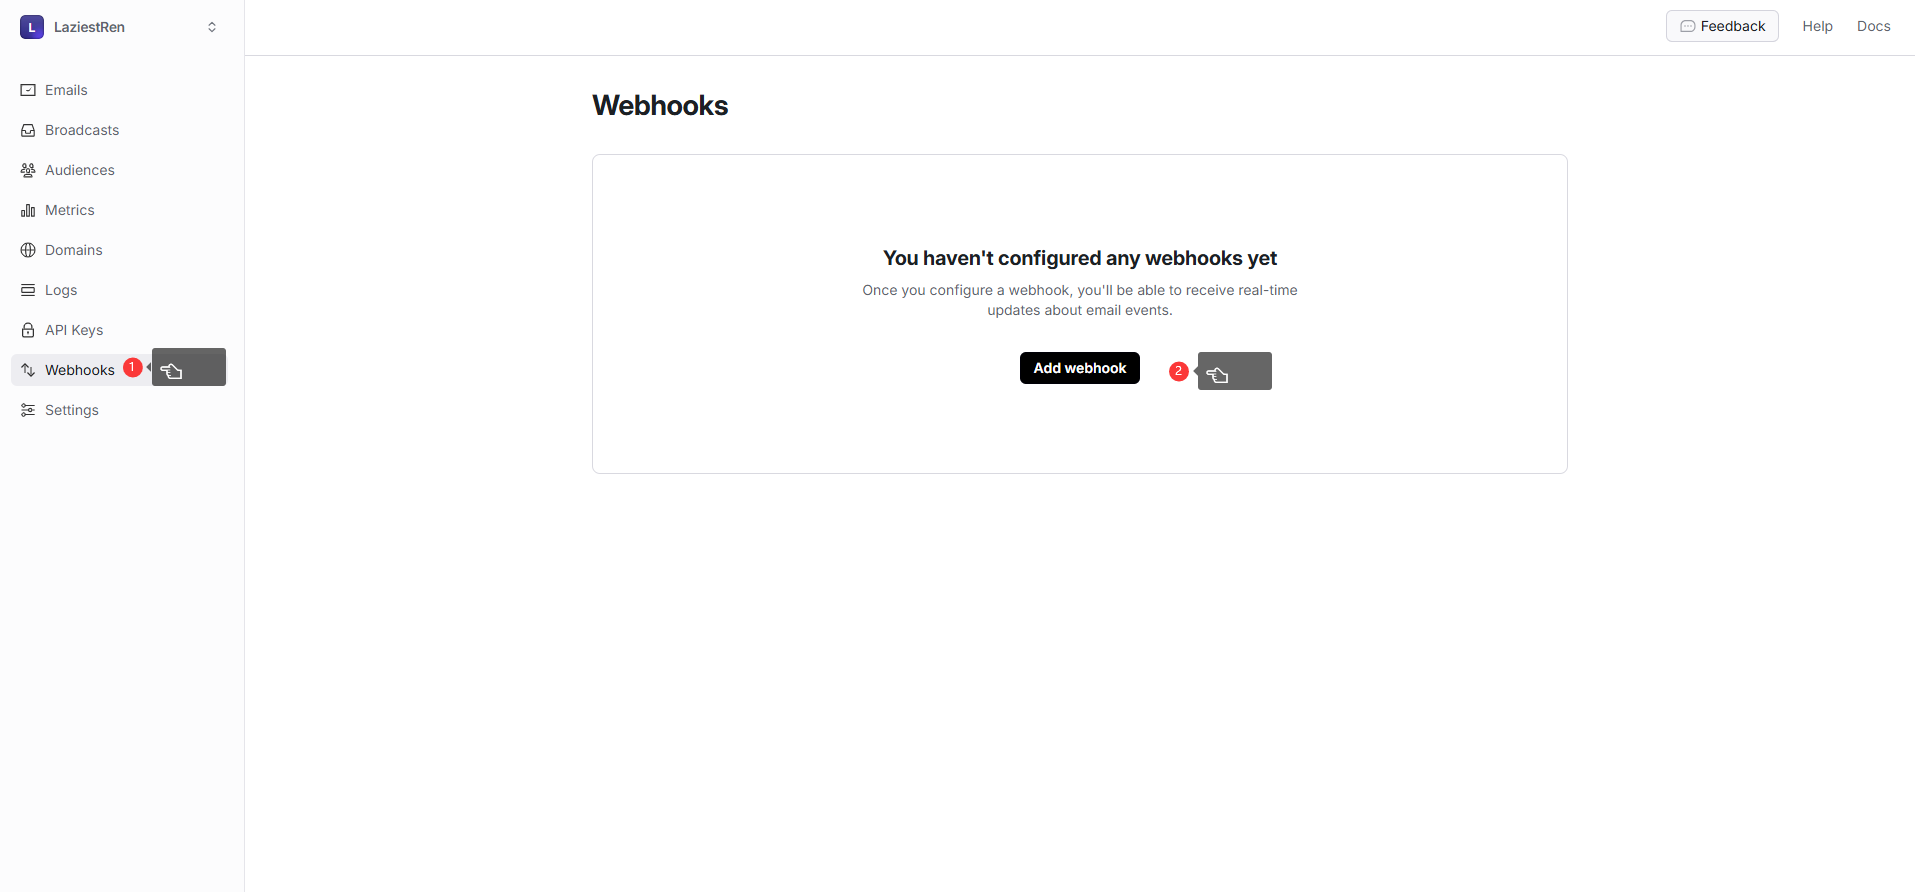
Callback URL: https://your-project-domain/api/webhooks
Select the appropriate option shown in the picture.
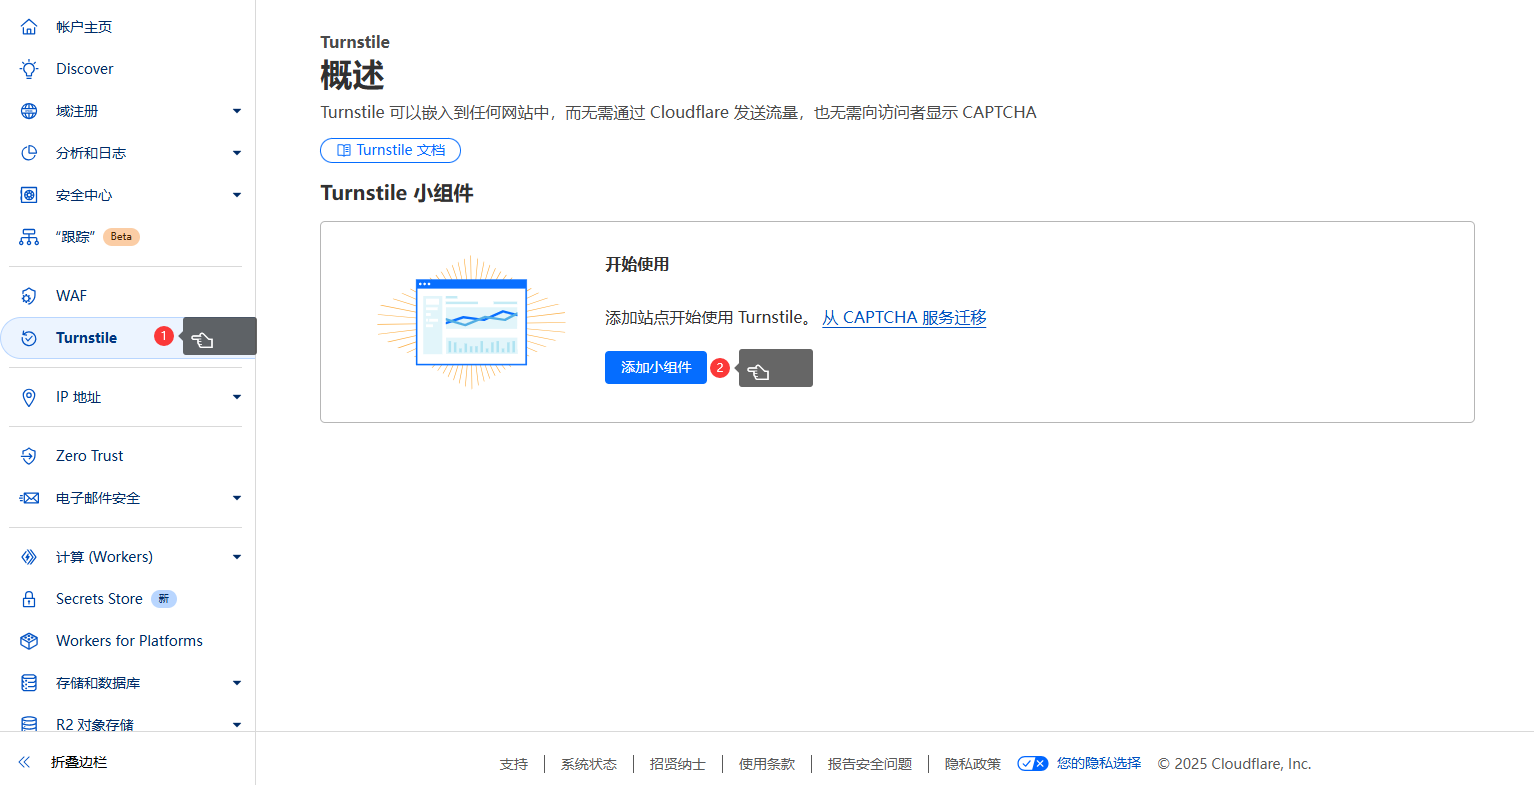
8 CAPTCHA Verification
After this step, you can enable CAPTCHA to prevent bot bulk registrations
Find Turnstile in the menu
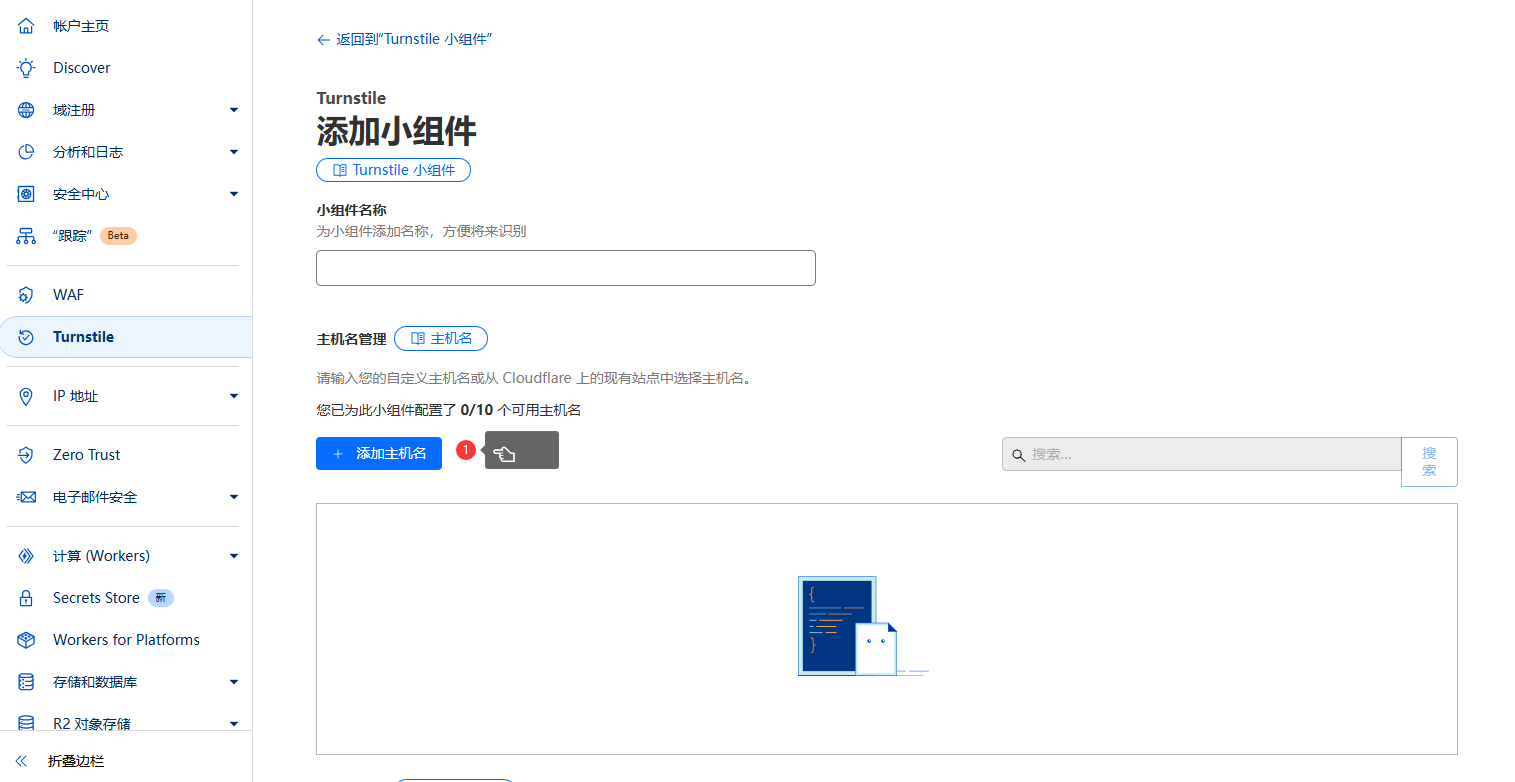
Add your domain
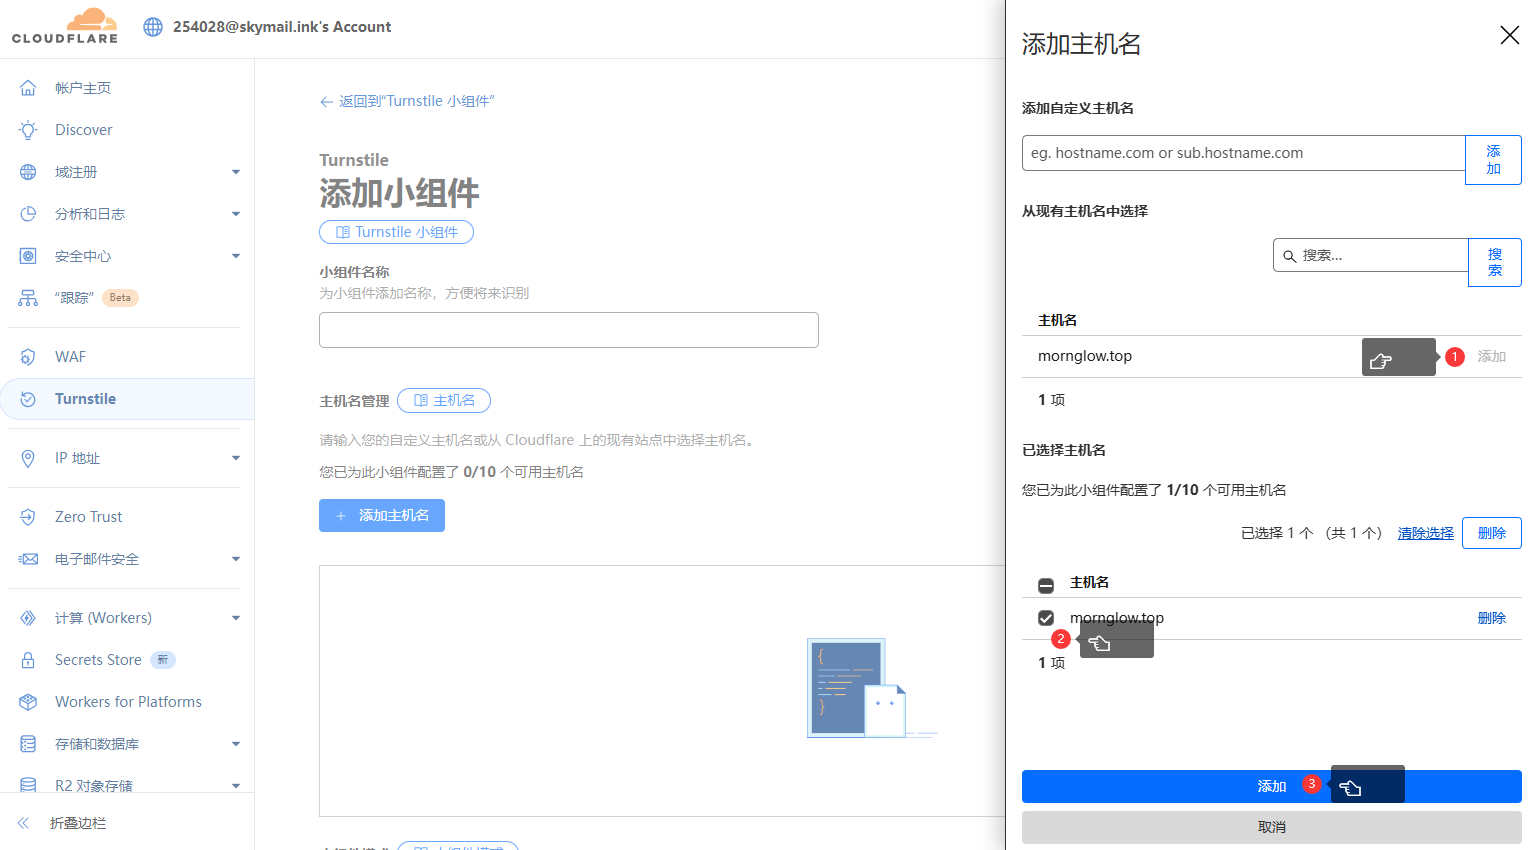
Name it as you like

Copy the two keys
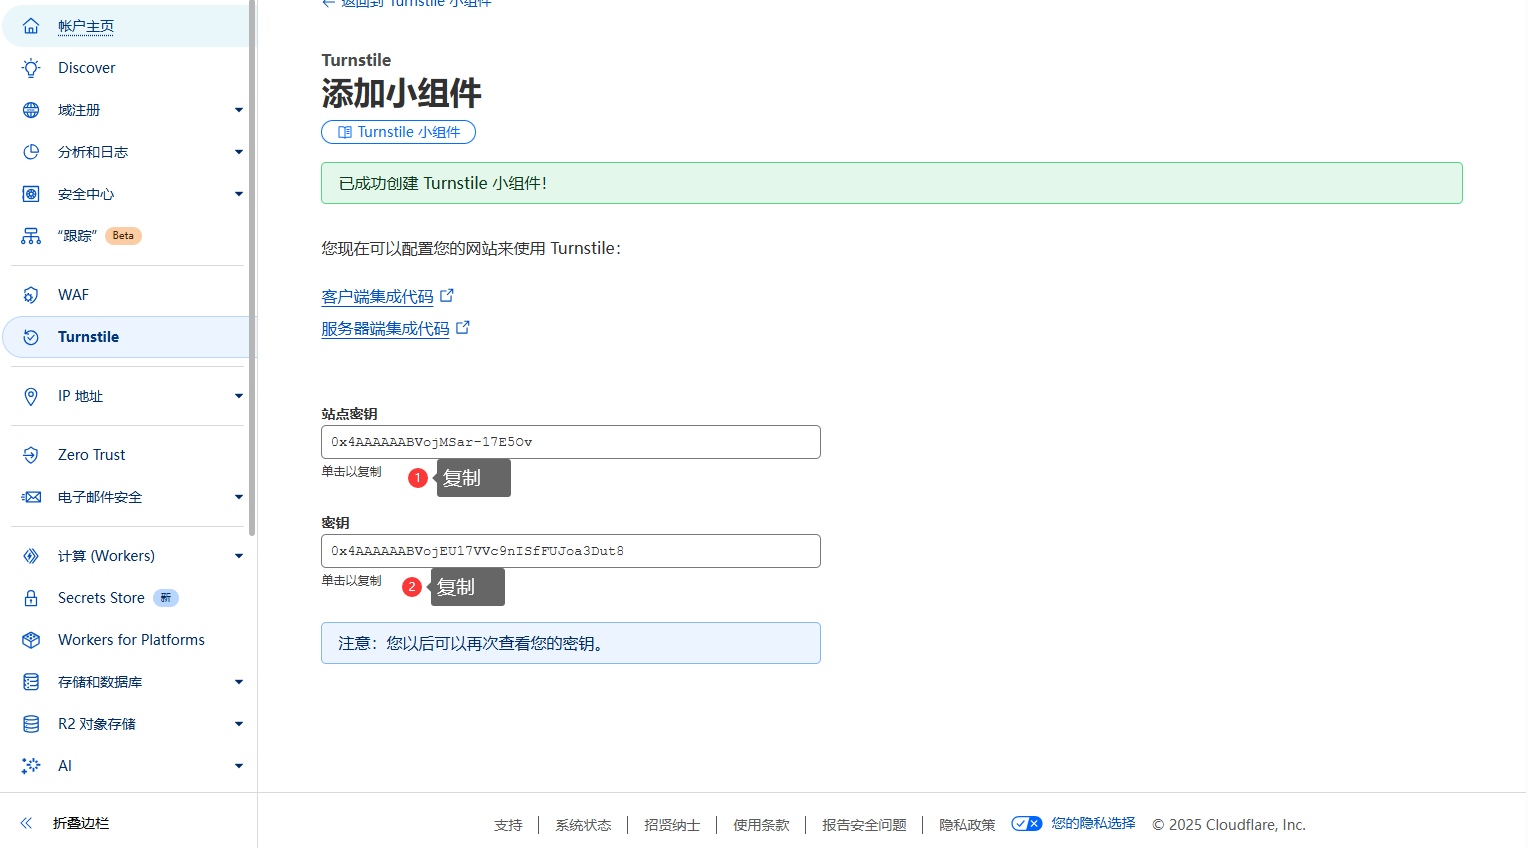
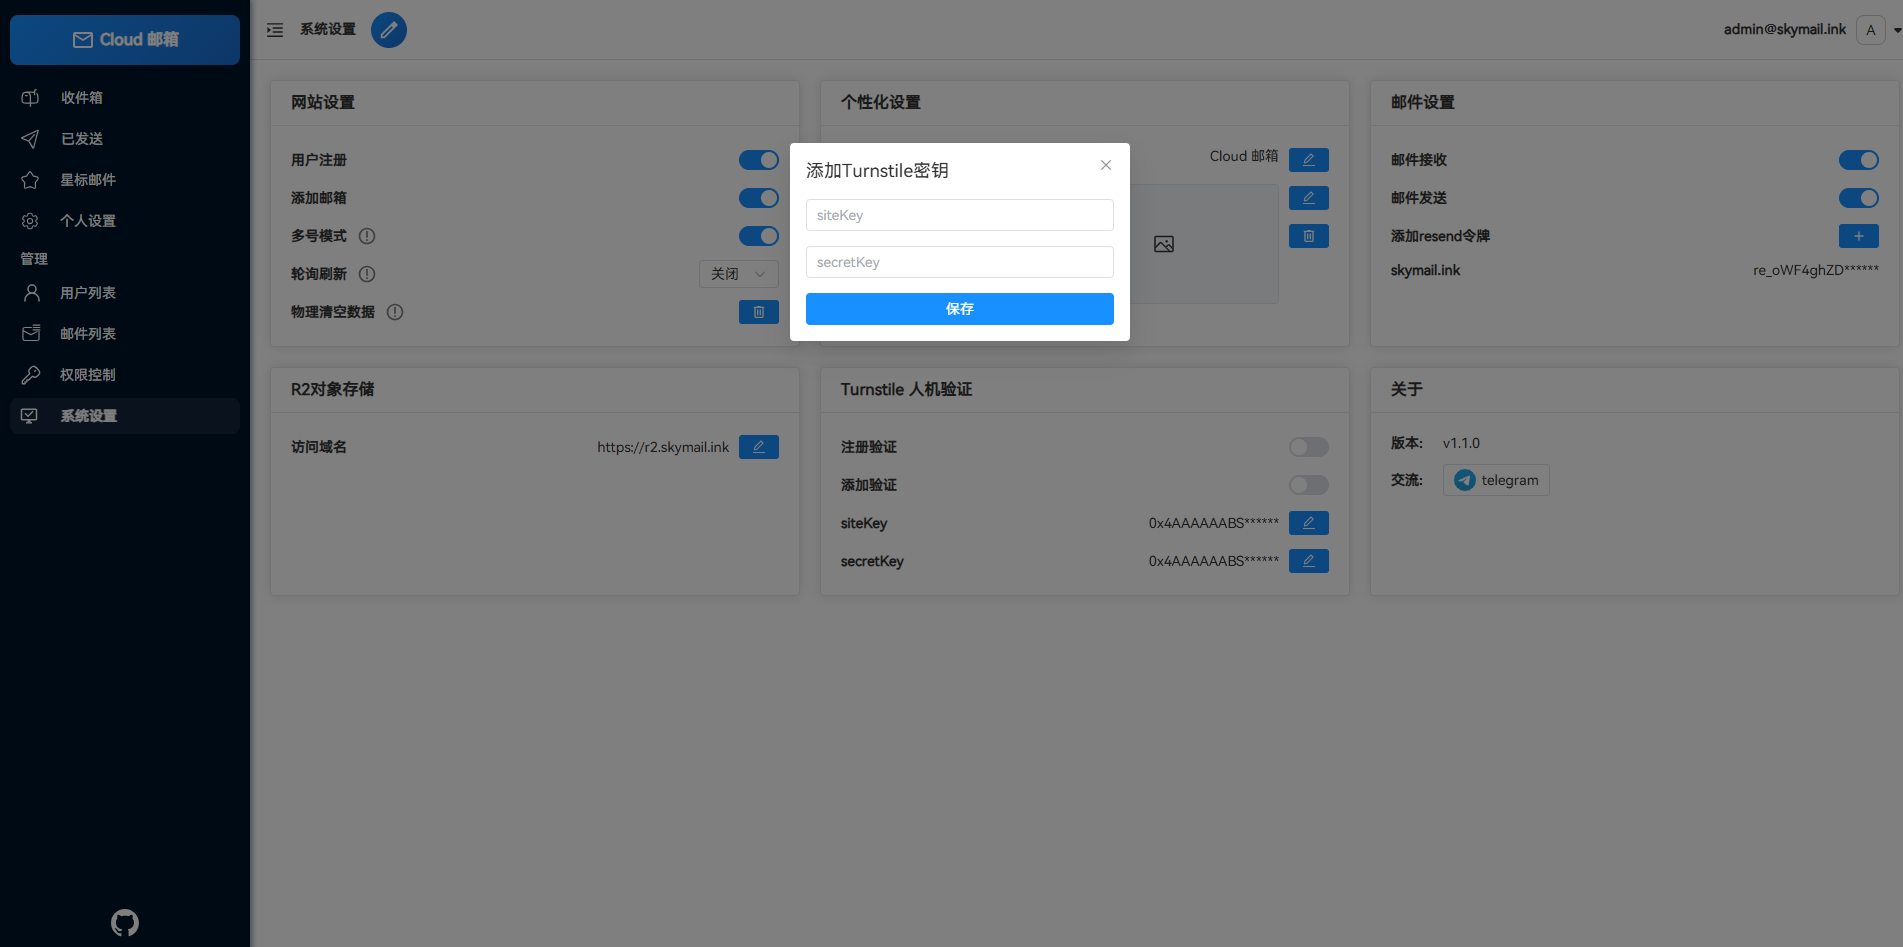
Back to project settings page and set the keys
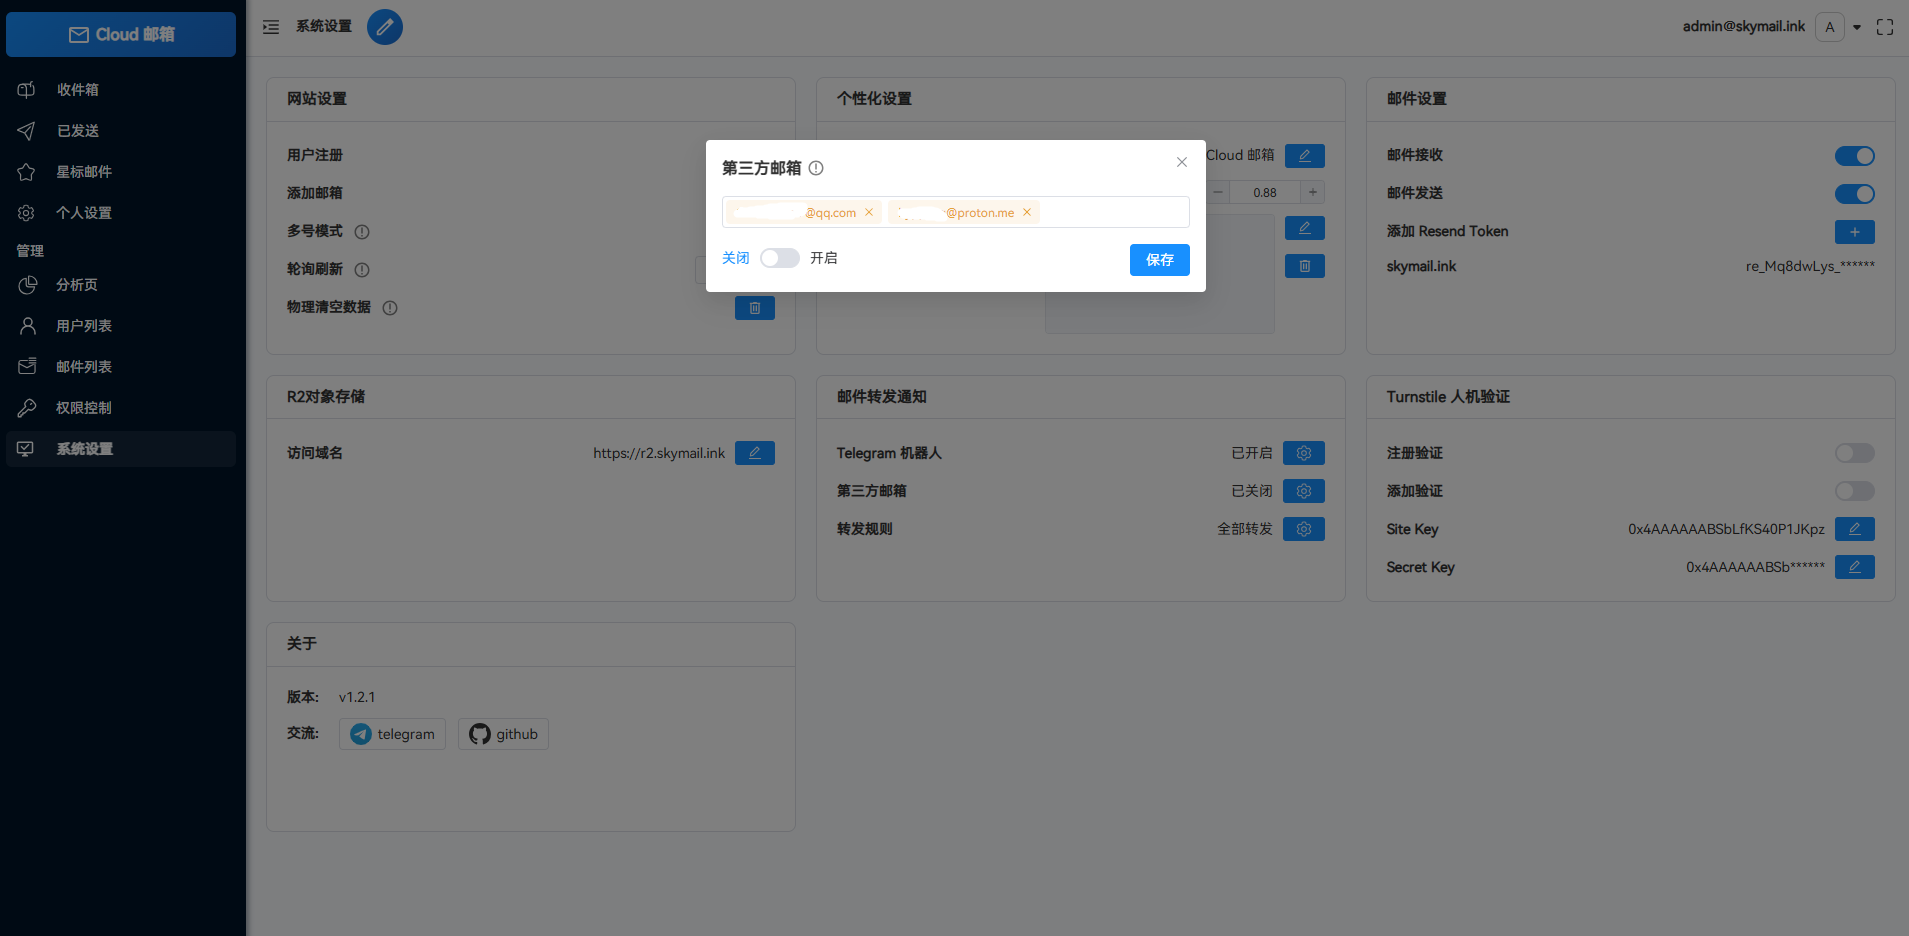
9 Forward to Telegram or other email
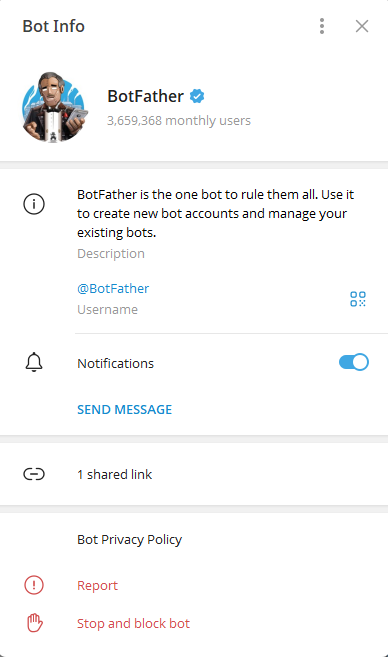
Search this person on Telegram
Create a bot and get its token
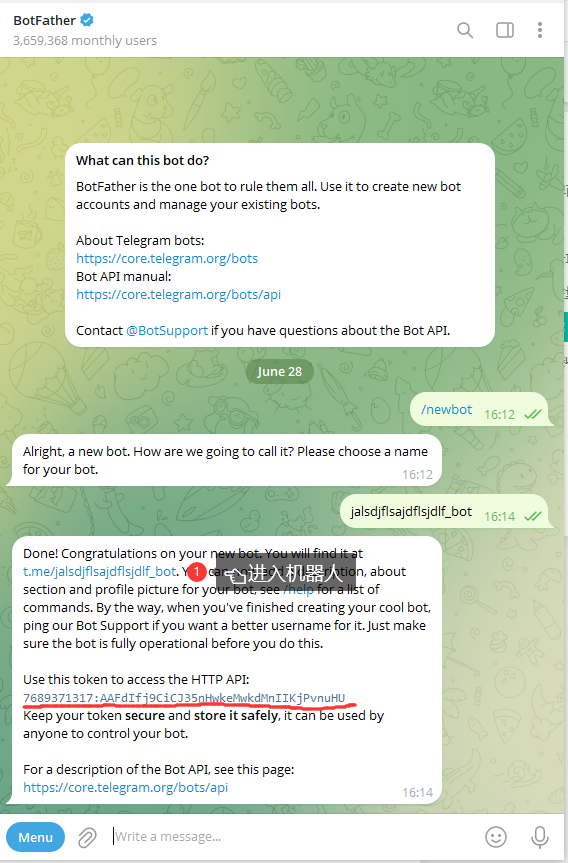
Send a message to the bot
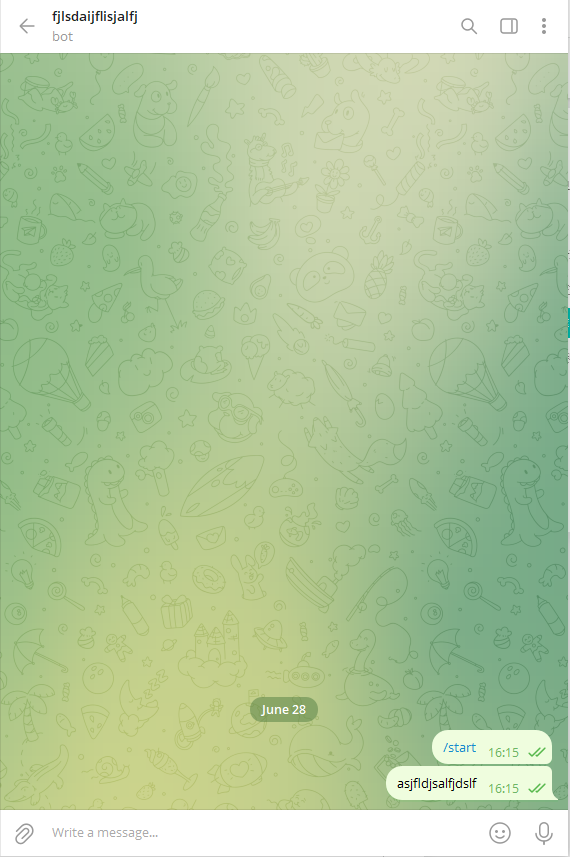
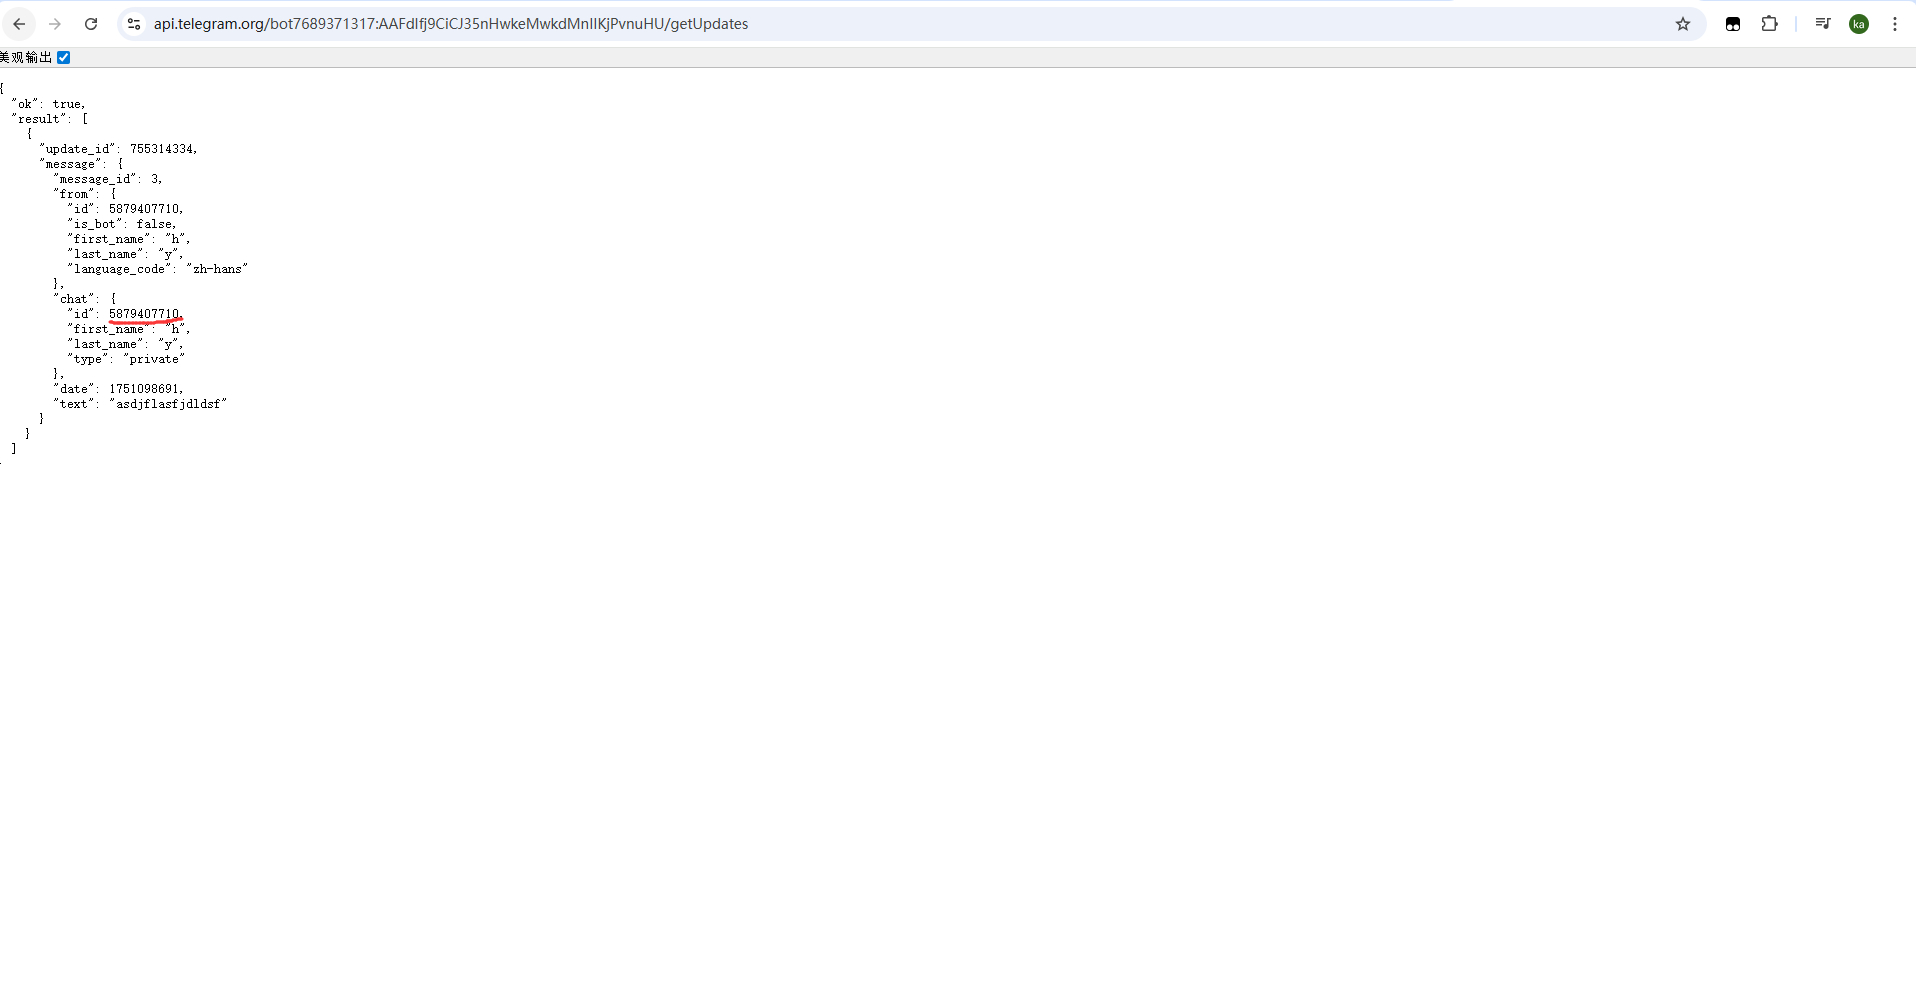
In browser, input https://api.telegram.org/botYOUR_BOT_TOKEN/getUpdates to get chat_id
If you can’t get it, send a few more messages to the bot
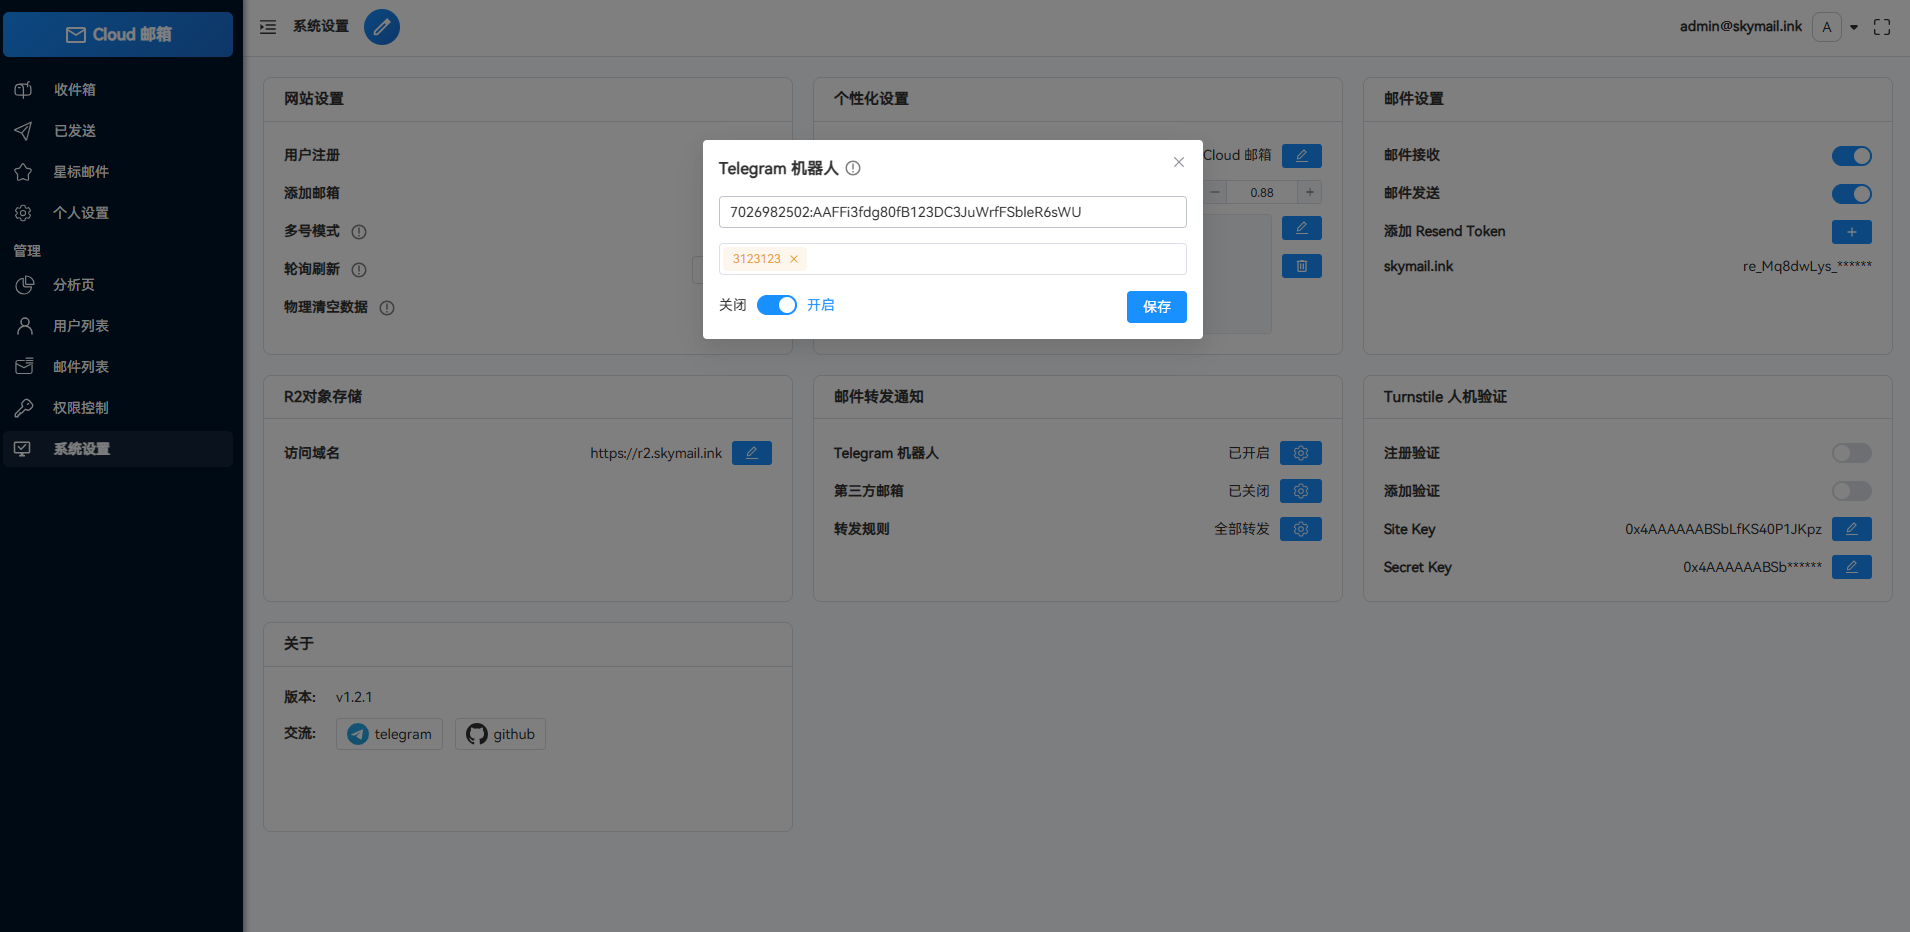
Set token and chat_id
Forward to other service provider’s email
Verify email in Cloudflare
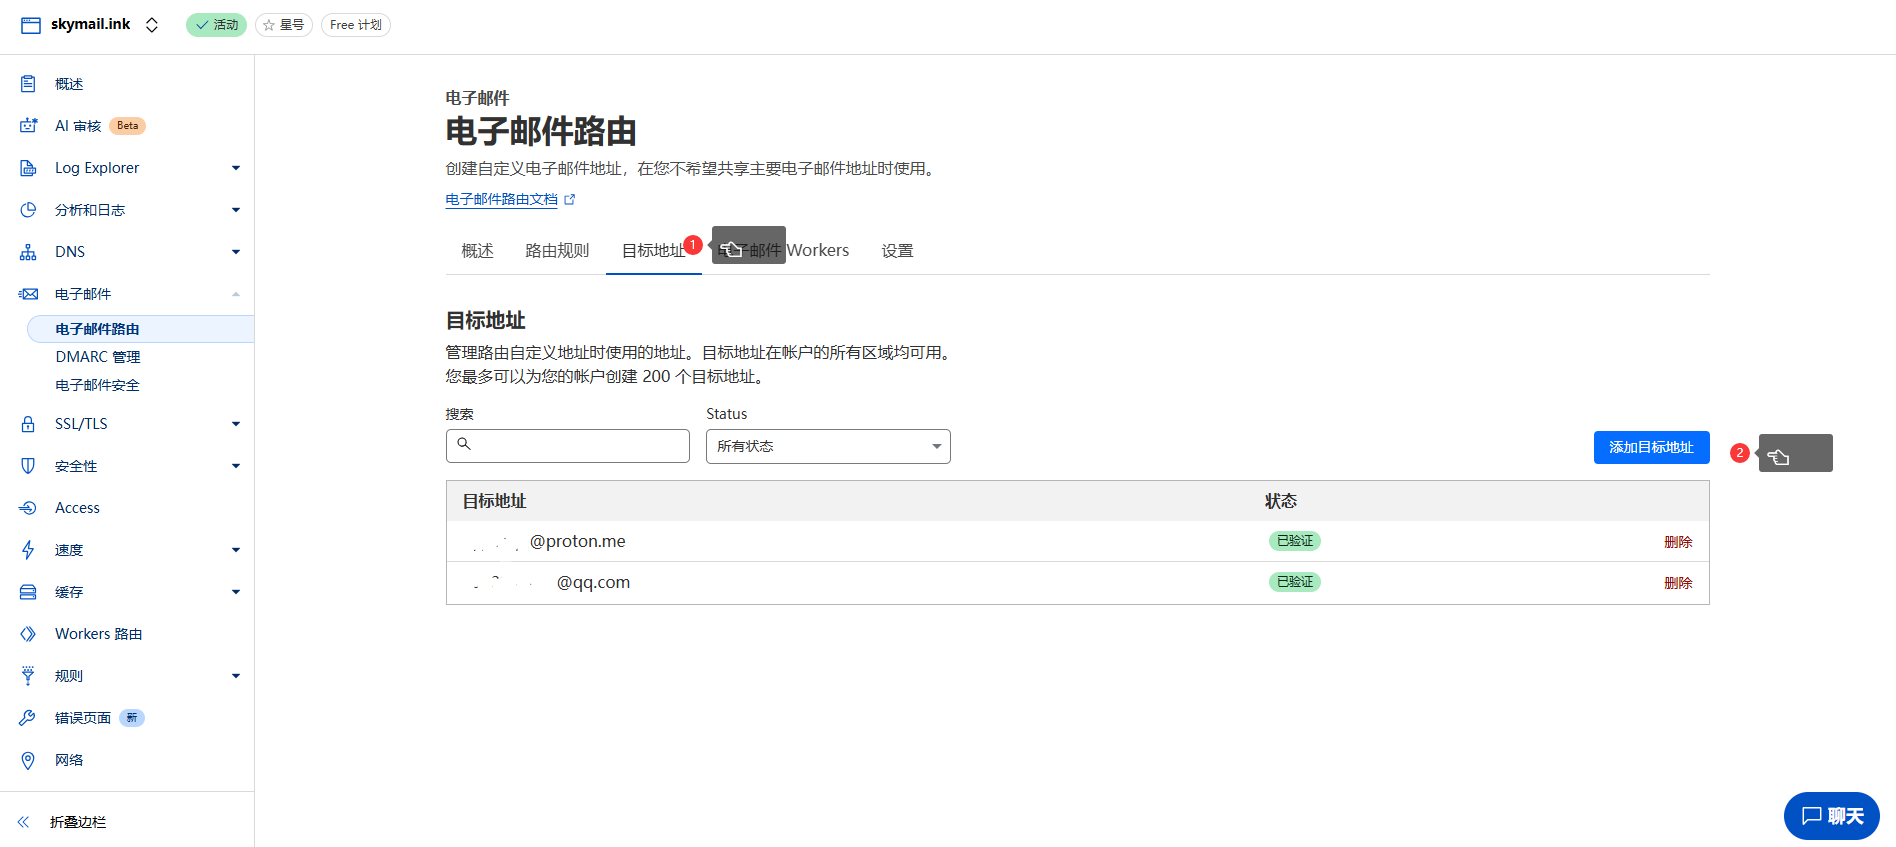
Set the email
Tutorial complete